Three easy PC upgrades for 2017
Deciding to upgrade your PC can take time and money. But what if you’re just getting started and want to know where to get the most mileage? Here’s a quick look at where to spend your dollars, to get the most in return.
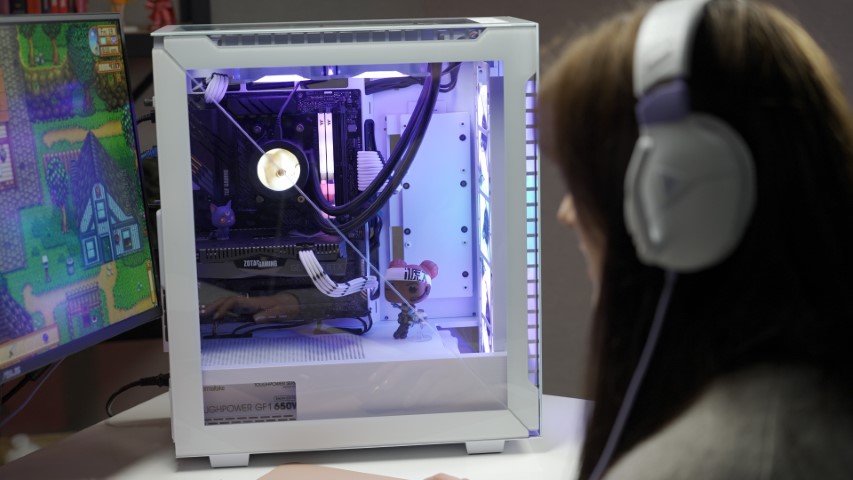
Upgrade your fans
If you’re running your PC every day, or leaving it on for long periods of time (thanks Steam downloads) then your components will heat up sooner or later. Computer parts warming up isn’t the end of the world though, they all have safe manufacturer’s operating temperatures to ensure they keep working over a period.
There aren’t very many moving parts in a PC, and that means that although they build up temperature over time, they need a helping hand to reduce that temperature. Creating more ambient moving air in the case can allow parts to dissipate more of their temperature into the air and out the exhaust of your PC.
If your goal is to lower the ambient temperature in your case and reduce the heat in your components – upgrading your fans should be the first port of call.
In a standard setup, having a primary intake and exhaust is usually enough as it creates one continuous flow of air throughout the chassis. So, if you’re only upgrading one part, make it a new intake fan to boost airflow in your case. Most modern mid-towers can fit either a 140mm or 200mm intake fan in the front, and this will comfortably boost the flow of cool, fresh air throughout the case and keep your components running cool.
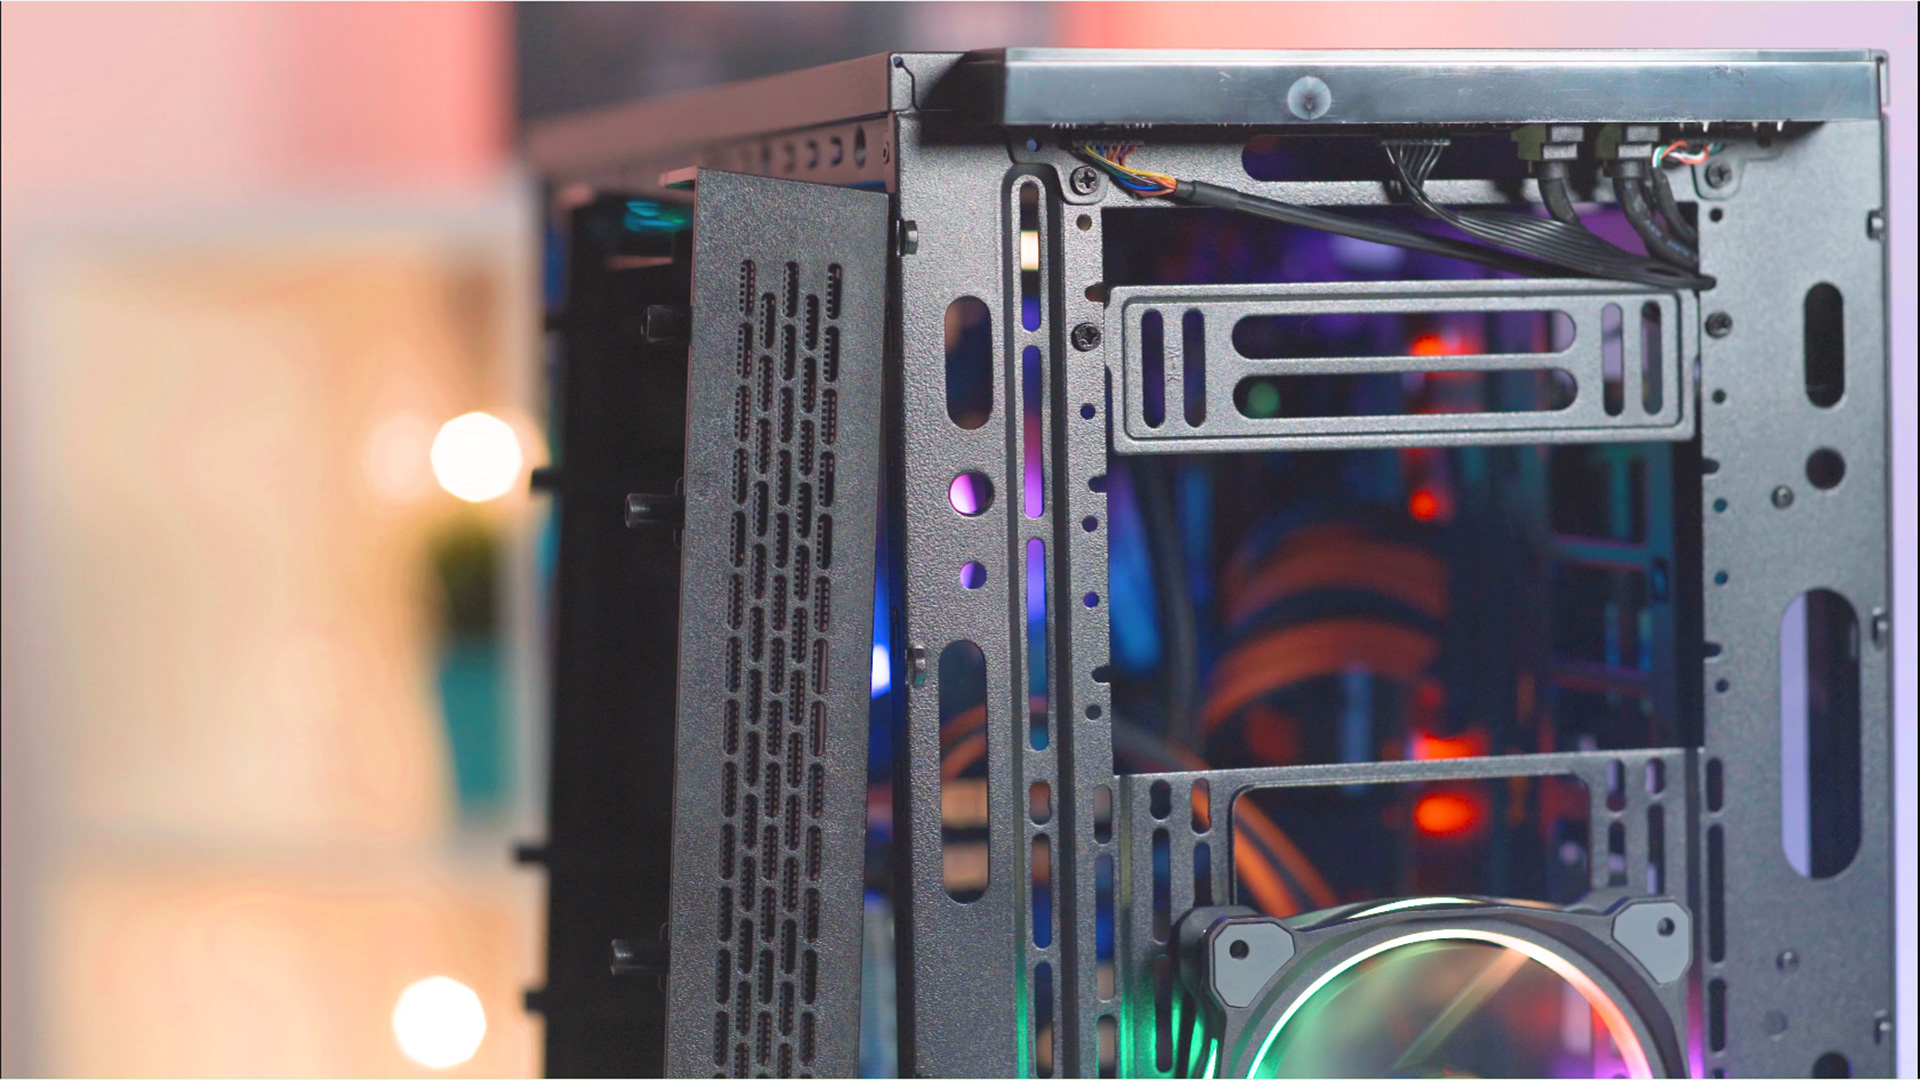
Clean up your case
Once you’ve made your mind up about increasing airflow, it’s worth looking at the mess in your case that can be blocking that air flow from getting where it needs to go. Some people tend to forget that the area behind your motherboard is specially designed to route cables, so don’t forget to use it!
We all know that over months or years of tinkering and installing new parts, cables can get unwieldy. Thankfully, putting in the time to clean everything up once can really help you in the long-run, and mean you only need to do small touch-ups every few months after that.
If you aren’t sure where to start, just disconnect all your cables one at a time (hint, take photos as you go if it is your first time). Then you can start reconnecting things in a logical order, run everything through the grommets in the motherboard tray and into the back panel. You can then feed them back through the closest grommet to each of your components and hook everything back up. To keep things even more tidy, try cable-tying most of your cables together to keep them from getting tangled, your motherboard power cable is a great starting point to lash the others to as it is always the biggest.
As you’re going through tidying your cable management, be sure to dust and clean. Dust can be a real temperature killer as it gunks up your components and slows down fans. So, remove and clean your dust filters, fans and cables as well as the intake areas on your GPU, PSU and in the corners of your case. You can easily remove dust with a can of compressed air, and wipe components down with a cloth and some isopropyl alcohol.
The best part about cleaning and working on your cable management is that the only expense you’ll have is time, a pack of cable ties and a can of compressed air.
Grab an aftermarket CPU cooler
Upgrading your CPU is a pretty big step. That means also looking at your motherboard, your power supply and other components to make sure everything works well with the new chip. But if you aren’t at the full upgrade point yet, there’s plenty you can do to get more out of your current hardware.
The first step is looking into whether your CPU can handle an overclock, read into forums and look out for other people with a similar setup. If it can, wonderful! That’s one upgrade that isn’t going to cost you any money, just time and experimentation.
However – if you’re still connected to a stock CPU cooler that came with the chip, you might want to look into an aftermarket one. Stock coolers from Intel or AMD are fine when running the CPU at standard speeds and temperatures, but there are plenty of options that will let you run your PC cooler and get more oomph out of your processor.
Our top pick is the Riing 12 Silent CPU cooler. You can get them in red or blue, and they use a 12cm Riing fan to draw heat away from your CPU and out your PC exhaust. The cooler operates by transferring heat from your CPU, through copper pipes and into aluminium fins – before being blasted with cool air by the fan.
You can find out more about the Riing 12 Silent CPU cooler below.