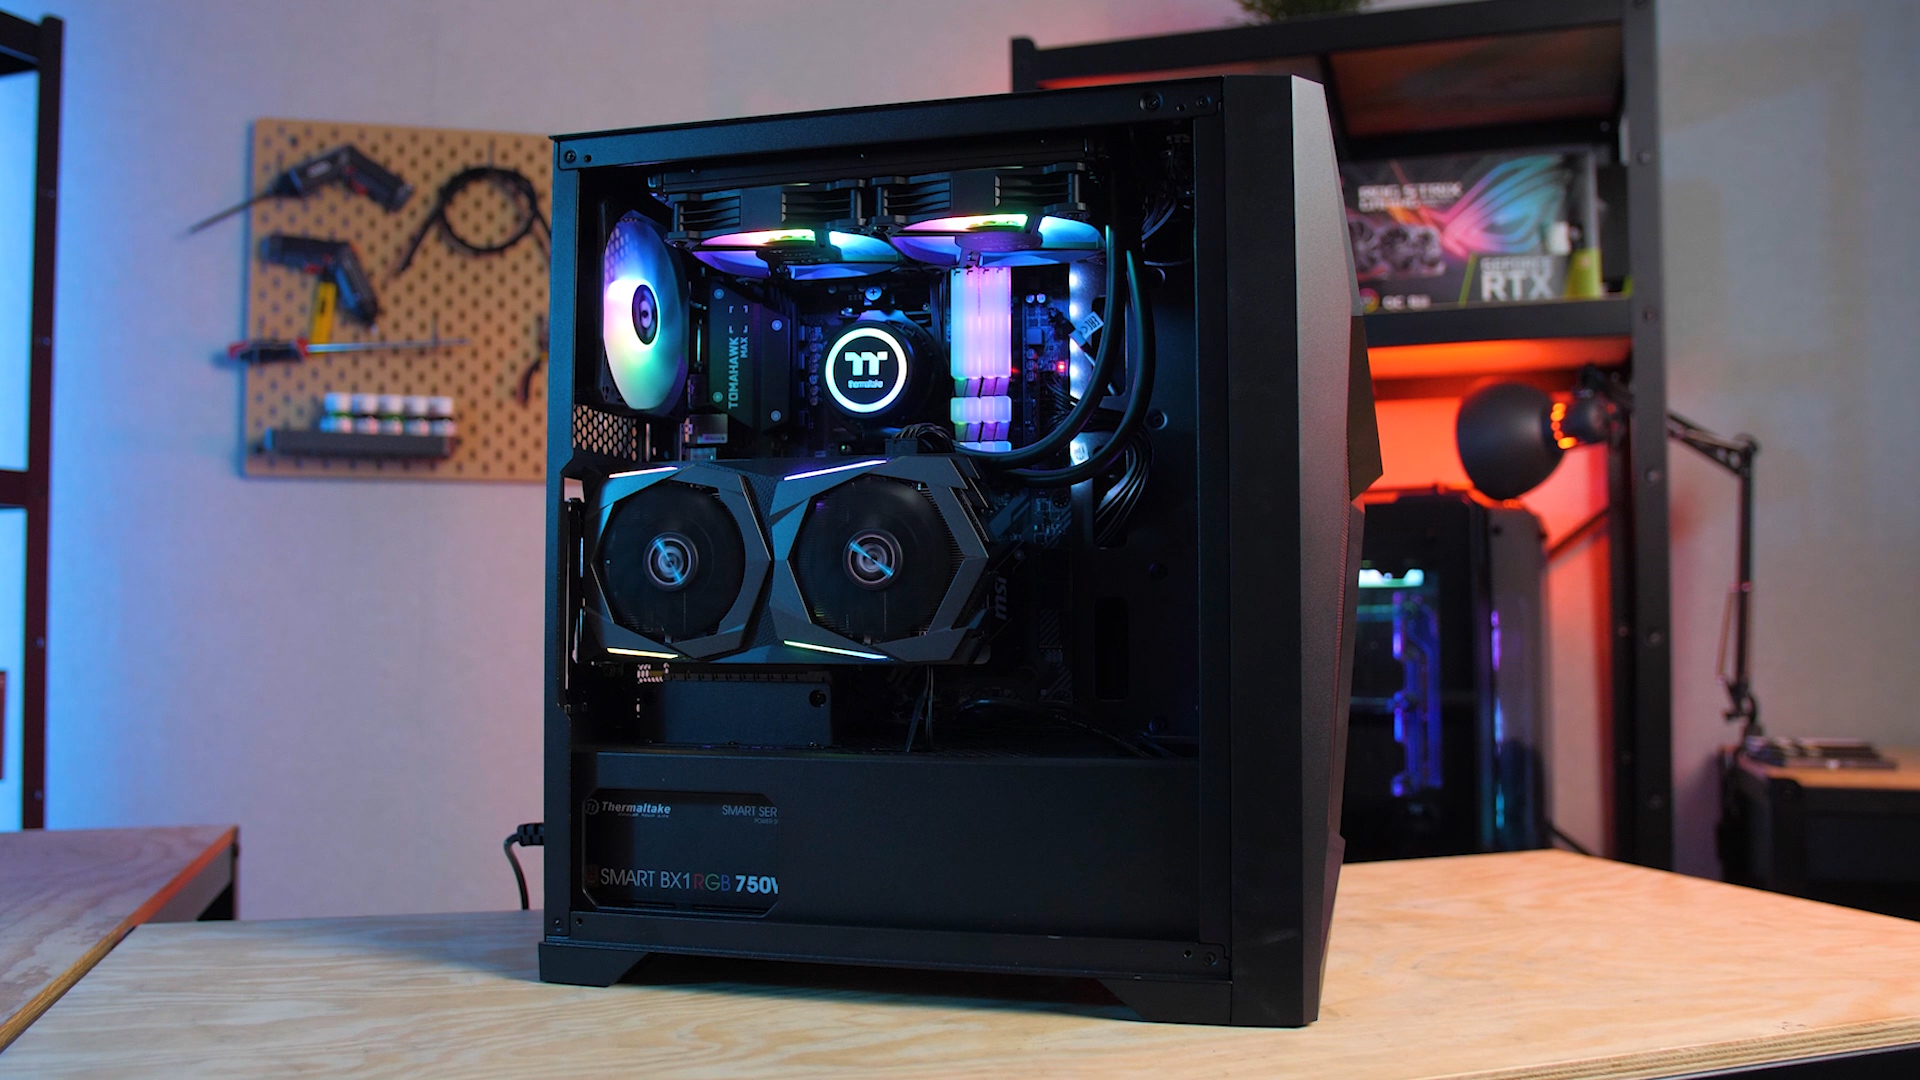
If you’re wanting to make the dive into water cooling, then this is a step-by-step guide for you! This is How to Install an All-in-One Cooler! For this guide we will be using our 240mm Water 3.0 AIO and will be installing it onto an AMD CPU. Also, just remember that if you are using a different AIO, or an Intel chip, your installation may differ in a few areas.
How to Install an All-in-One Cooler
-
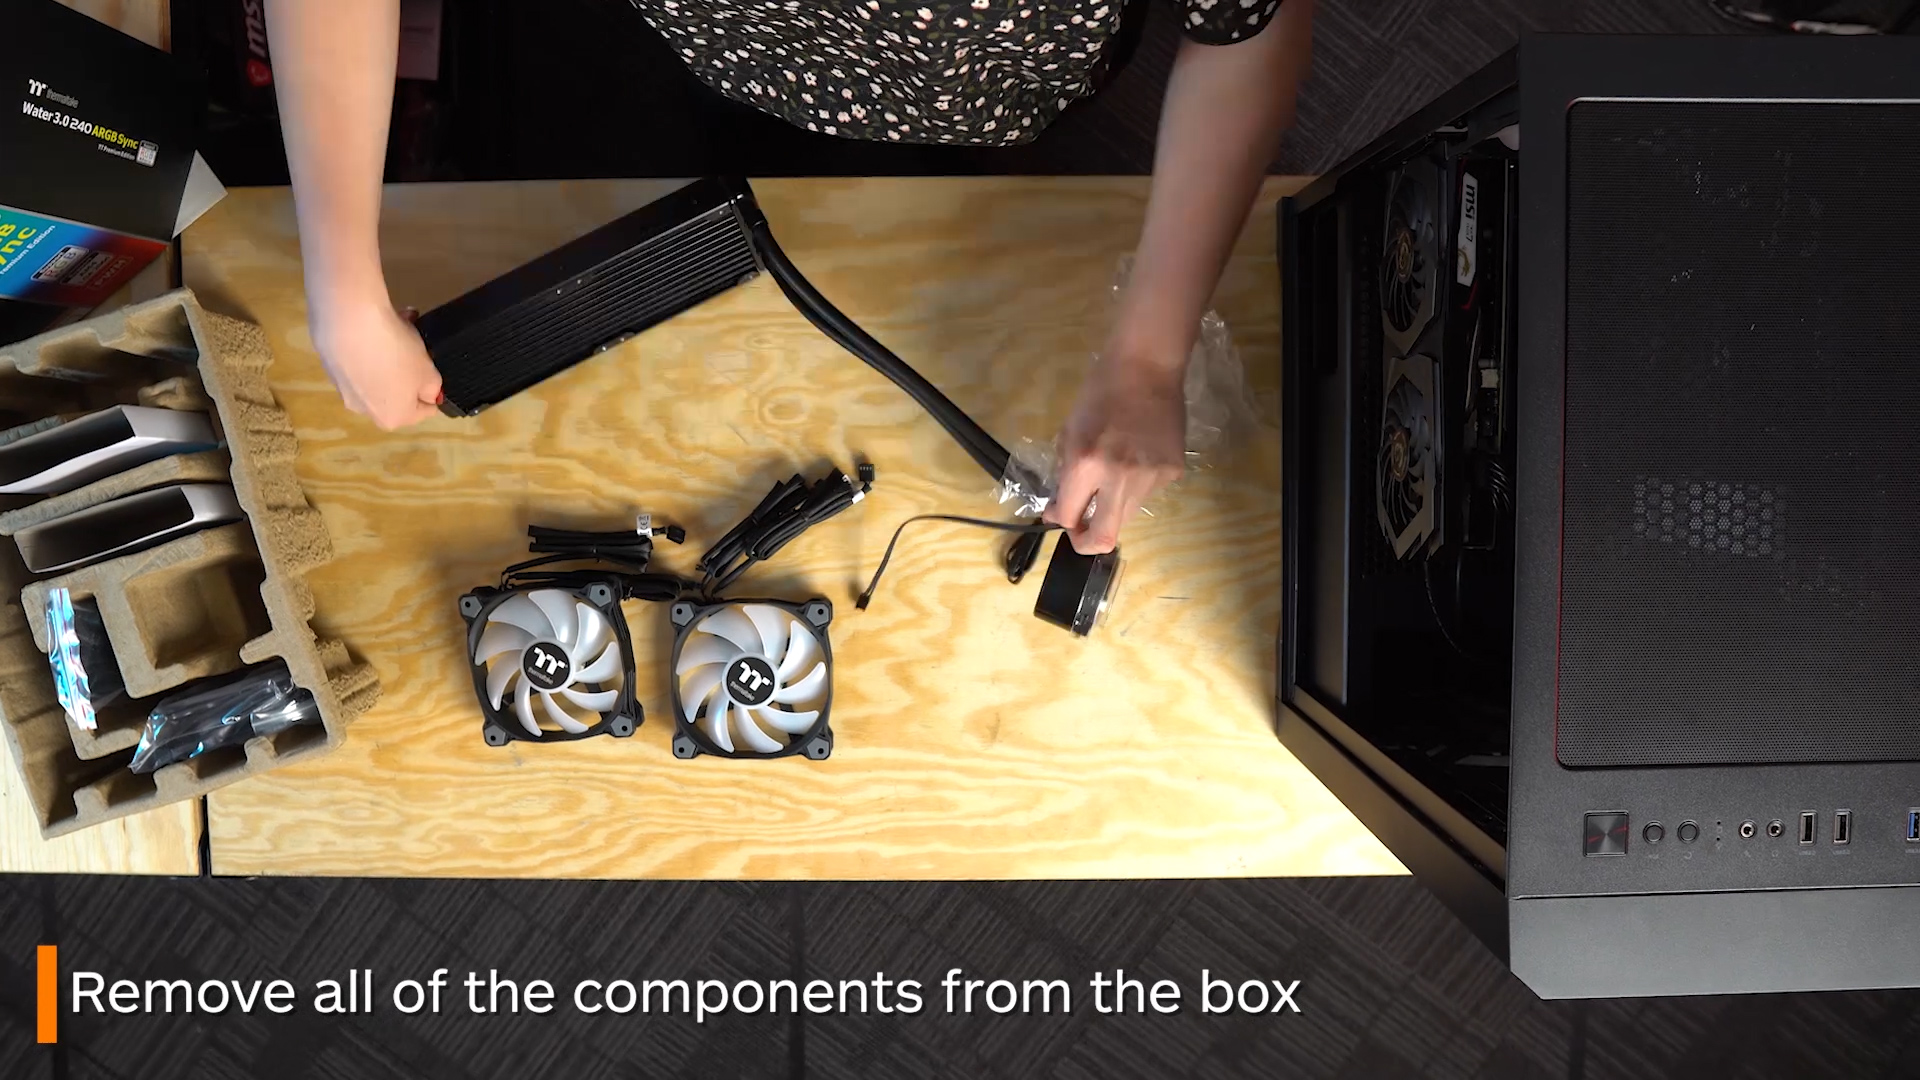
First, begin by taking out all the parts. It’s also a good idea to keep the installation guide handy so you can check with it when you need.
-
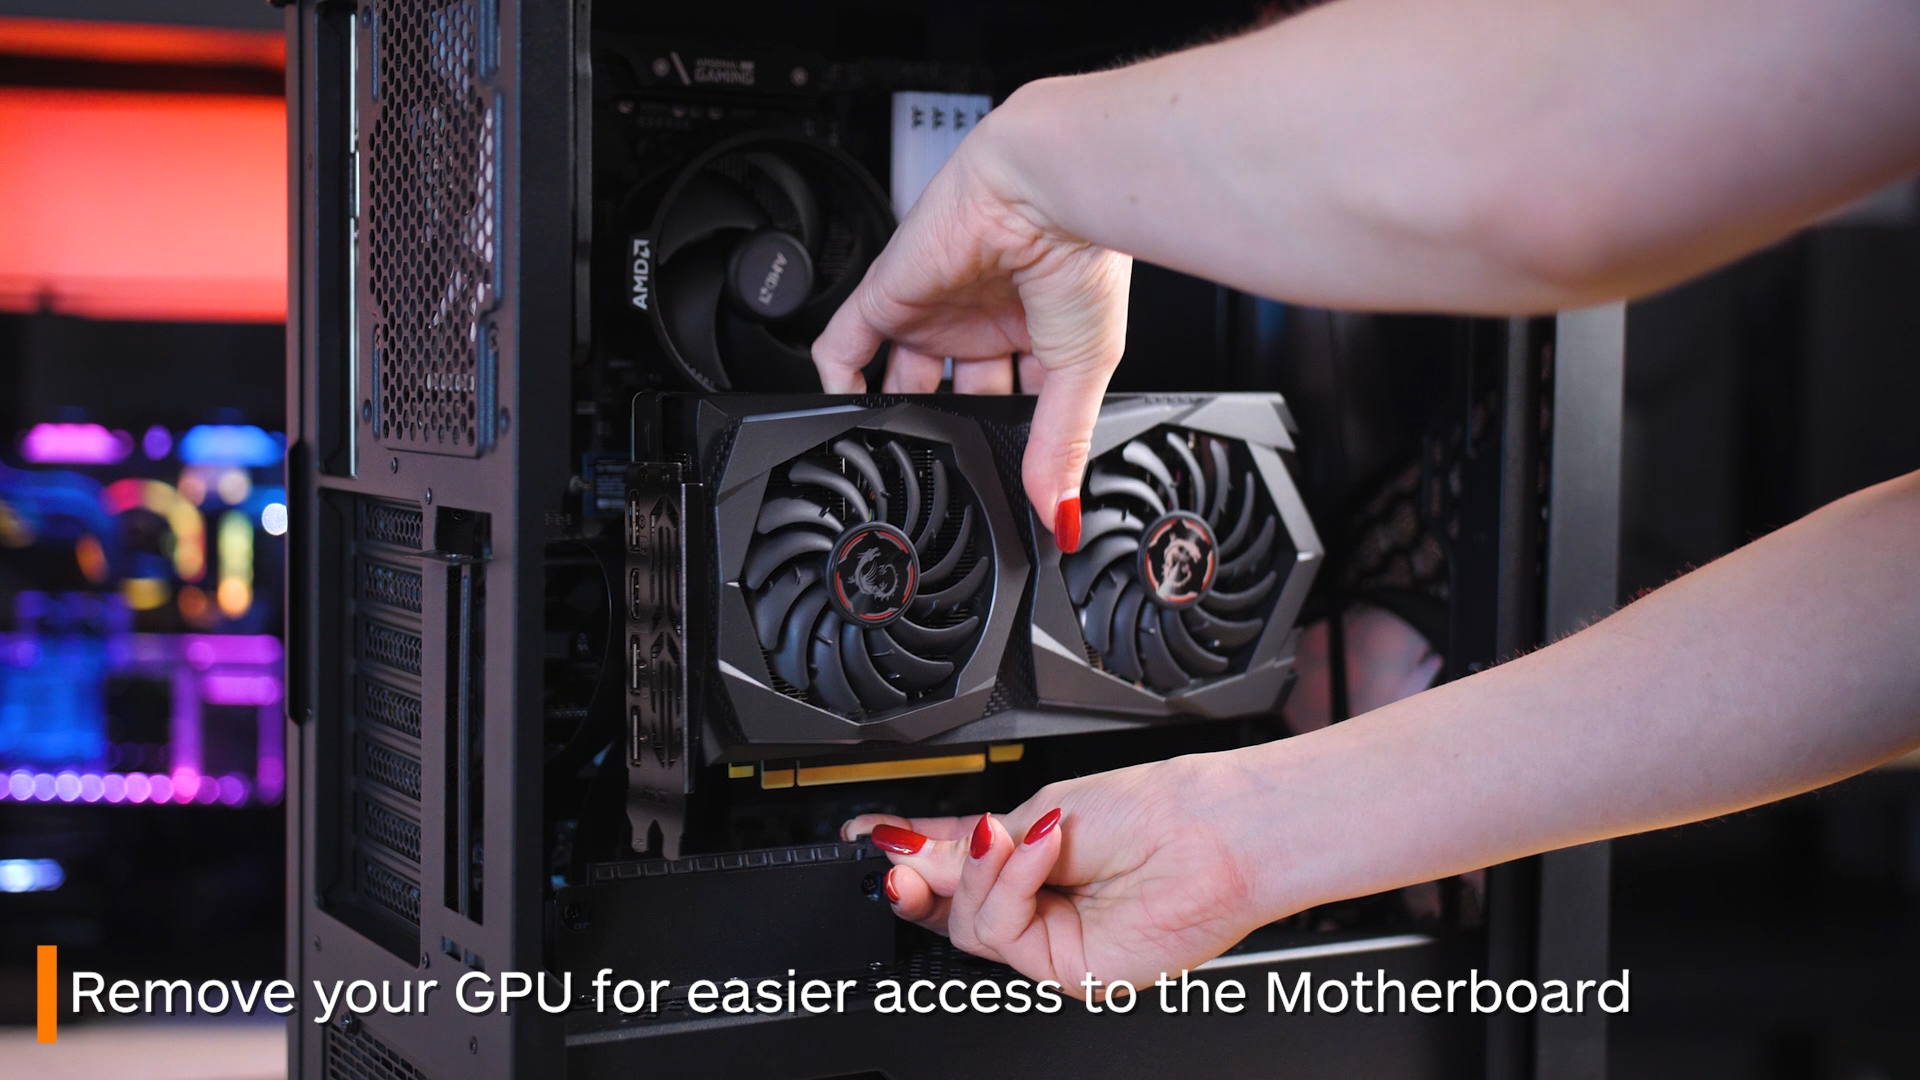
If you are also upgrading, first use a screwdriver to remove the graphics card so you can have easier access to the motherboard.
-
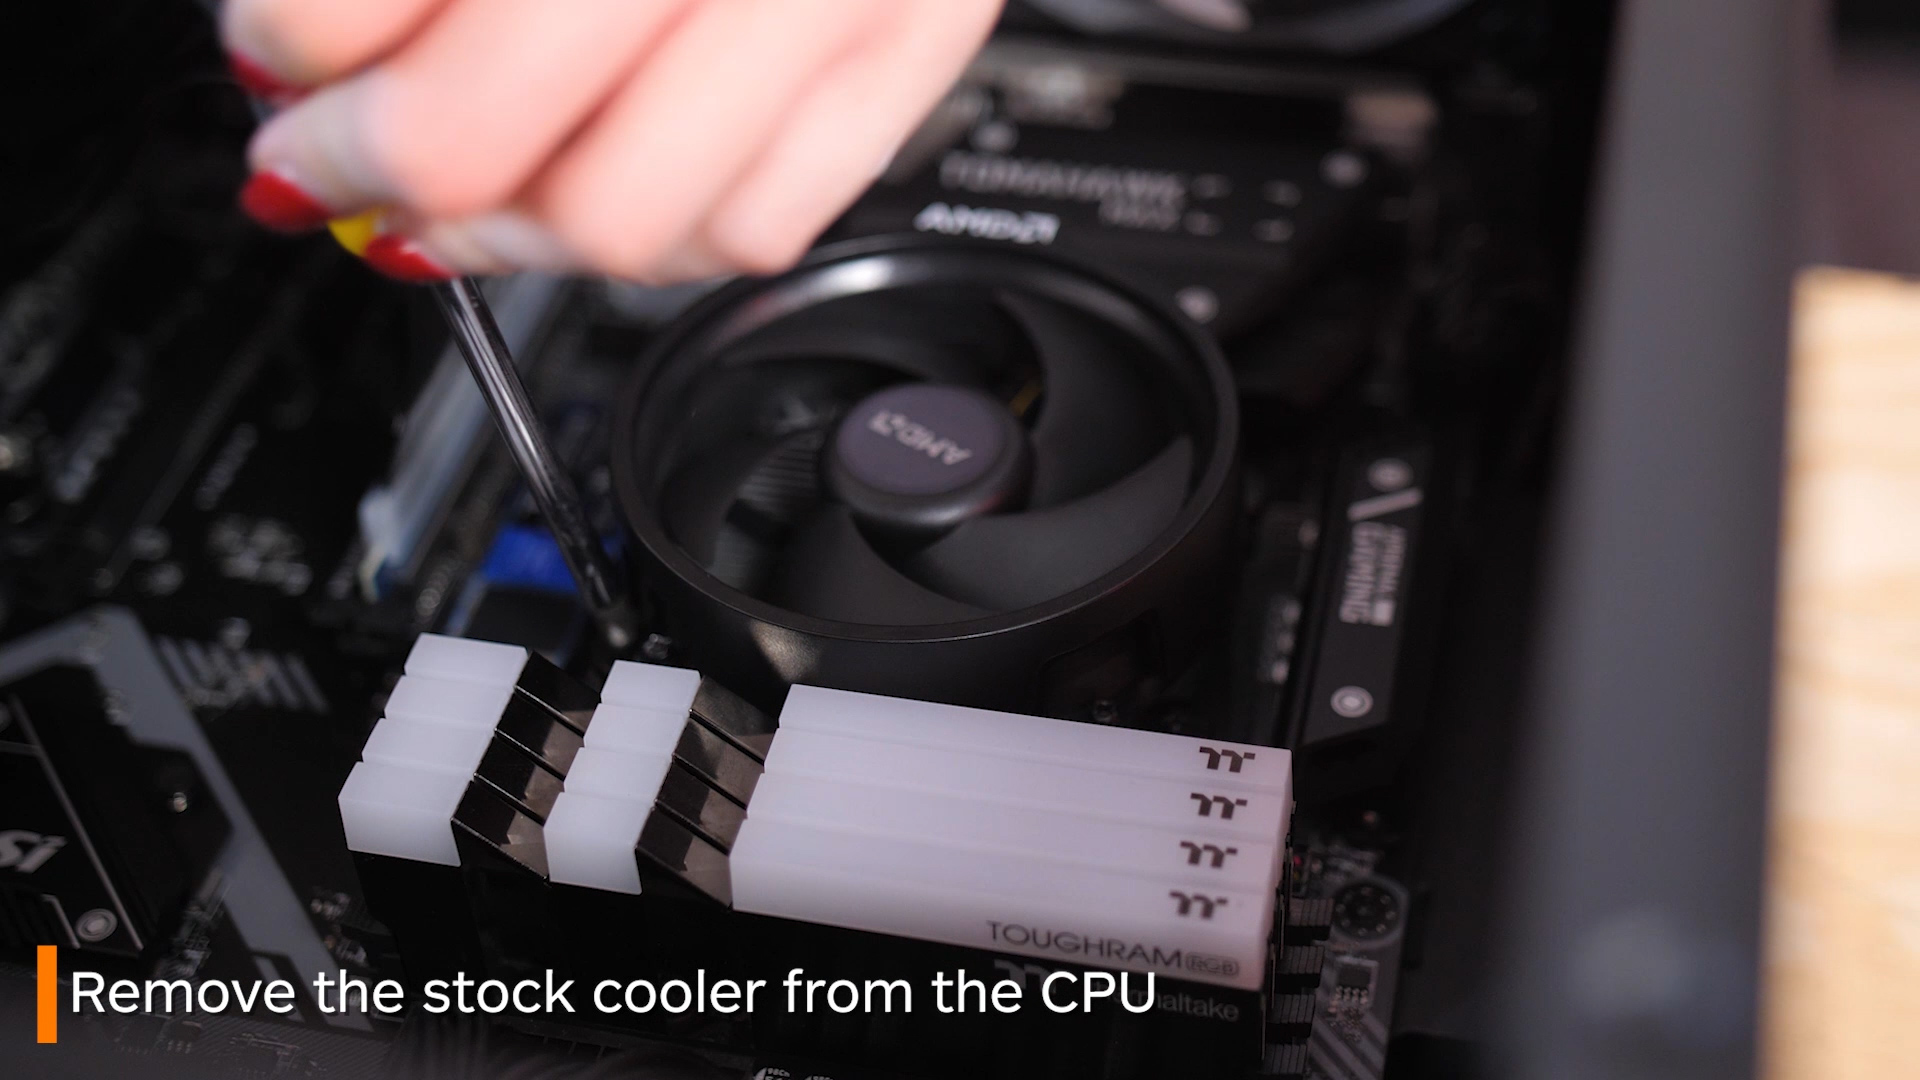
Now lie the system flat. Your next step will be to remove the stock cooler by loosening the screws which hold it in place.
-
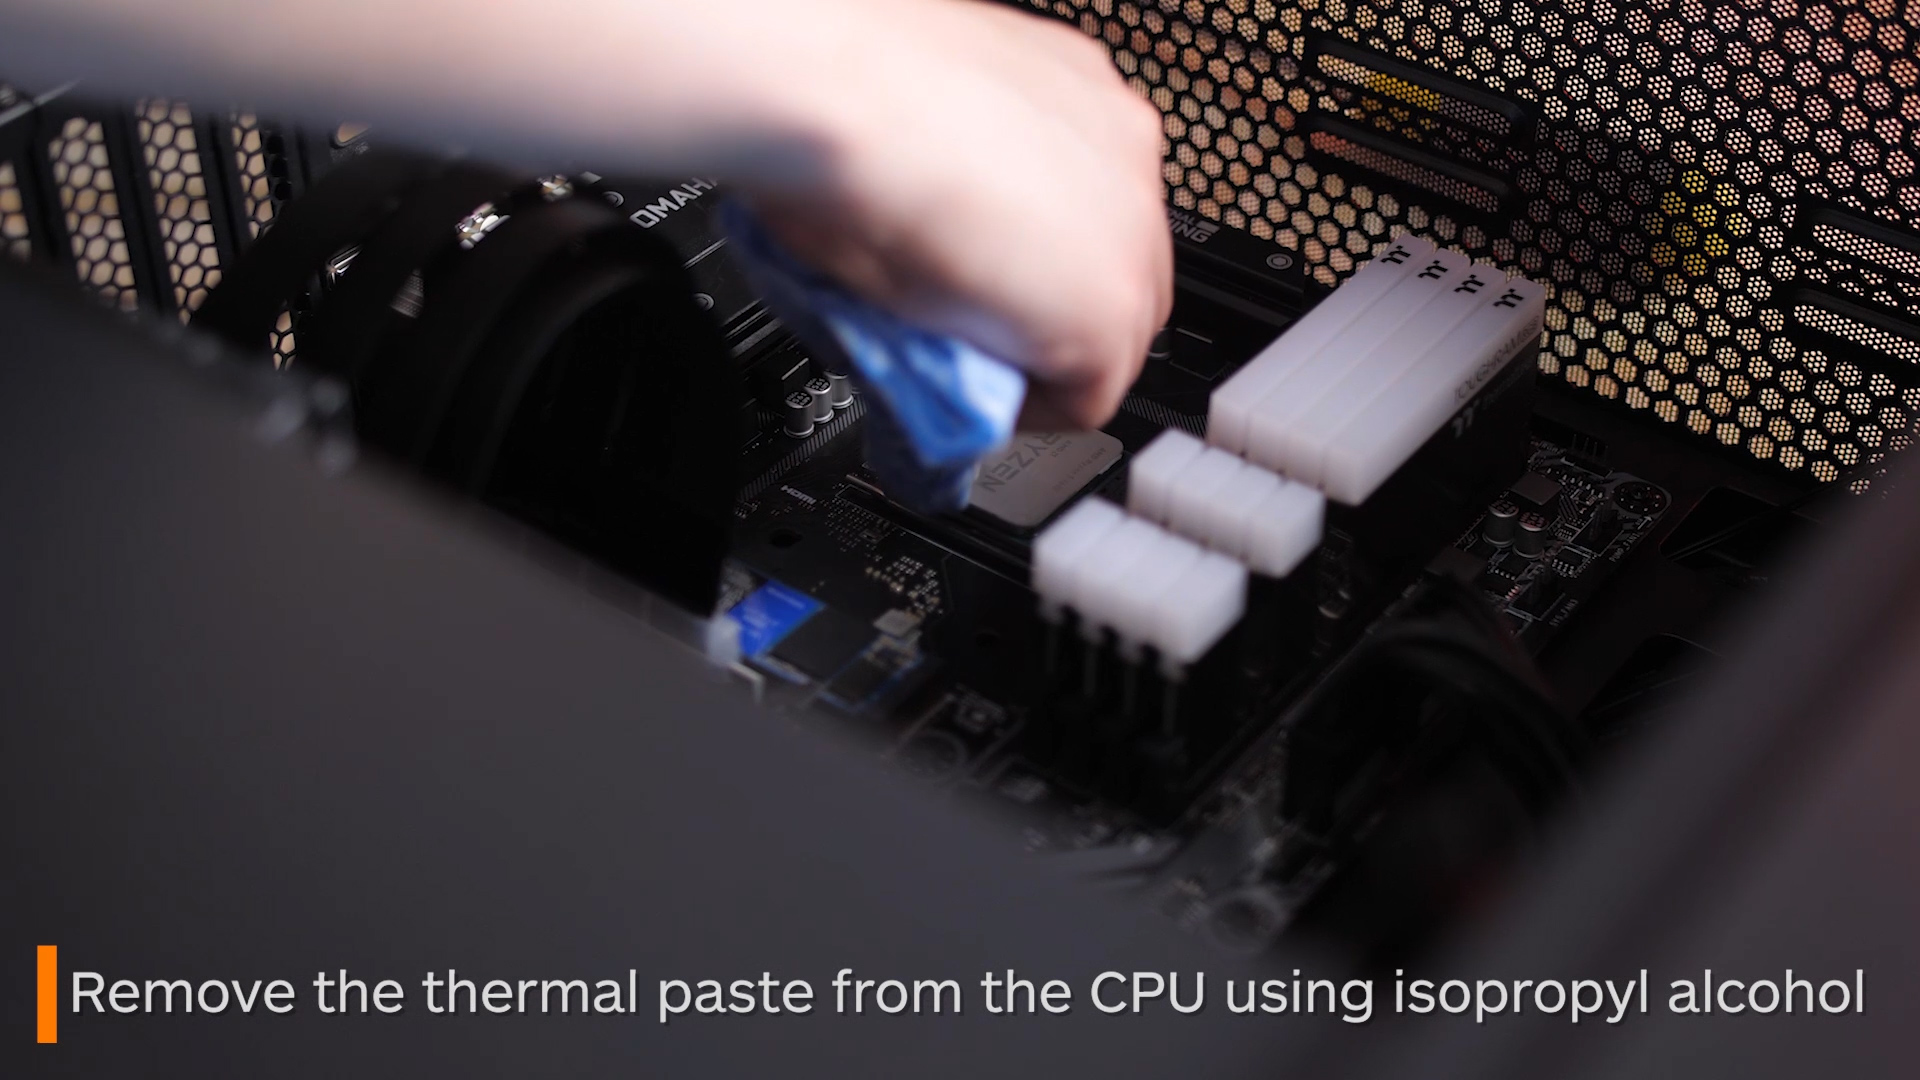
Next, use something like isopropyl alcohol and a cloth to remove all the old thermal paste from the CPU.
-
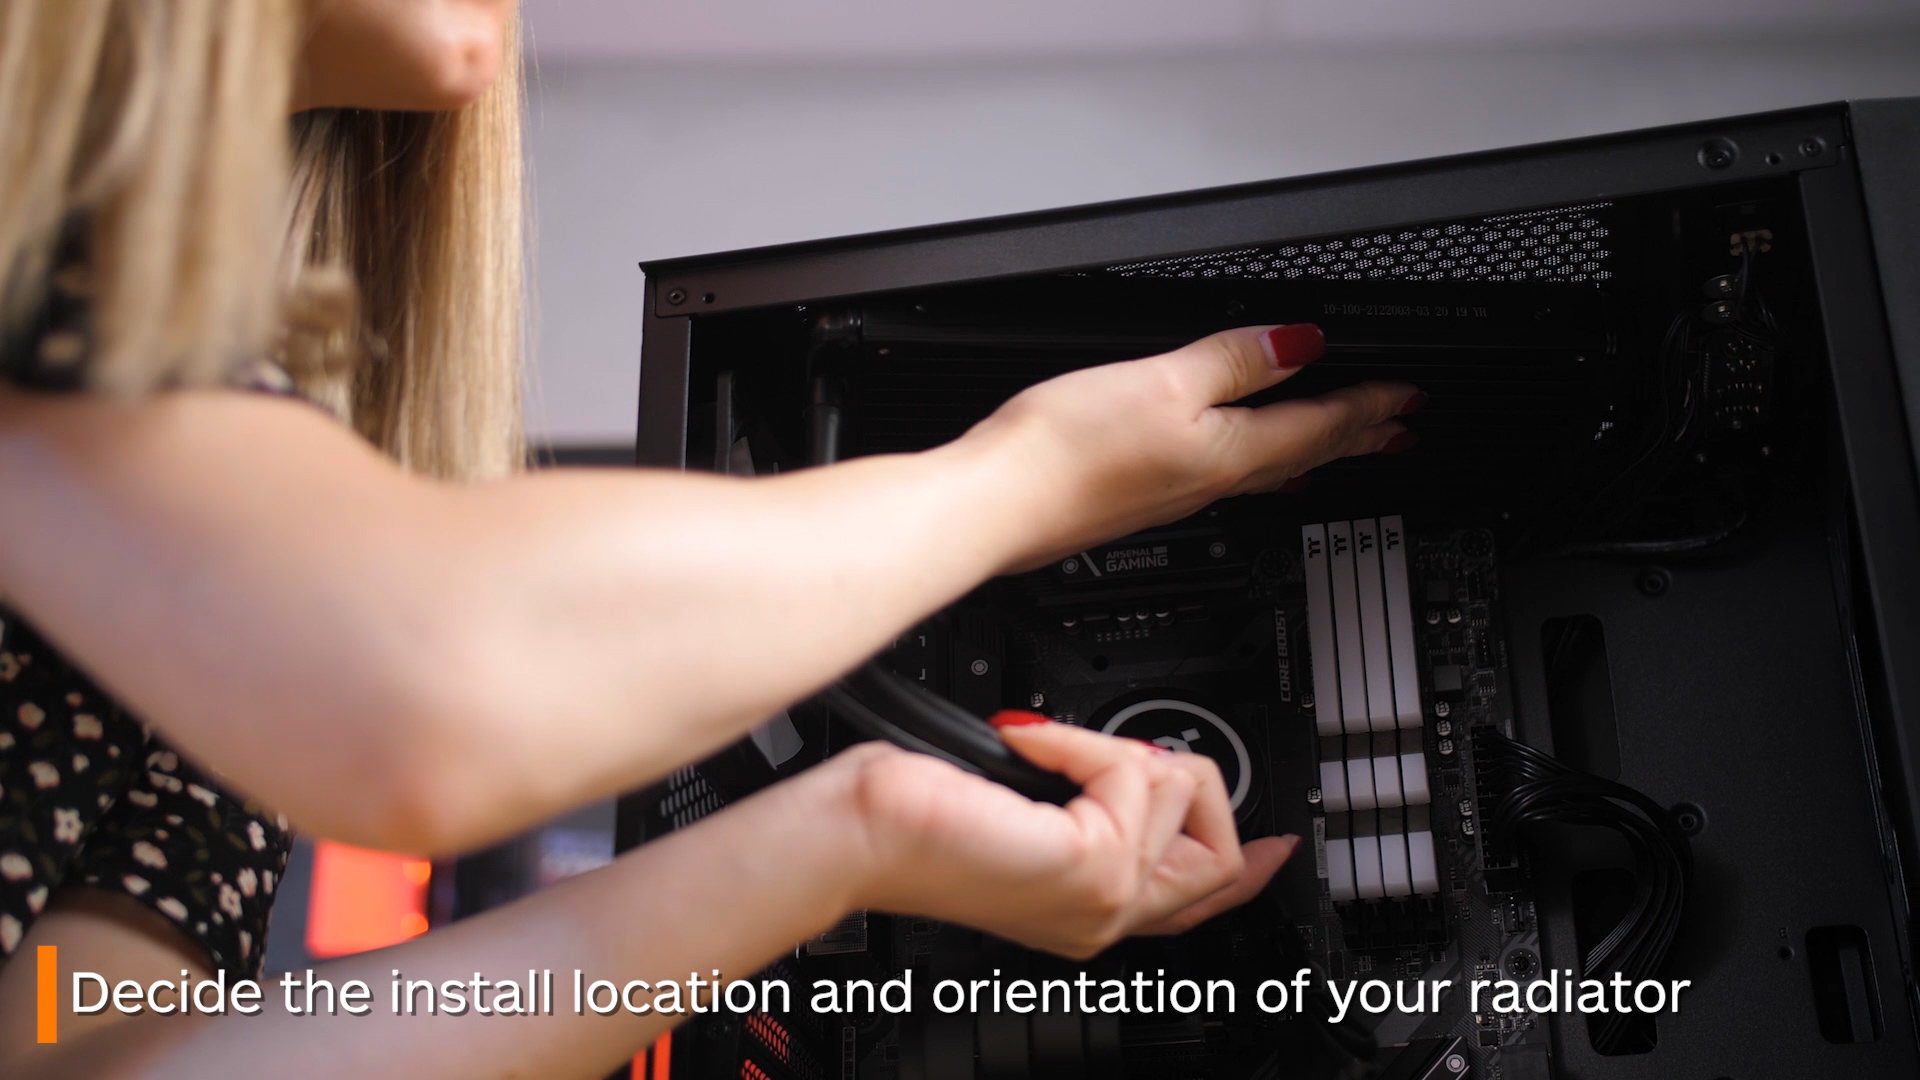
The order of these next few sections is somewhat down to personal preference, but we think it best to start with placing the fans onto the radiator. First, determine which direction you want your fan cables to face, as you want them to travel the least amount of distance out to the back of your case to eventually plug in. You also want to decide which direction you want your AIO’s tubes to run to the water block. Usually you want to keep them out of the way and ensure it won’t clash with your back exhaust fan.
-
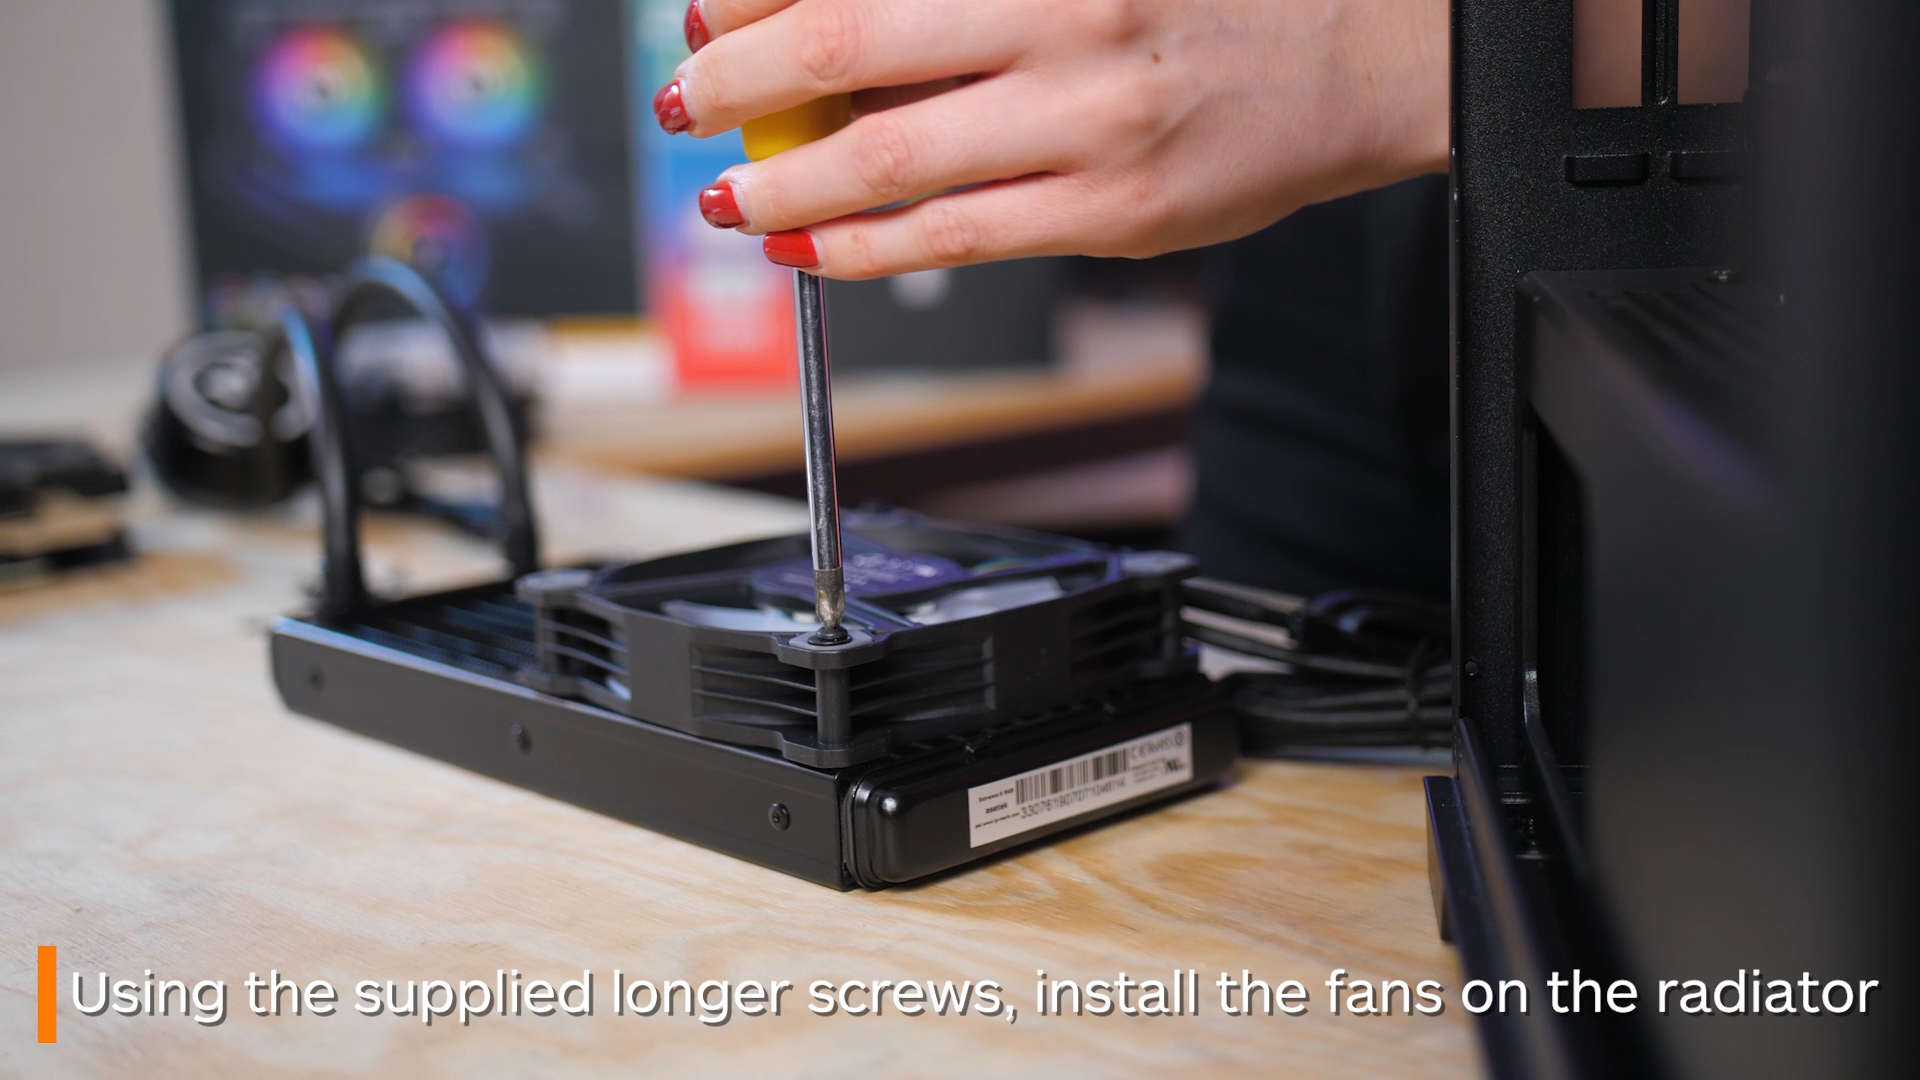
Now using the supplied longer screws, begin to screw in the fans. Once both fans are secure, it’s time to move onto the water block.
-
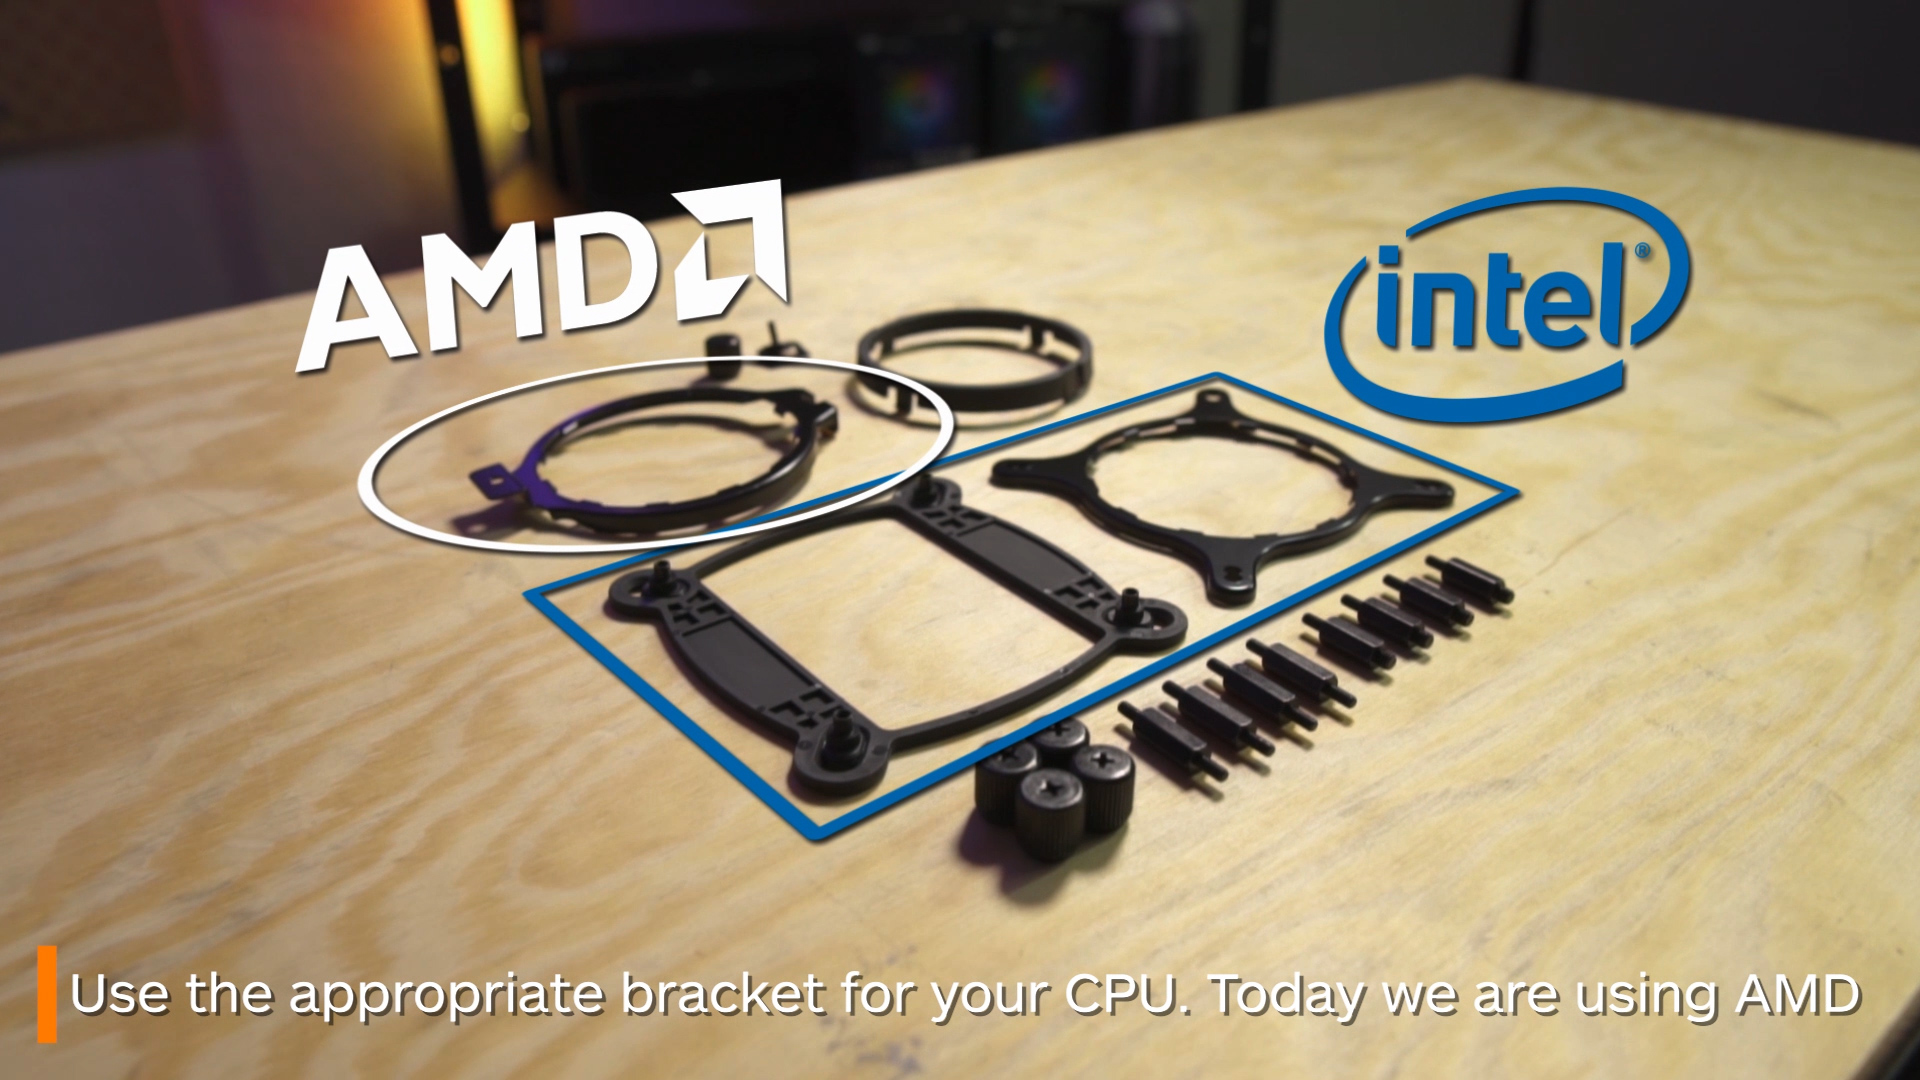
This is where things will differ for you depending on your CPU and motherboard. Consult with your installation guide to determine which bracket to use. If yours is an AM4 socket like ours, you’re going to want to go with the circular bracket as shown.
-
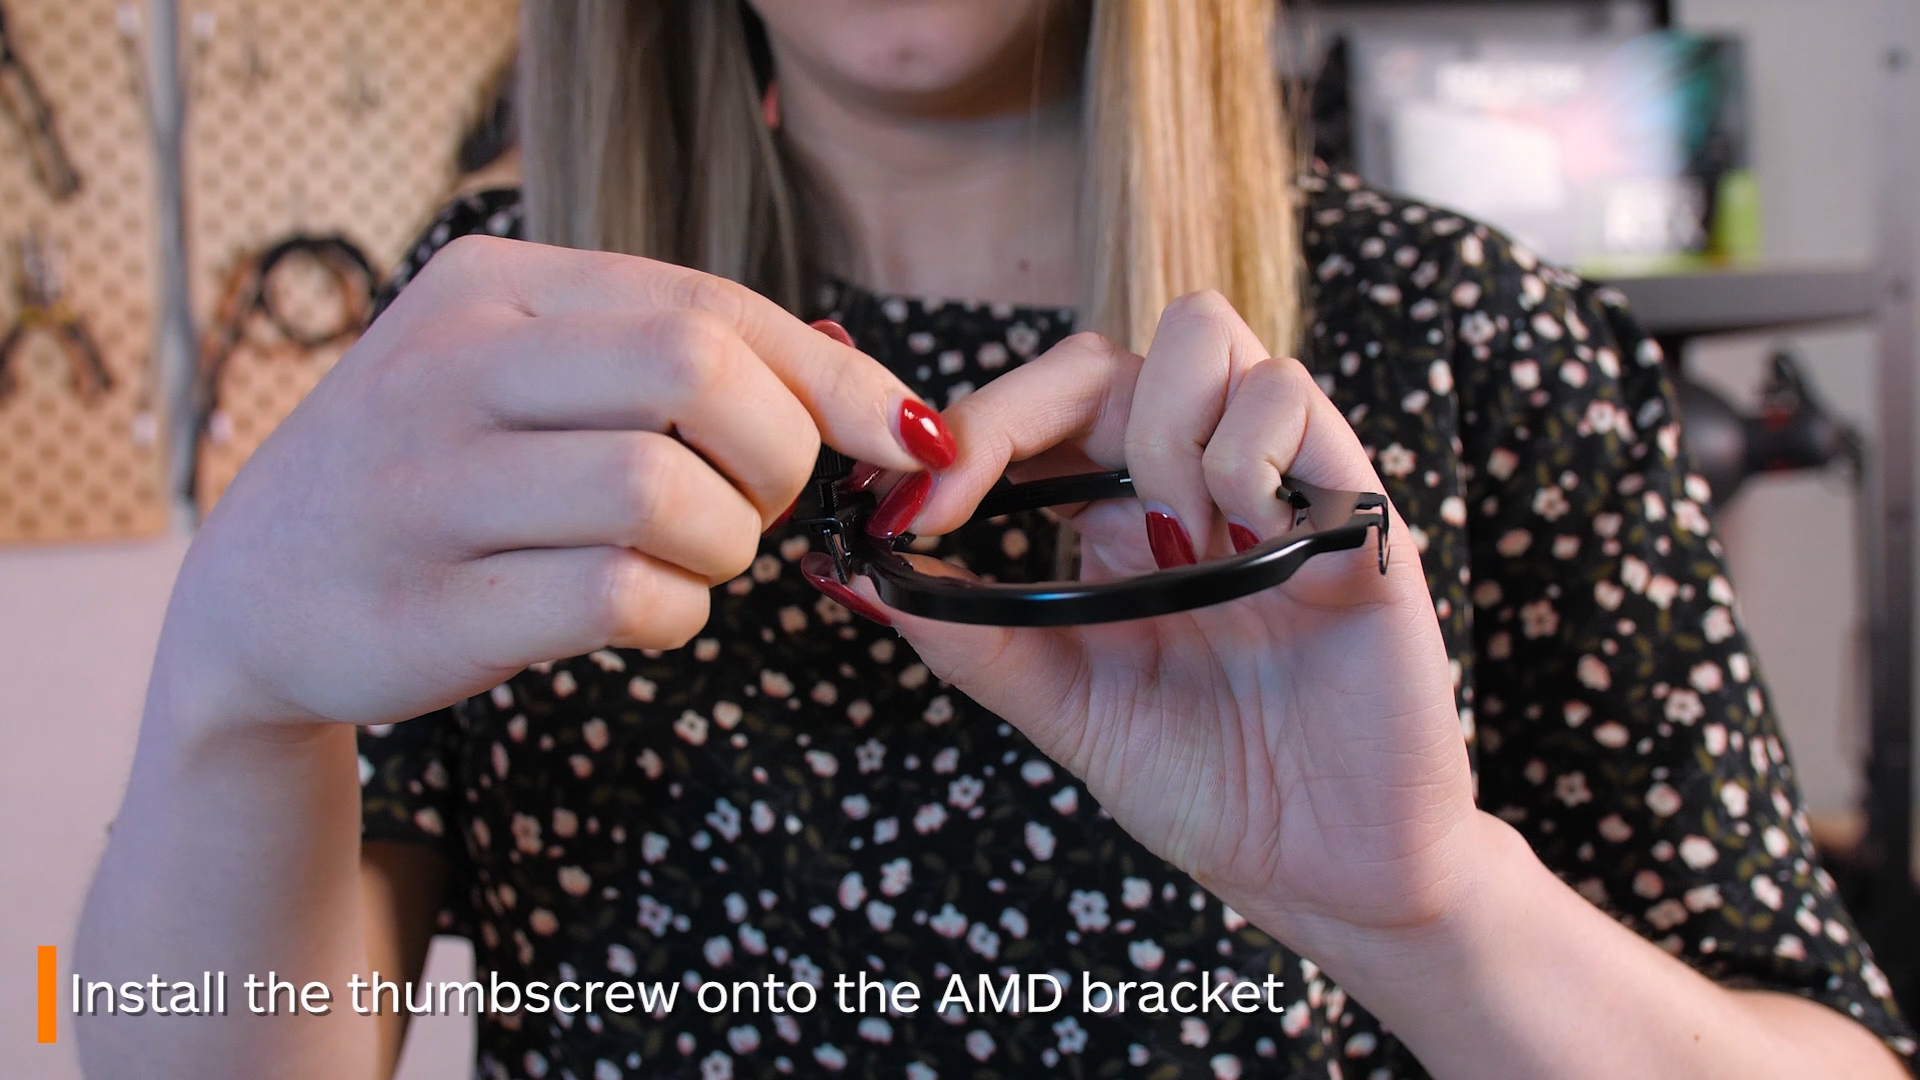
First place this thumbscrew through the upward part of the first bracket and then screw it into the loop. A good idea is to only do it up halfway, as the slack will be a lifesaver later. Thread this over the water block, ensuring the screwed-on side is at the top. Once again, this will be important later!
-
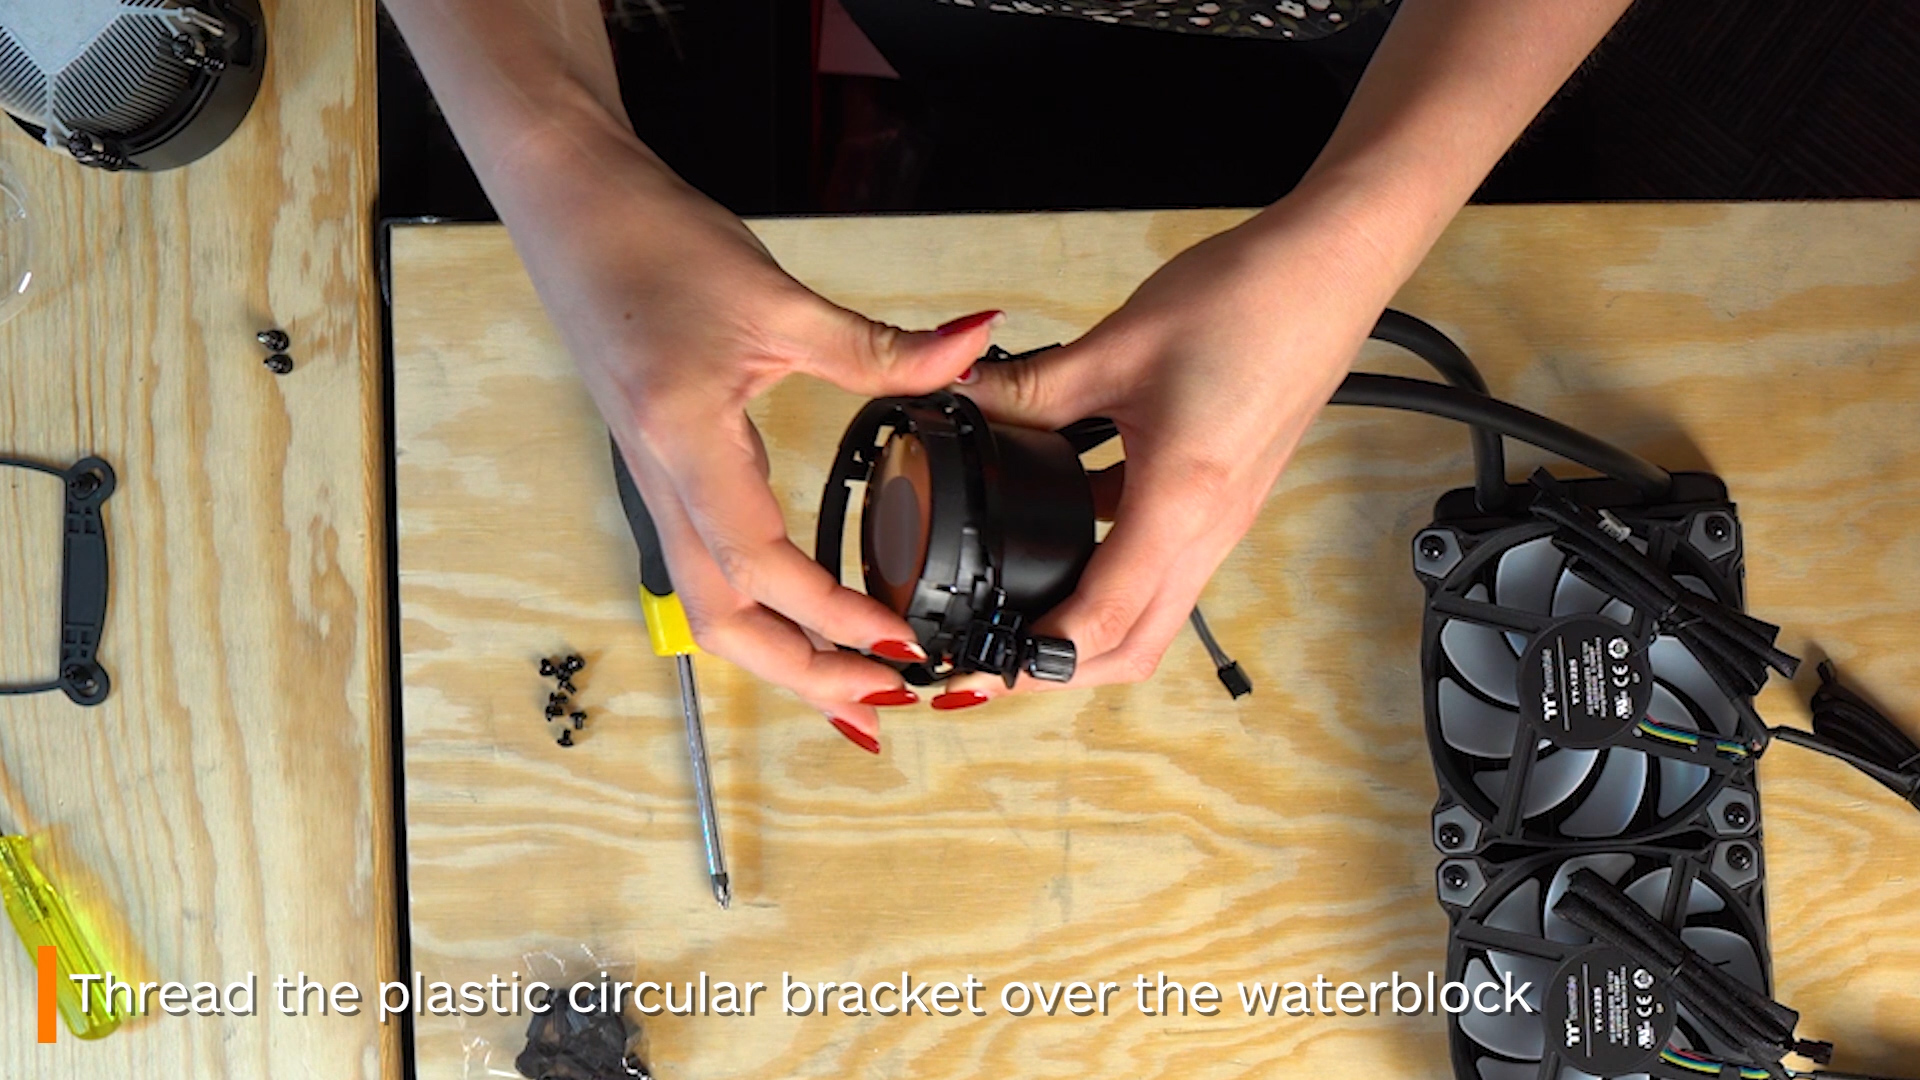
Ensure that all the little cut out sections around the bracket are lined up with the corresponding ones on the water block itself.
-
Next, grab the circular bracket and thread that over the water block too.
-
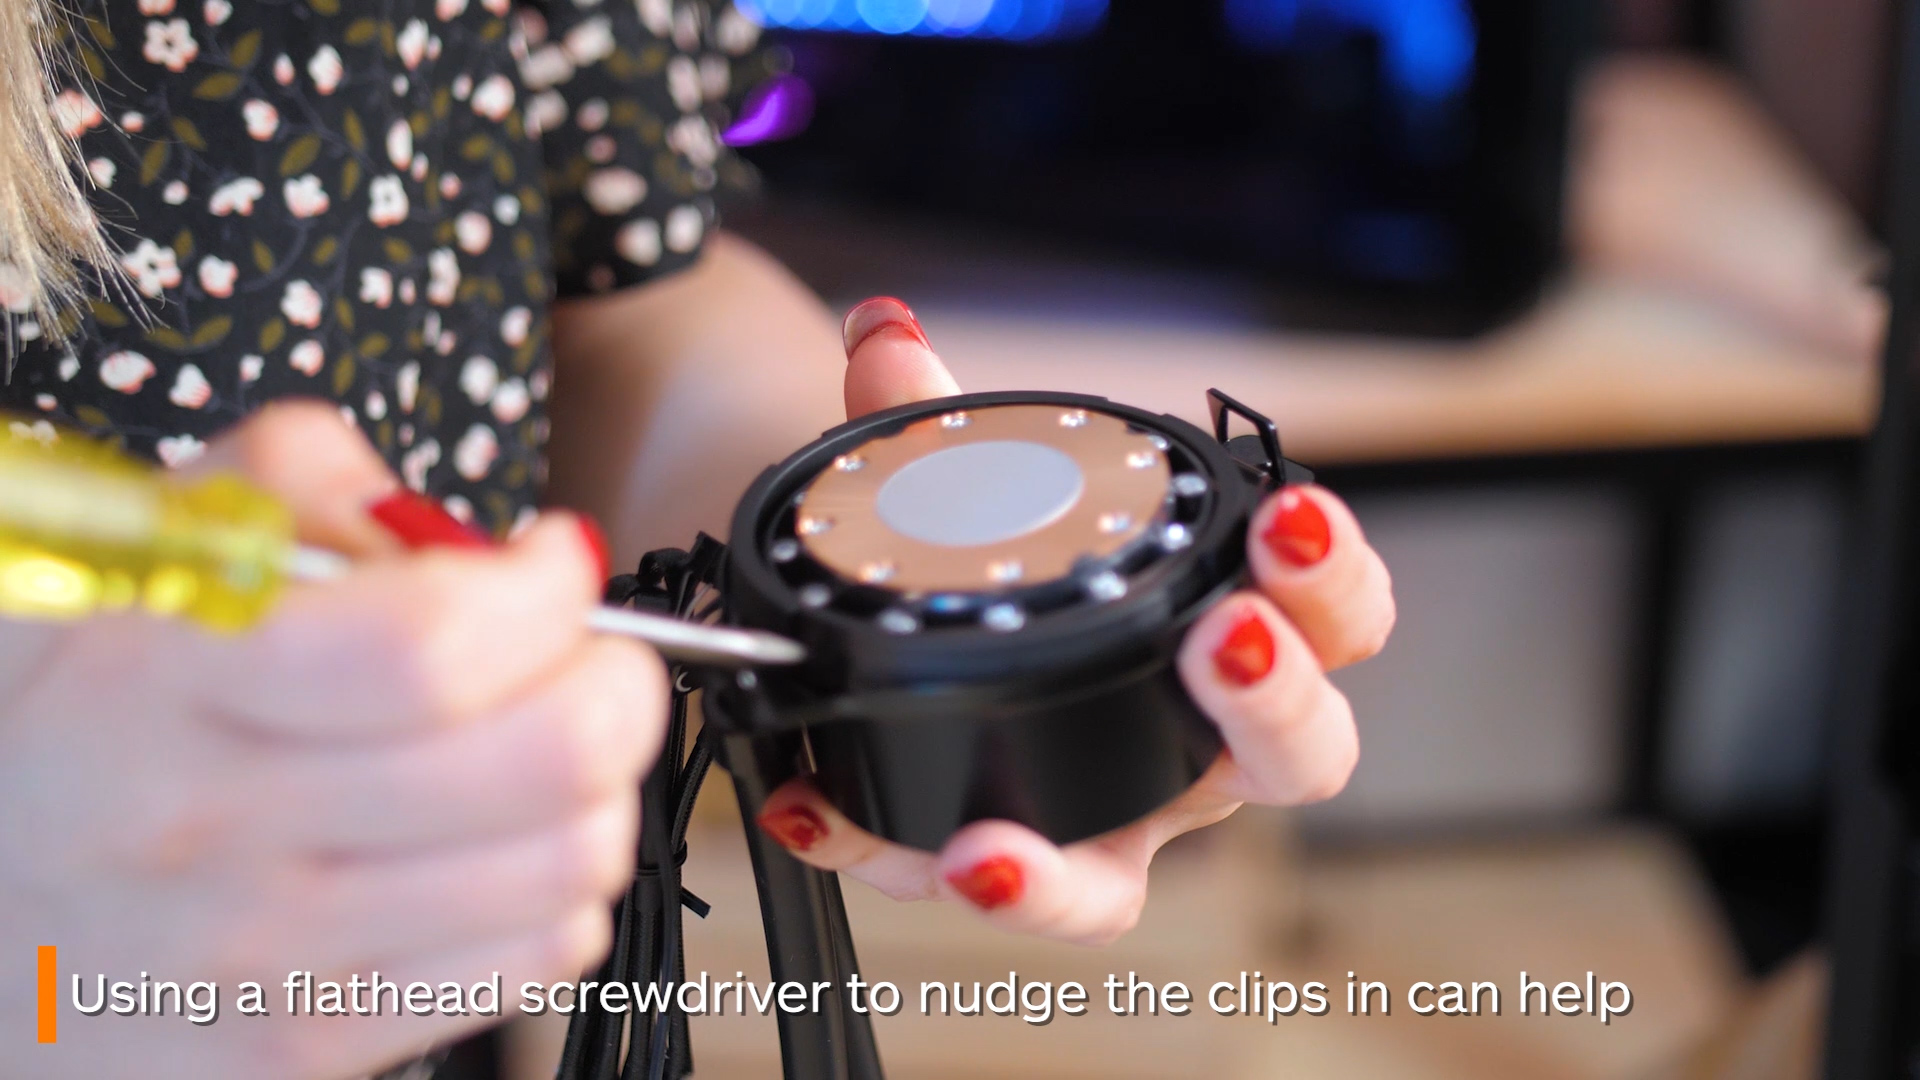
Now this is where the fun/pain begins! You must line up the four sections with the first bracket and tuck them under it. Don’t be worried if this takes a little while and causes a lot of frustration. A pro tip is to grab a flat head screwdriver and use that to help nudge them under, as they can be super finnicky. You will be able to tell once all four have slid under properly, as the brackets will be fixed in place around the water block.
-
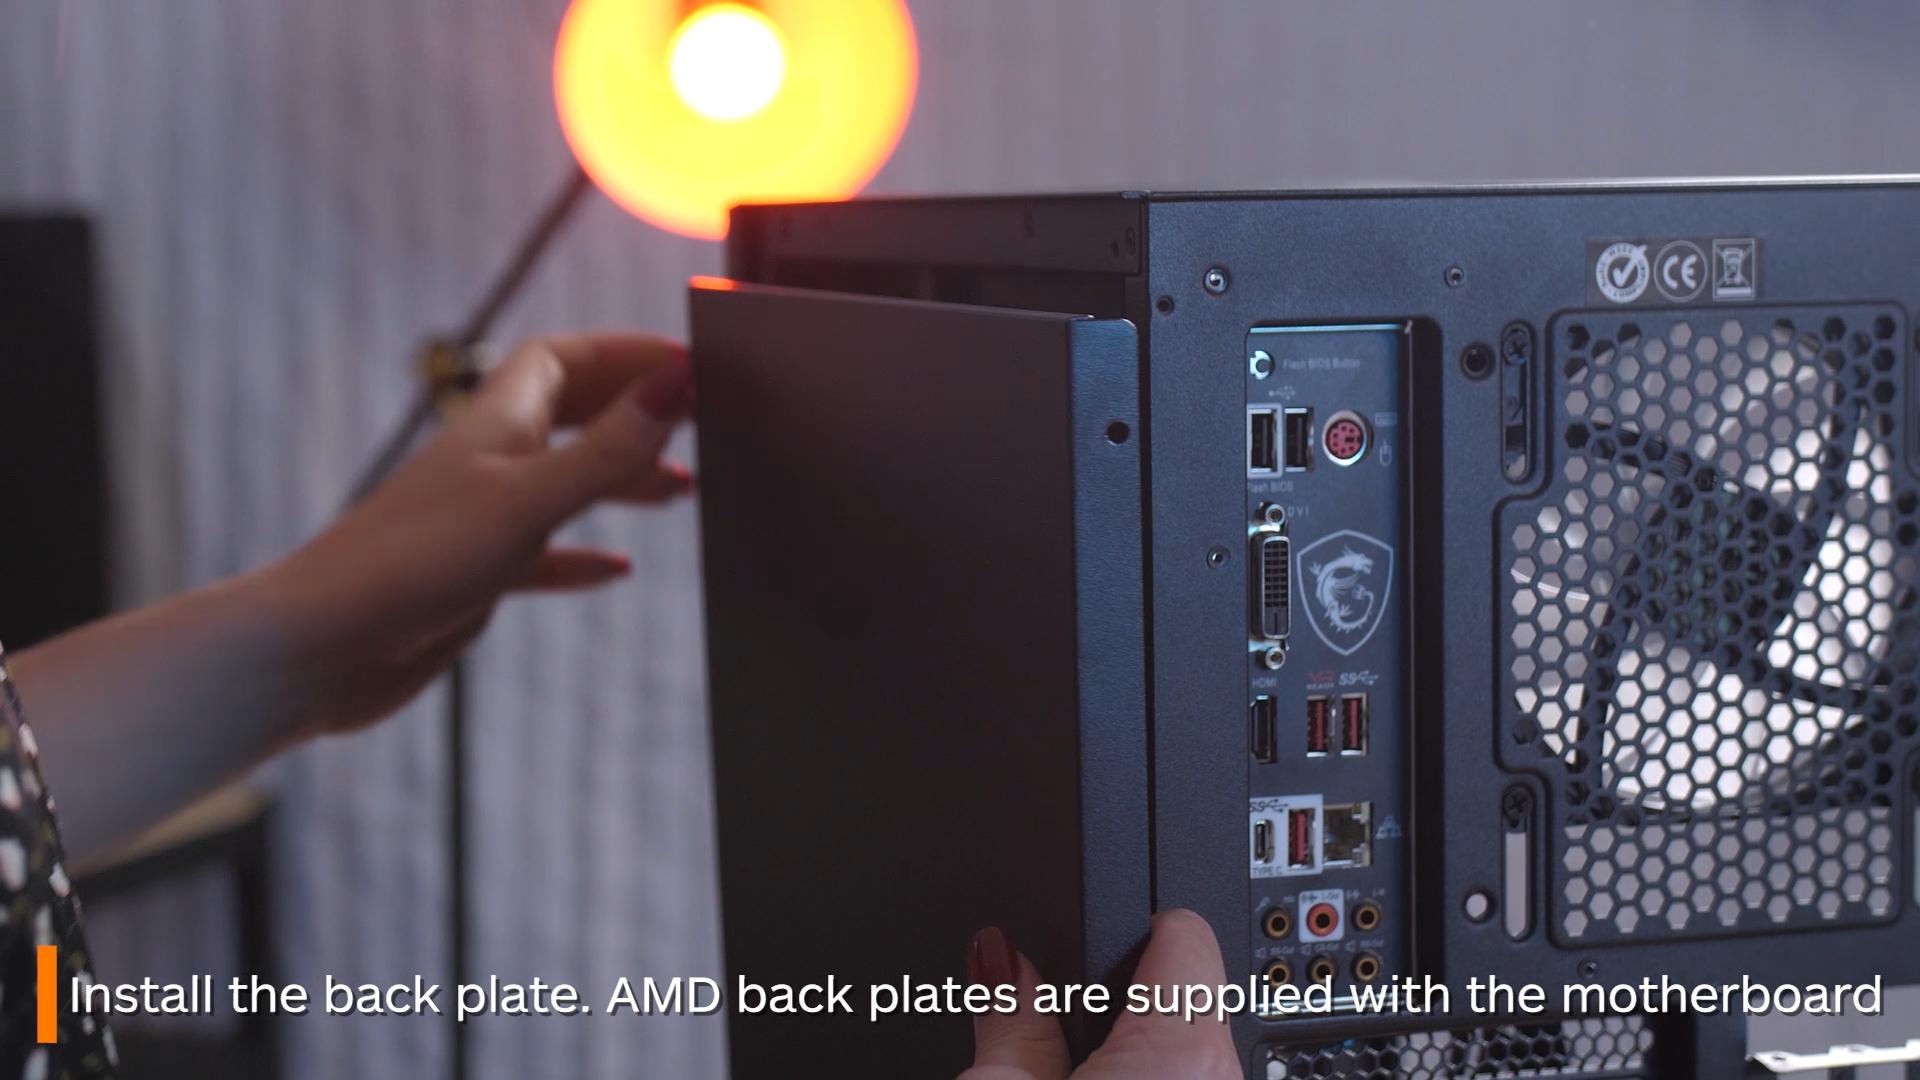
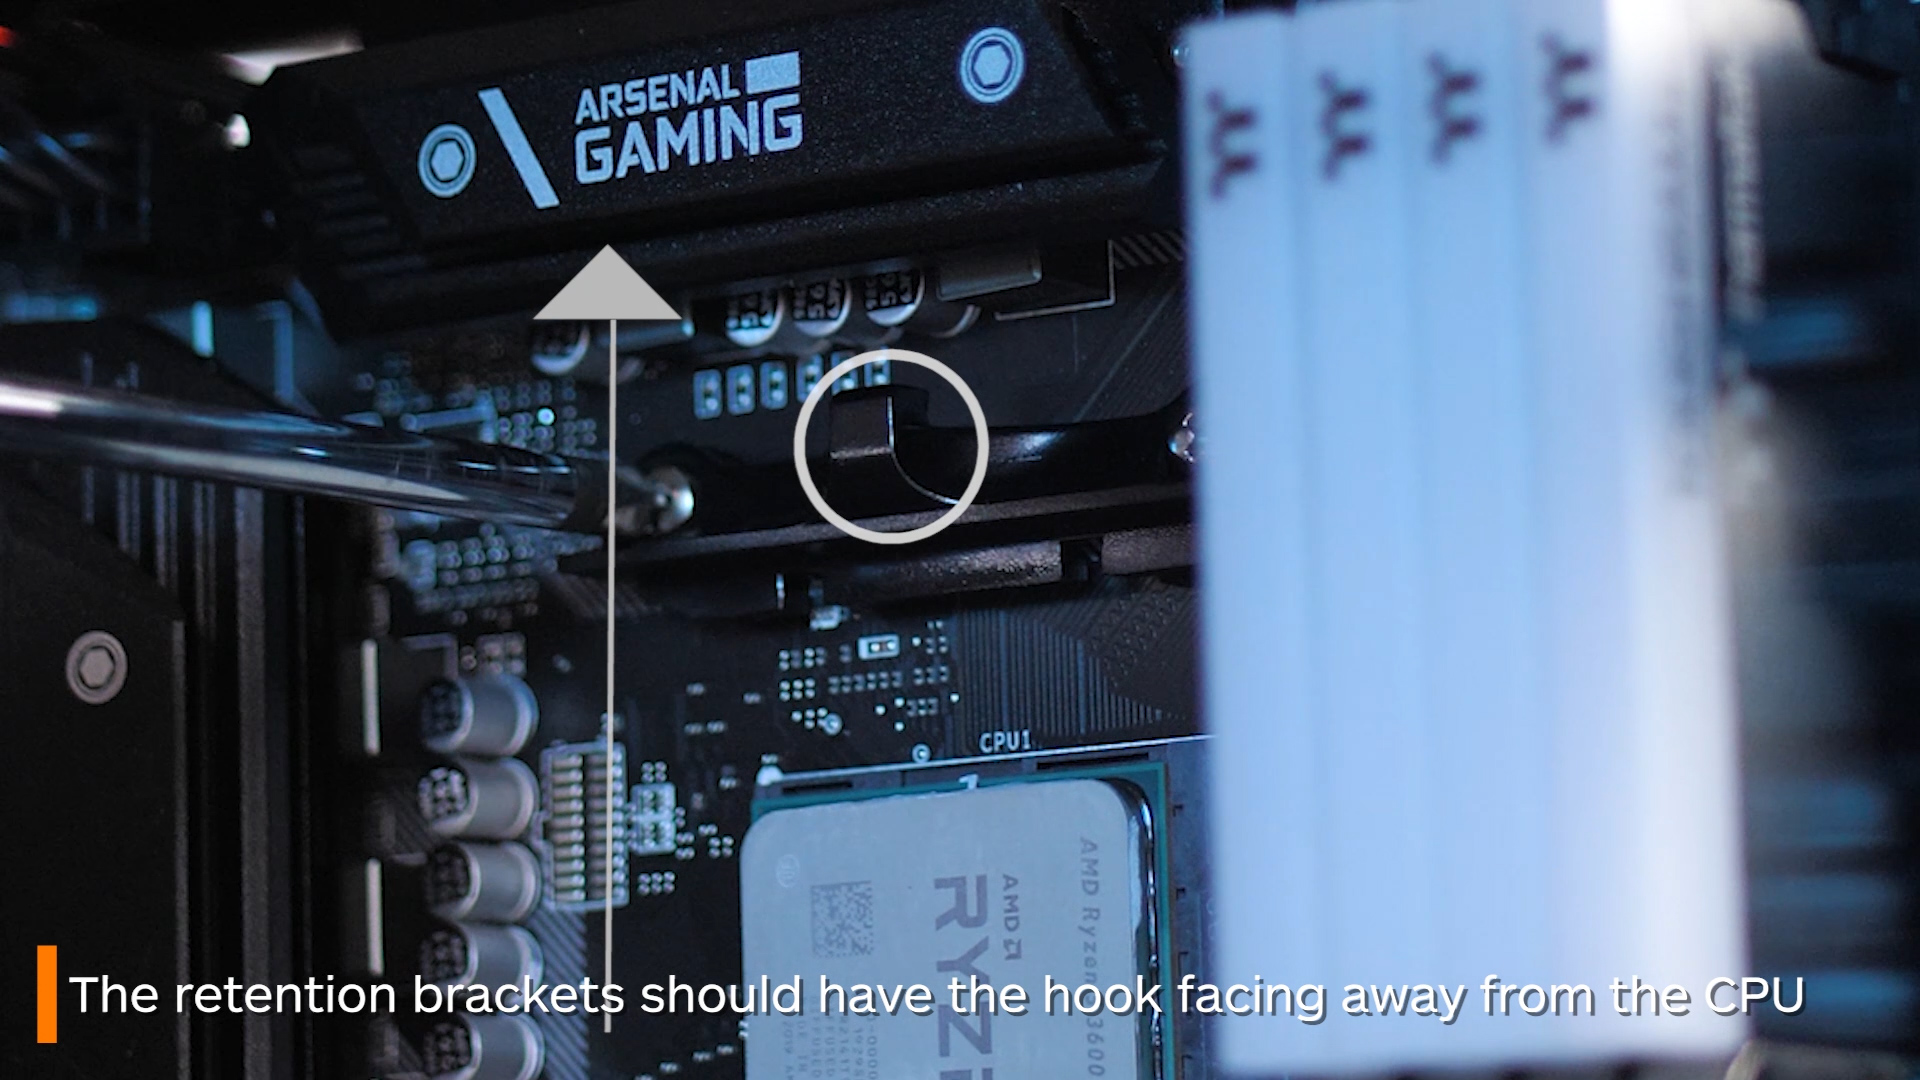
Now that nightmare is over, we’re taking off the back panel of the case to put on the back bracket, which came out when removing the original stock cooler. You might not have to do this, but if you do, just remember that the brackets on the front need to be pointing away from the CPU.
-
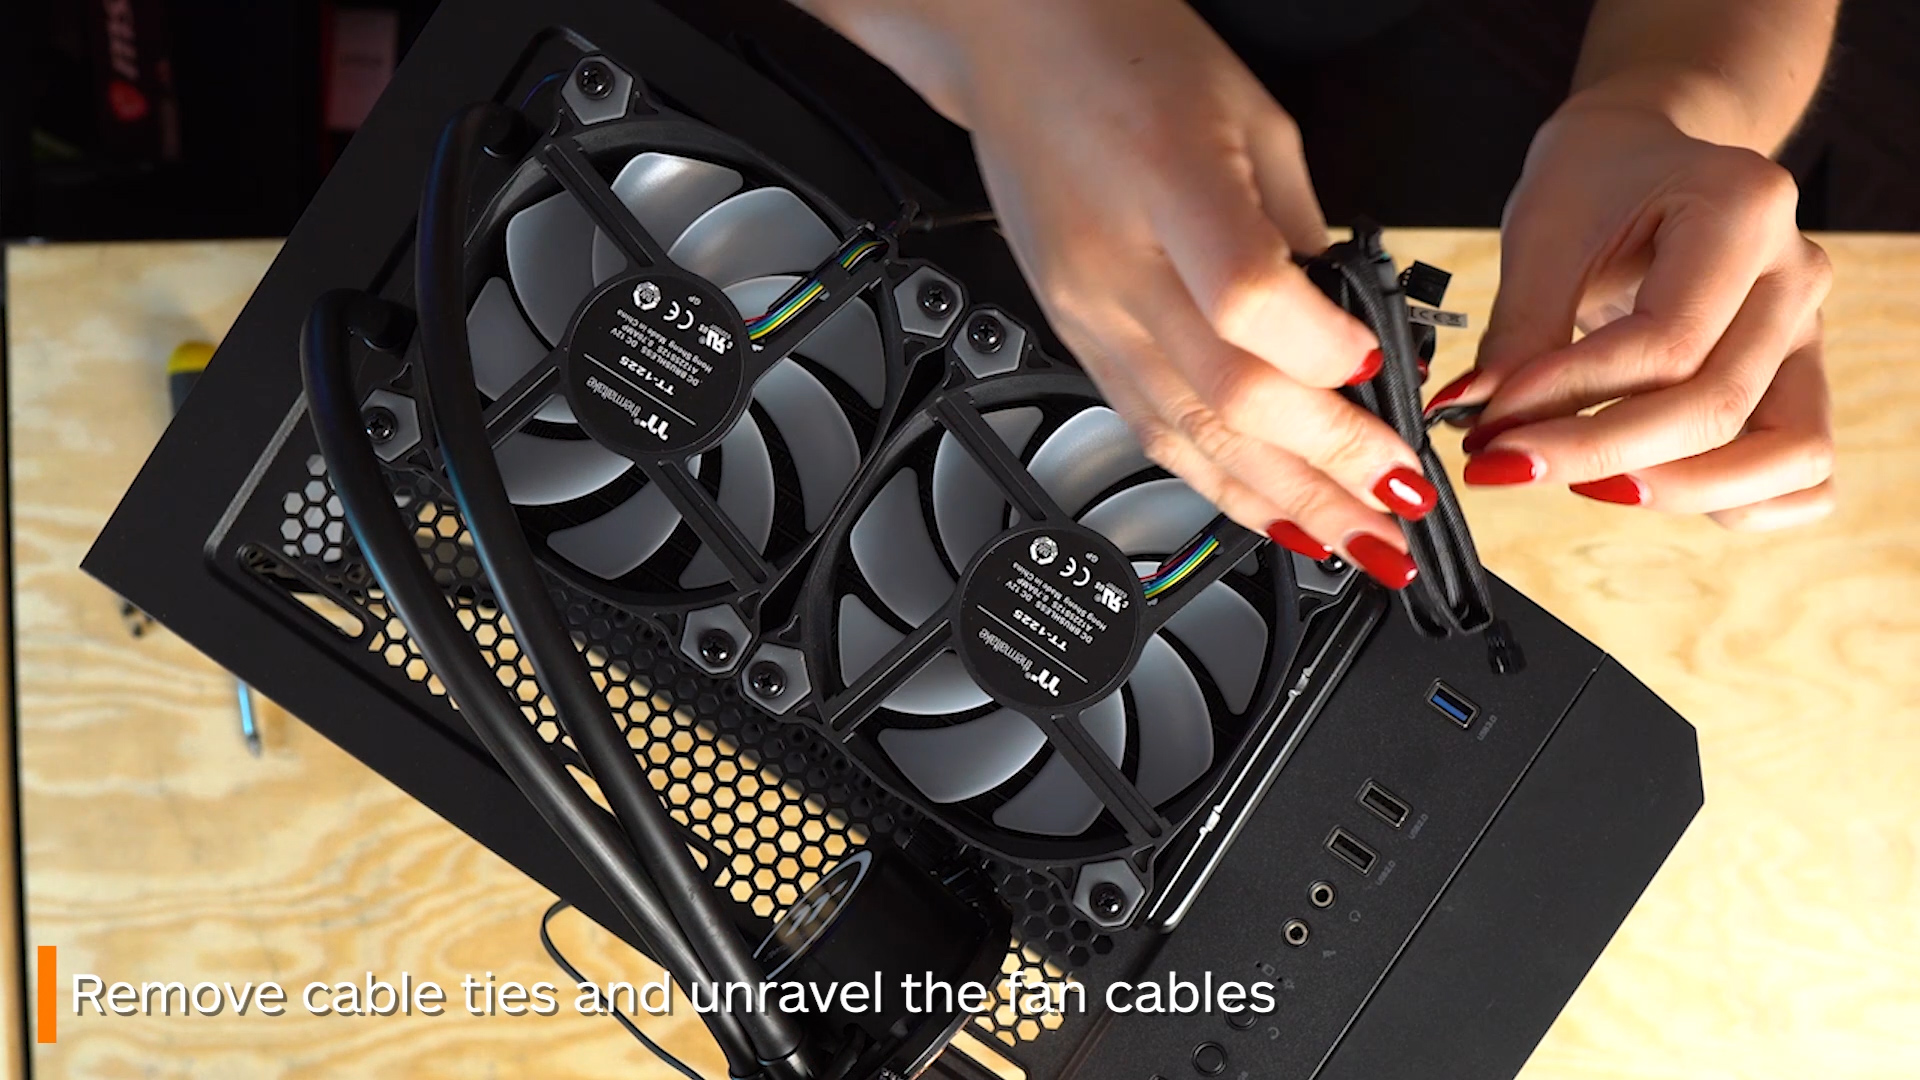
So now it’s time for the actual installation. If you haven’t already, release all the many wires from their cable ties. Figure out exactly where you want your radiator to eventually sit, as well as thinking about the easiest path for your wires to travel out to the back of your case.
-
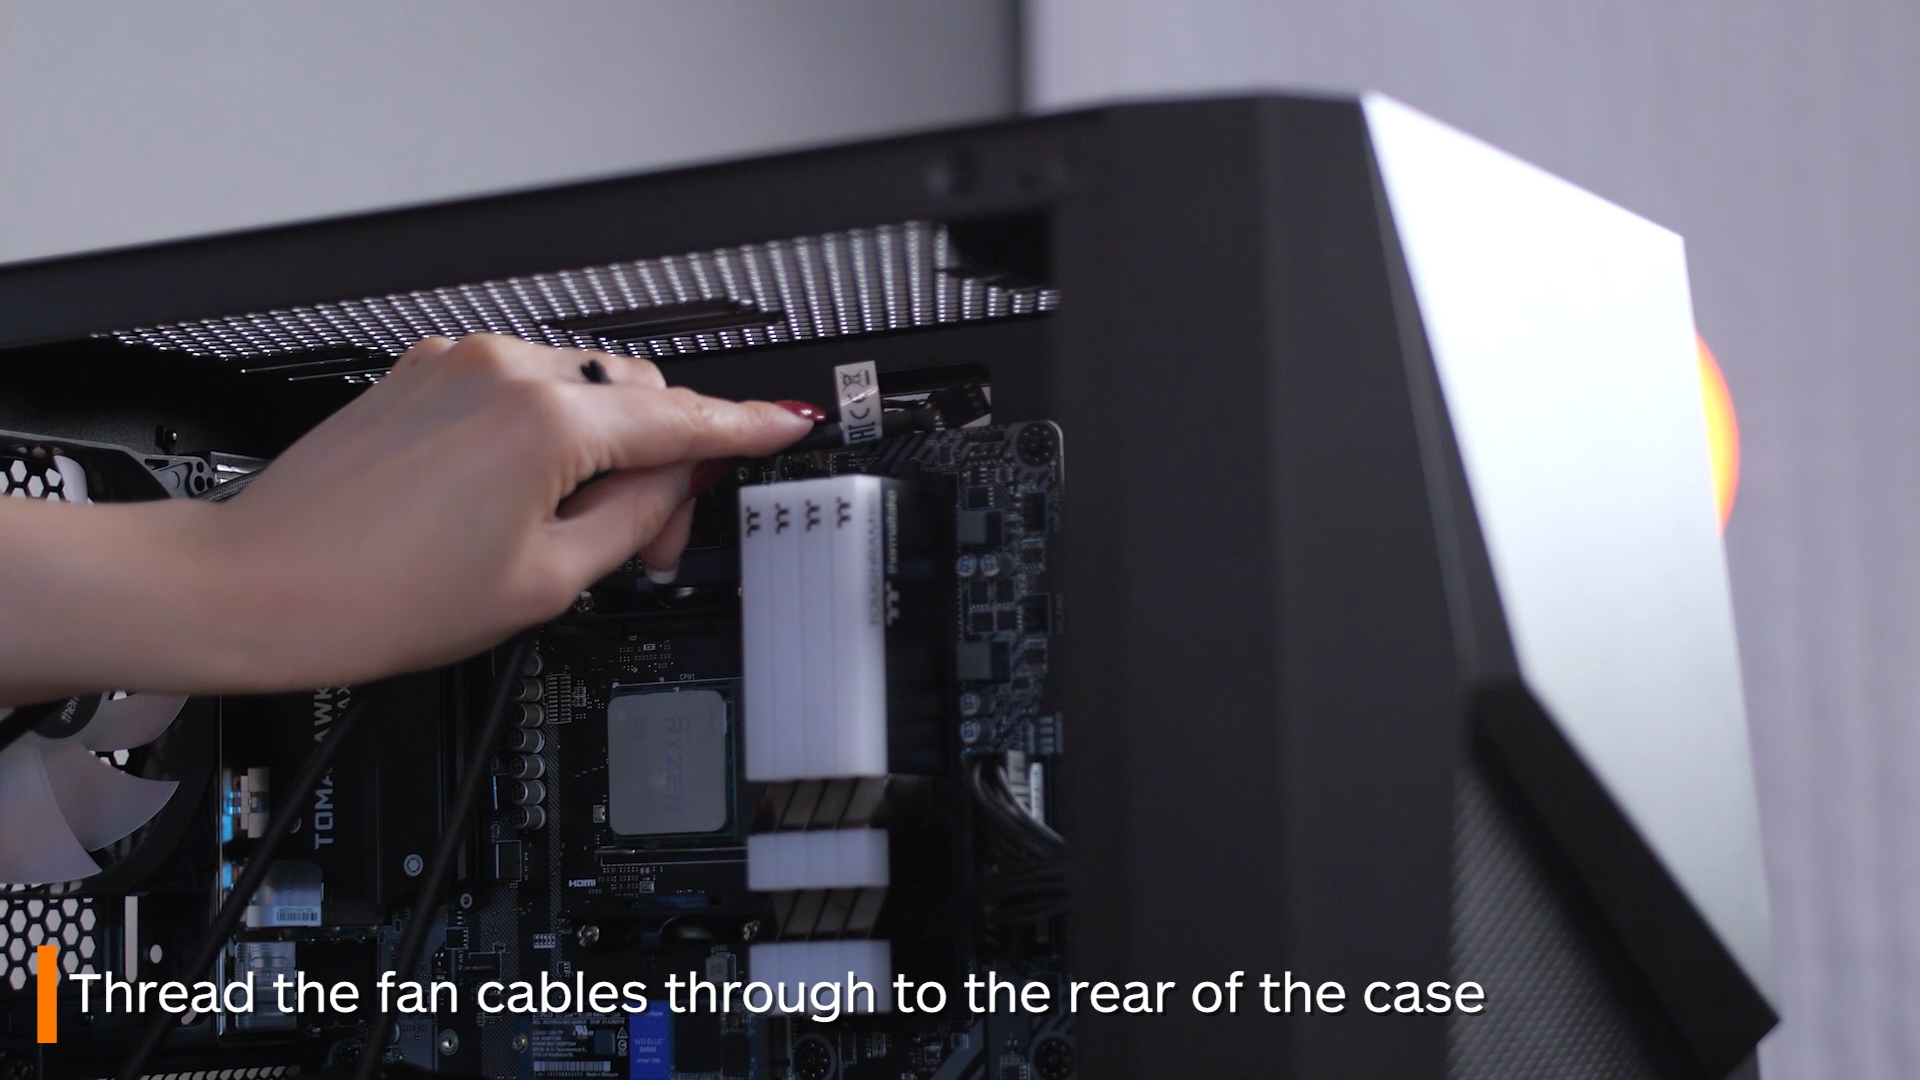
Thread all your wires through, and then basically follow the wires to move your radiator up to where you will mount it. Now, using the smaller screws, screw it in.
-
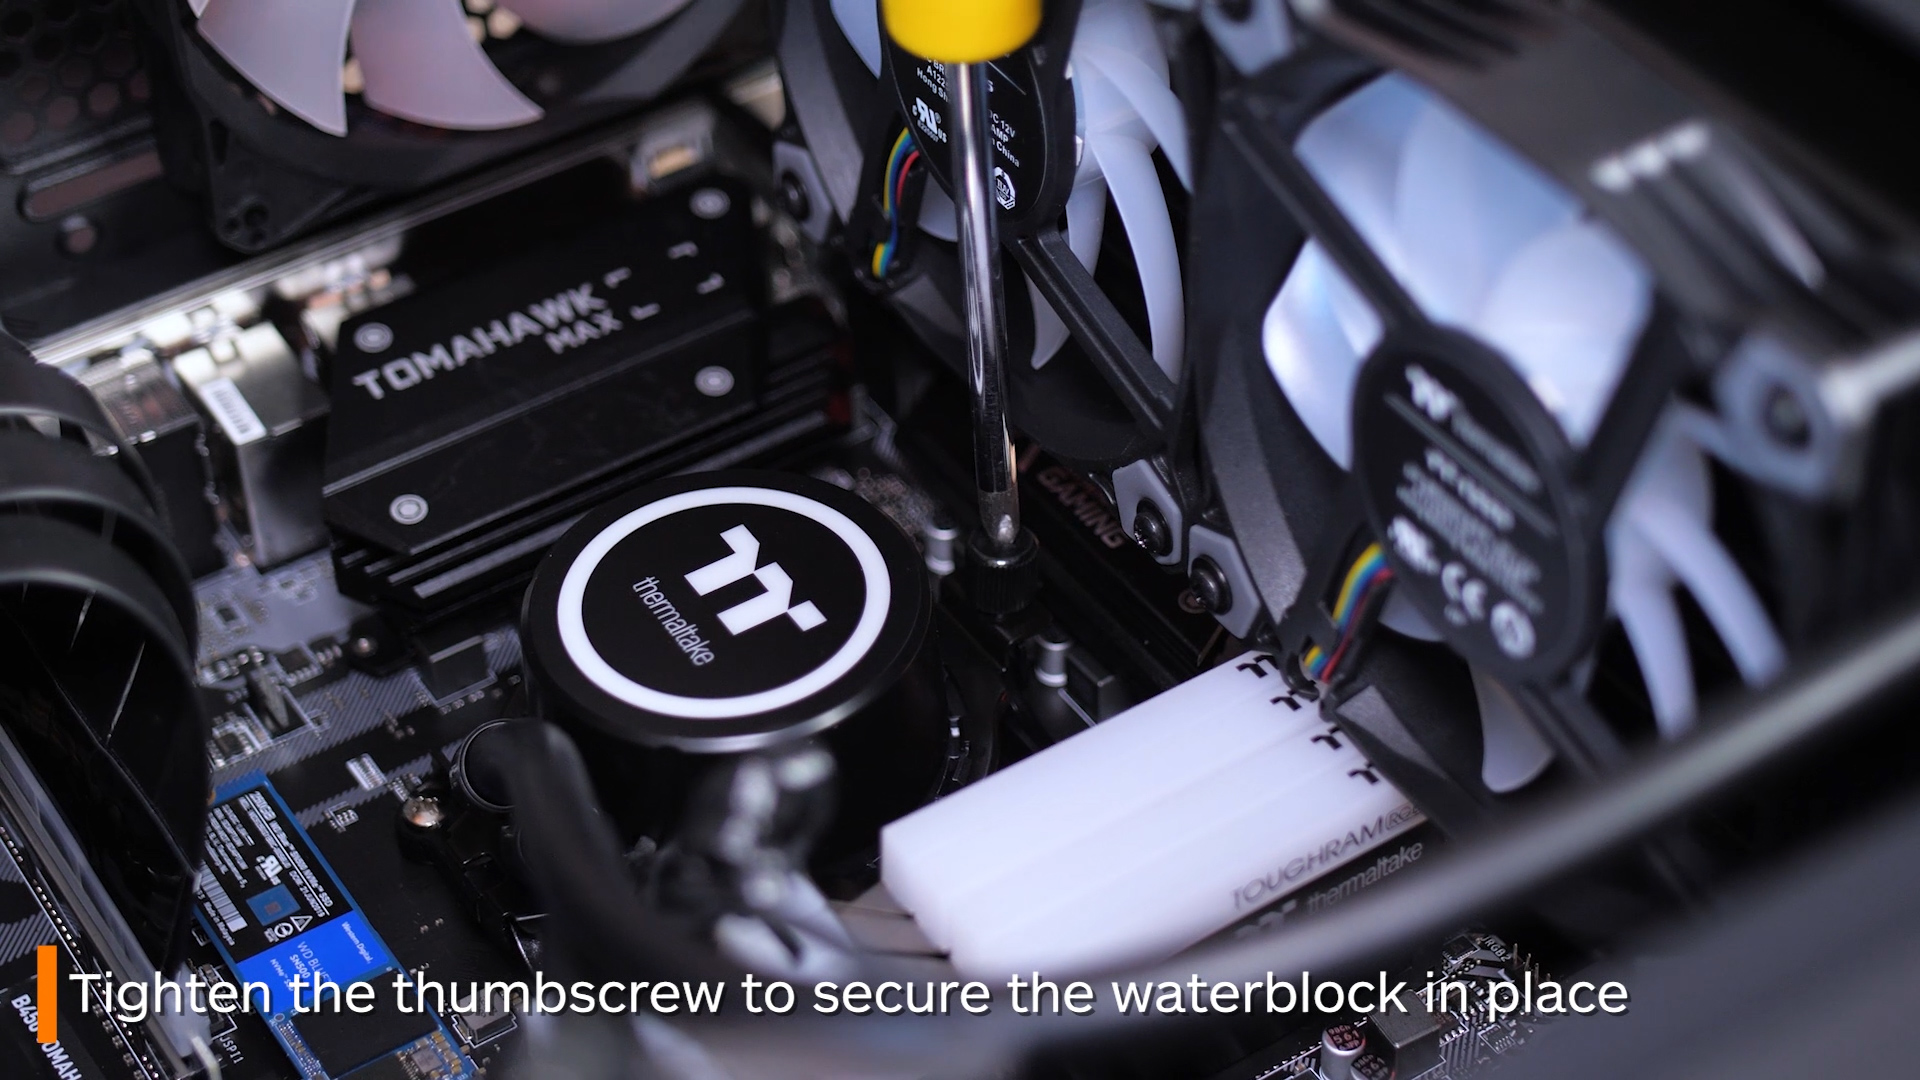
Lay your PC flat, as it’s time to put your water block on. There is no need to worry about thermal paste for any of our Thermaltake AIO’s, as they all come with it pre-applied. Bring your water block down over your CPU, hitching the bottom over the bracket that was installed earlier. You then do the same for the top. If you didn’t screw the thumbscrew all the way in earlier, hopefully this is easier for you that it may have been.
-
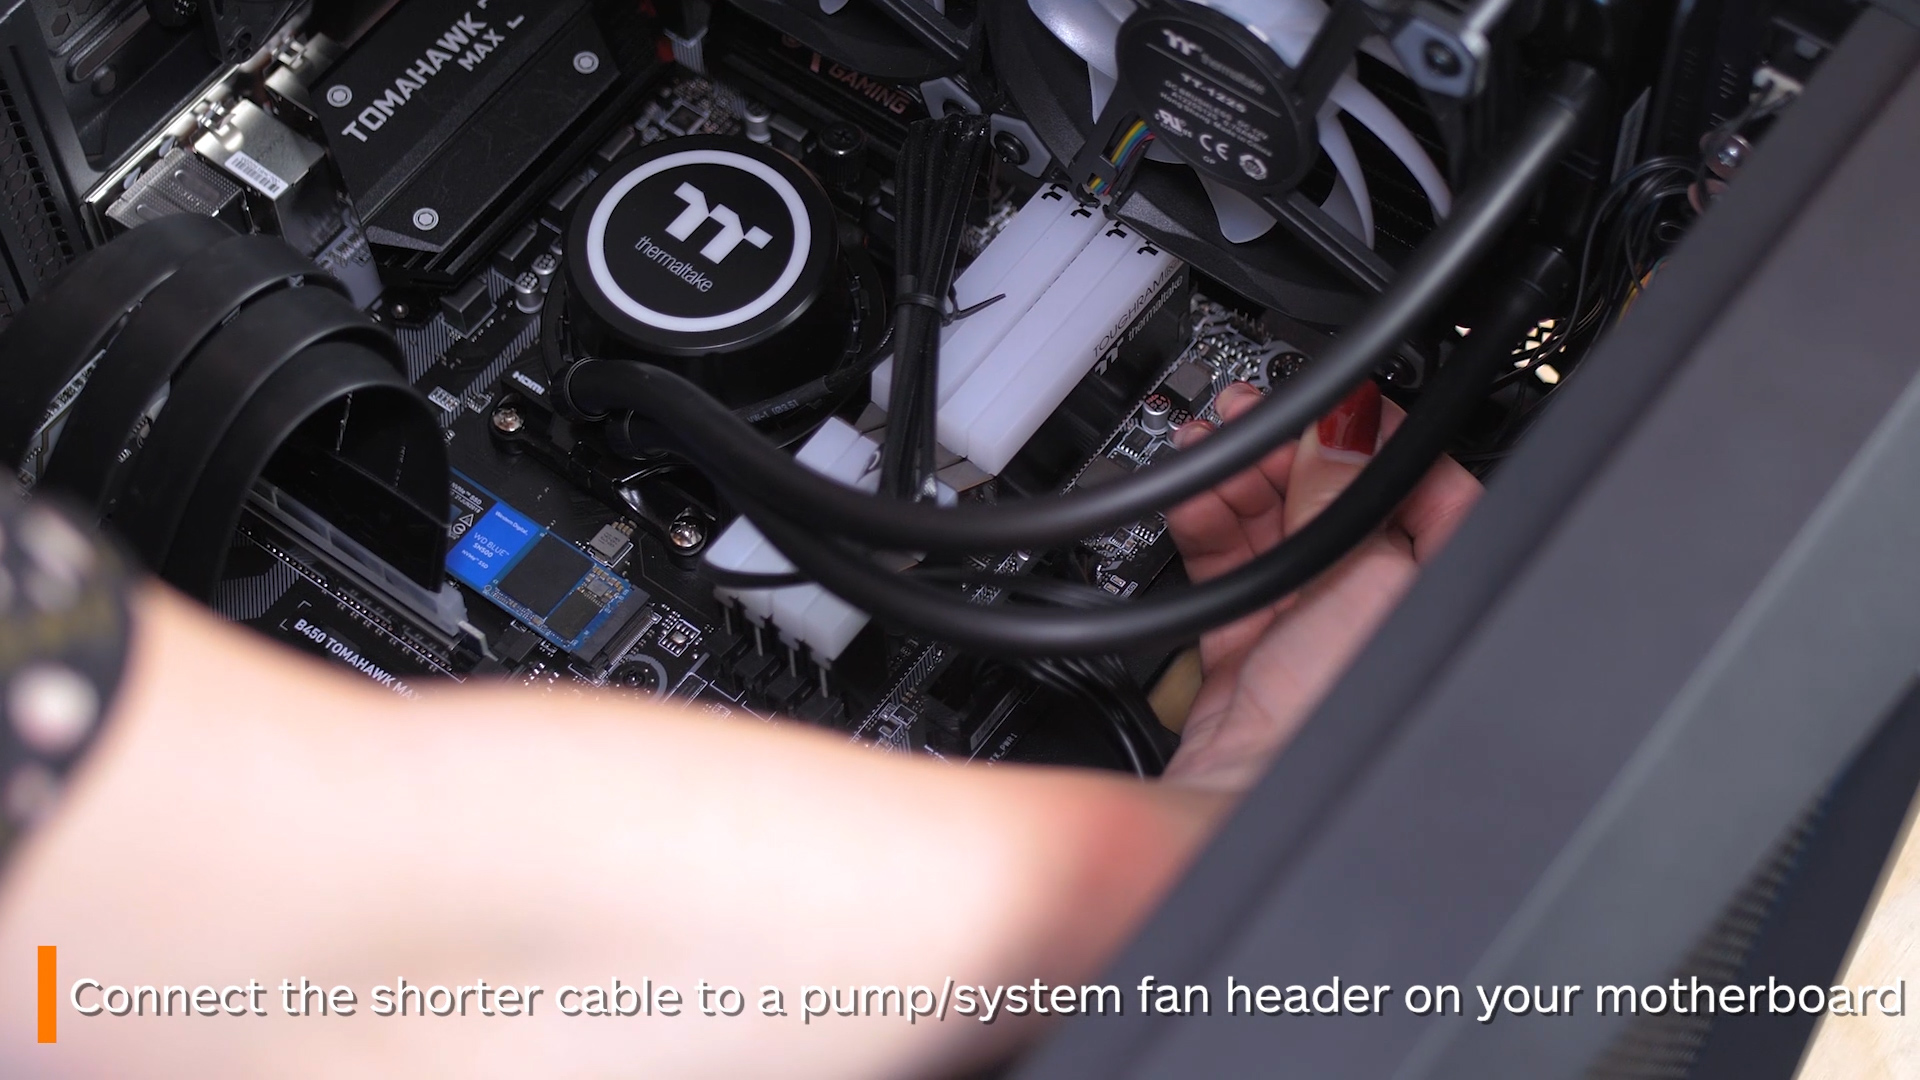
Next, there are 2 cables coming from the water block to worry about. The smaller one connects to the pump fan header if your motherboard has one, if not a system fan header will also work. The longer one you thread out the back with the other RGB cables.
-
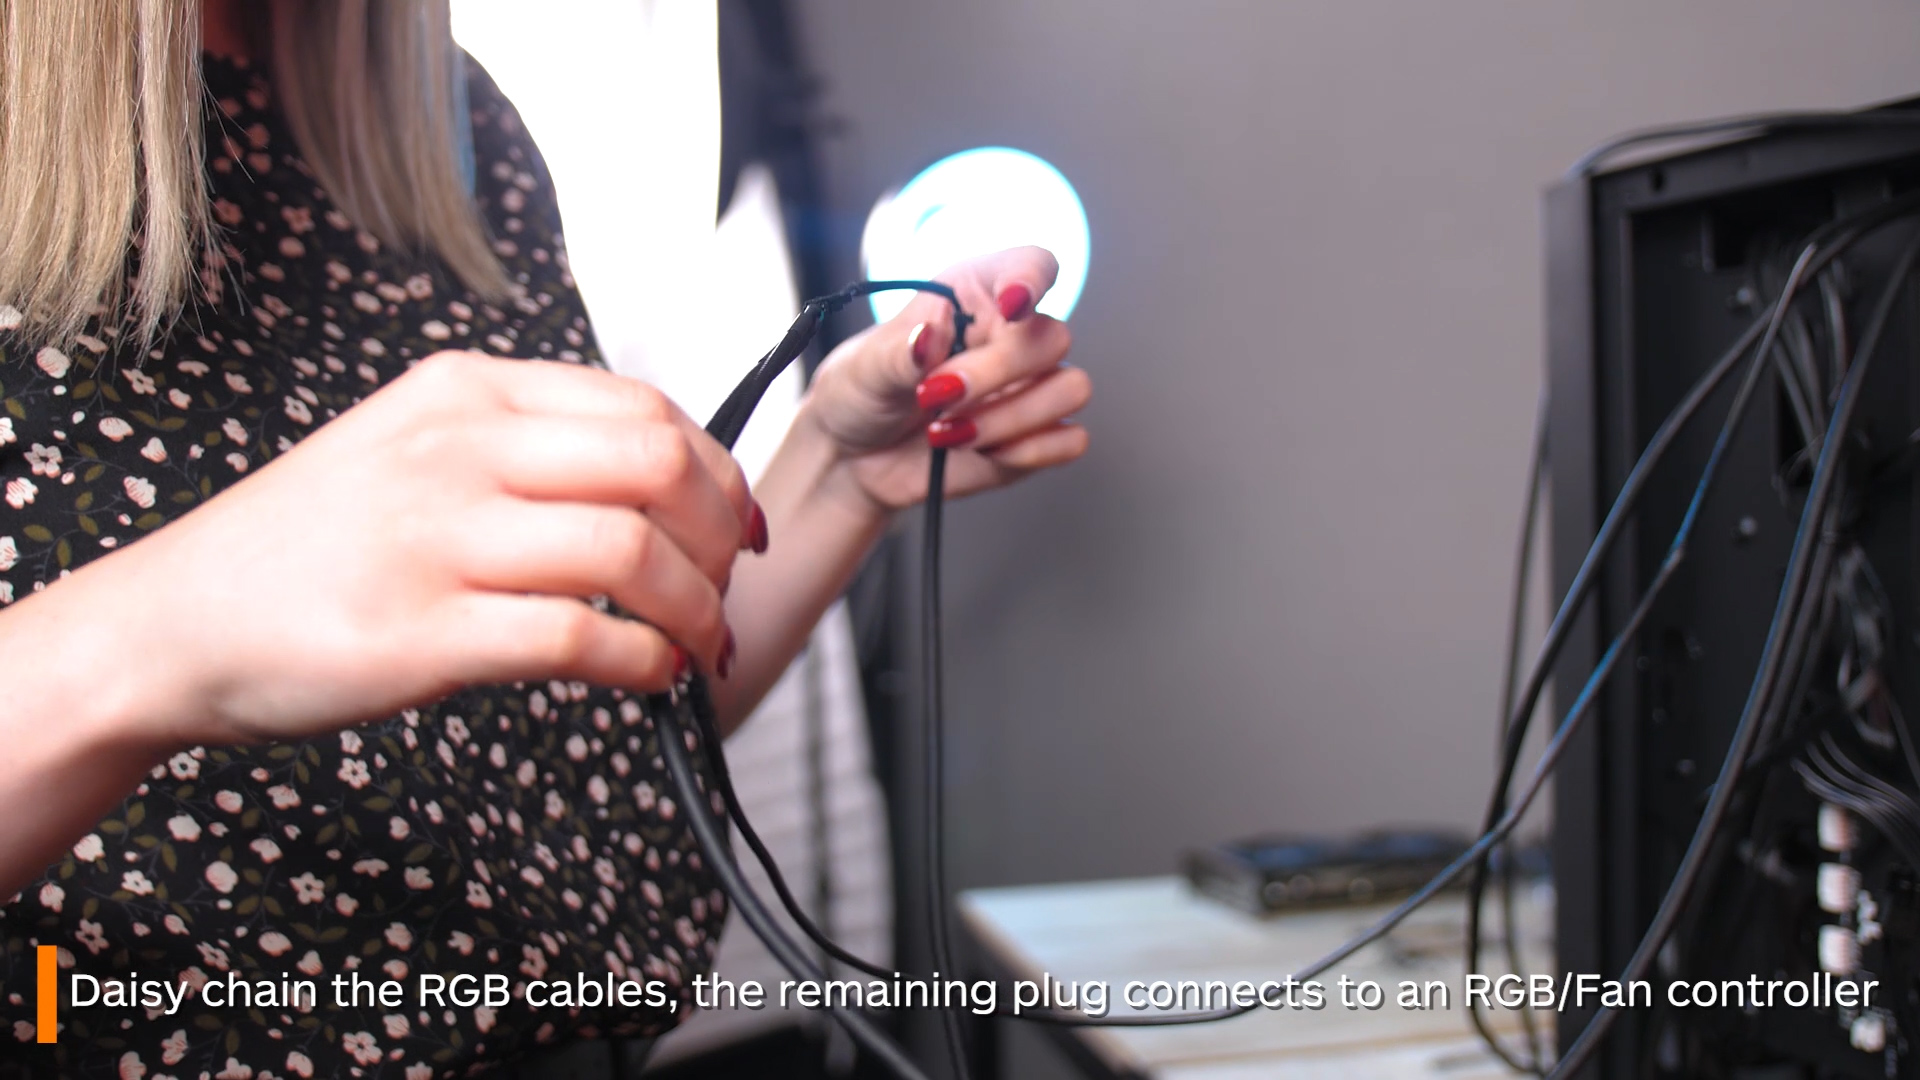
Now it’s cable time! Separate your power cables from your RGB ones to make life a little easier. You can daisy chain up all the RGB cables by connecting them to one another, then the single remaining cable goes into the back RGB panel.
-
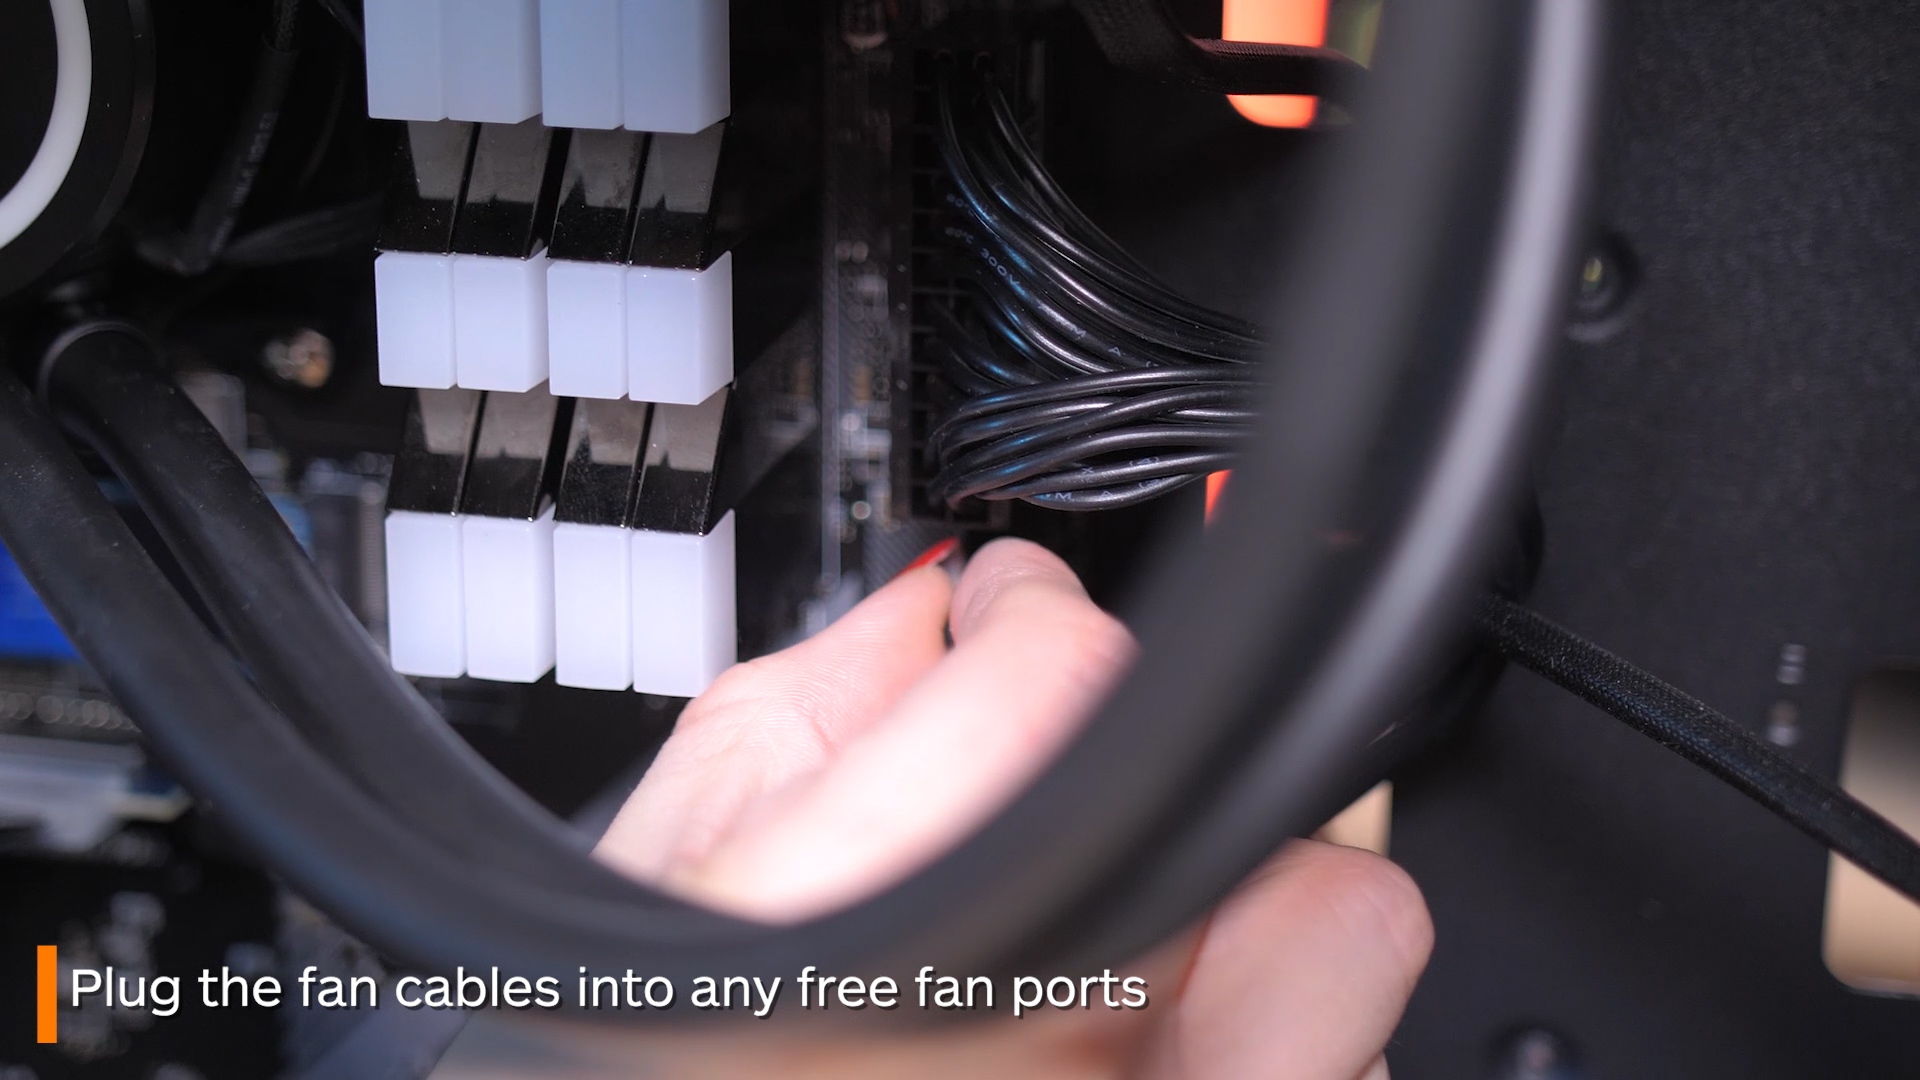
Locate two fan headers on your motherboard, normally called SYS_Fan. This is where your power cables will connect to. Find the closest opening, and thread the wires back through before inserting them into the 2 fan ports.
-
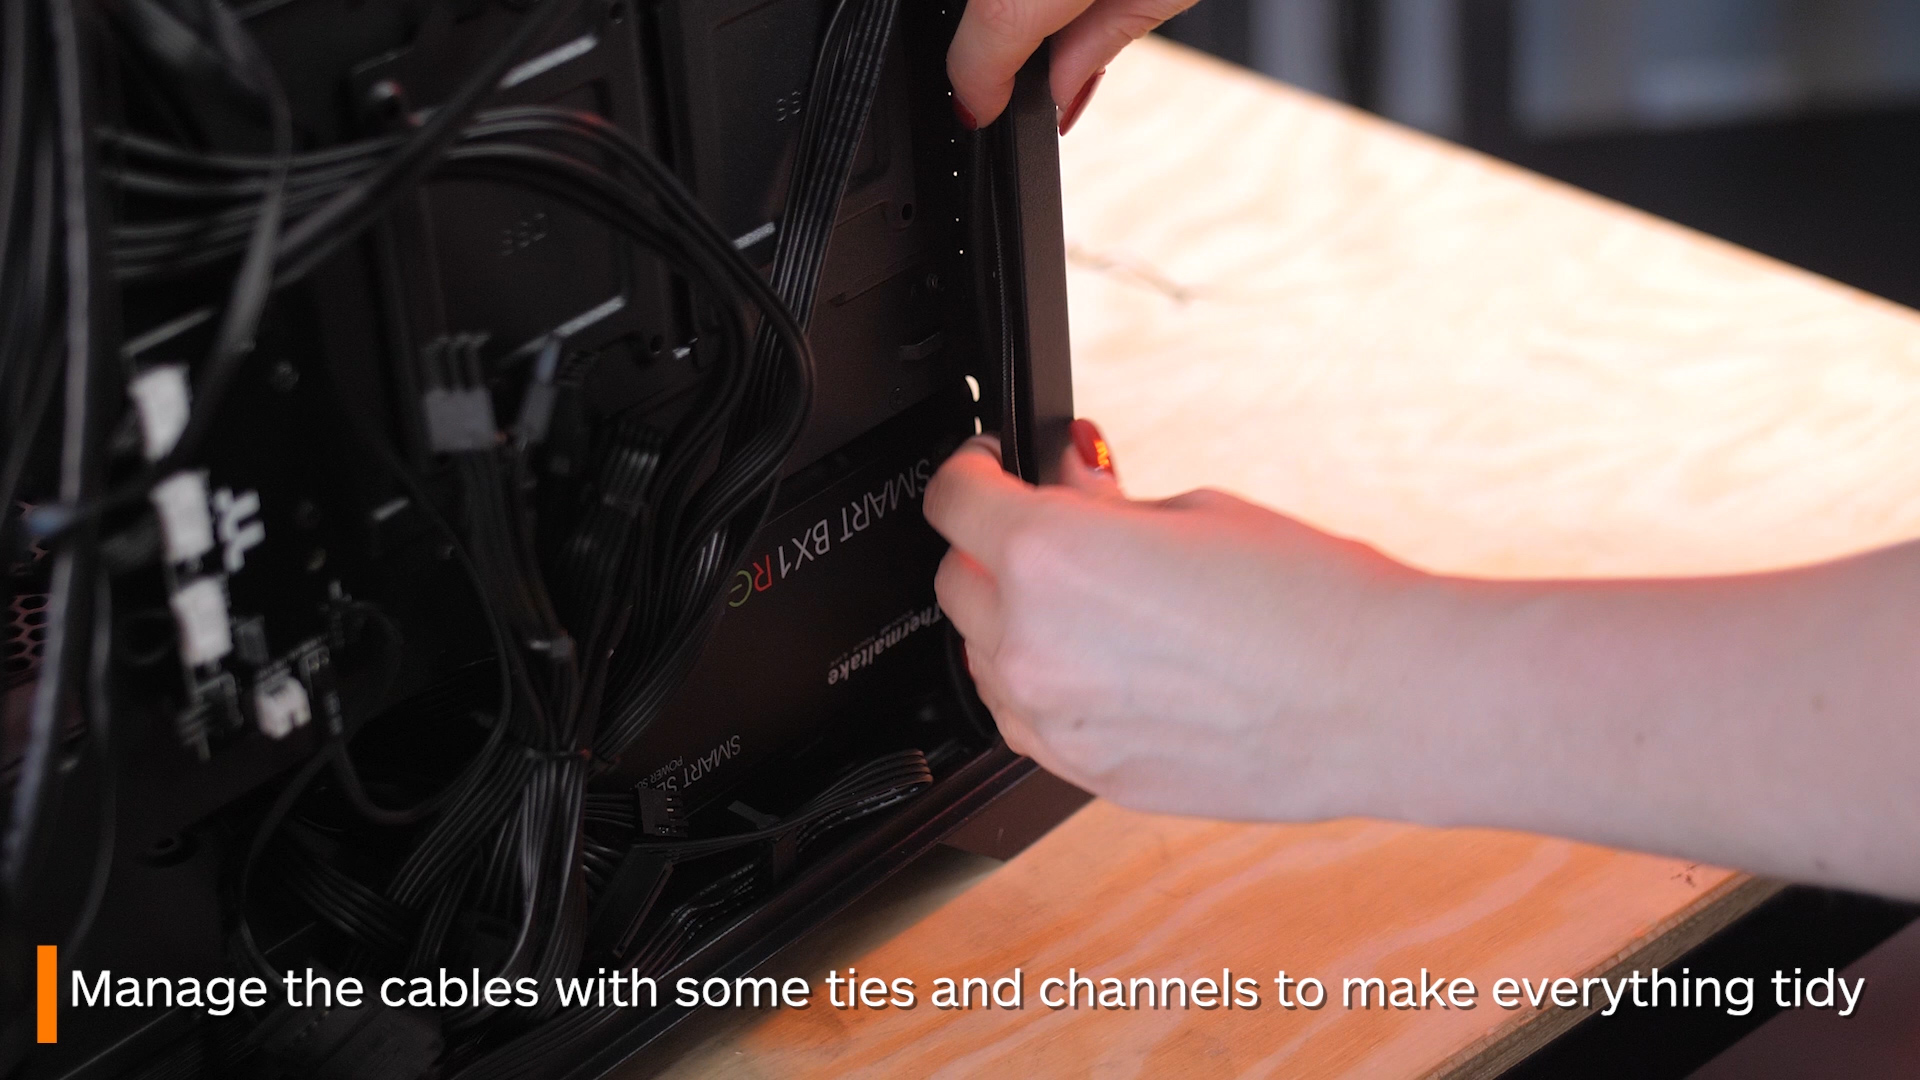
Do a little cable management to tidy everything up, and if you need to, put back in your GPU.
And with that, you’re done! That was How to Install an All-in-One Cooler! If you want to check out some of our past How To Guides, check them out here! Or if you want to check out the AIO I used in the tutorial, you can check out our Water 3.0 right here!