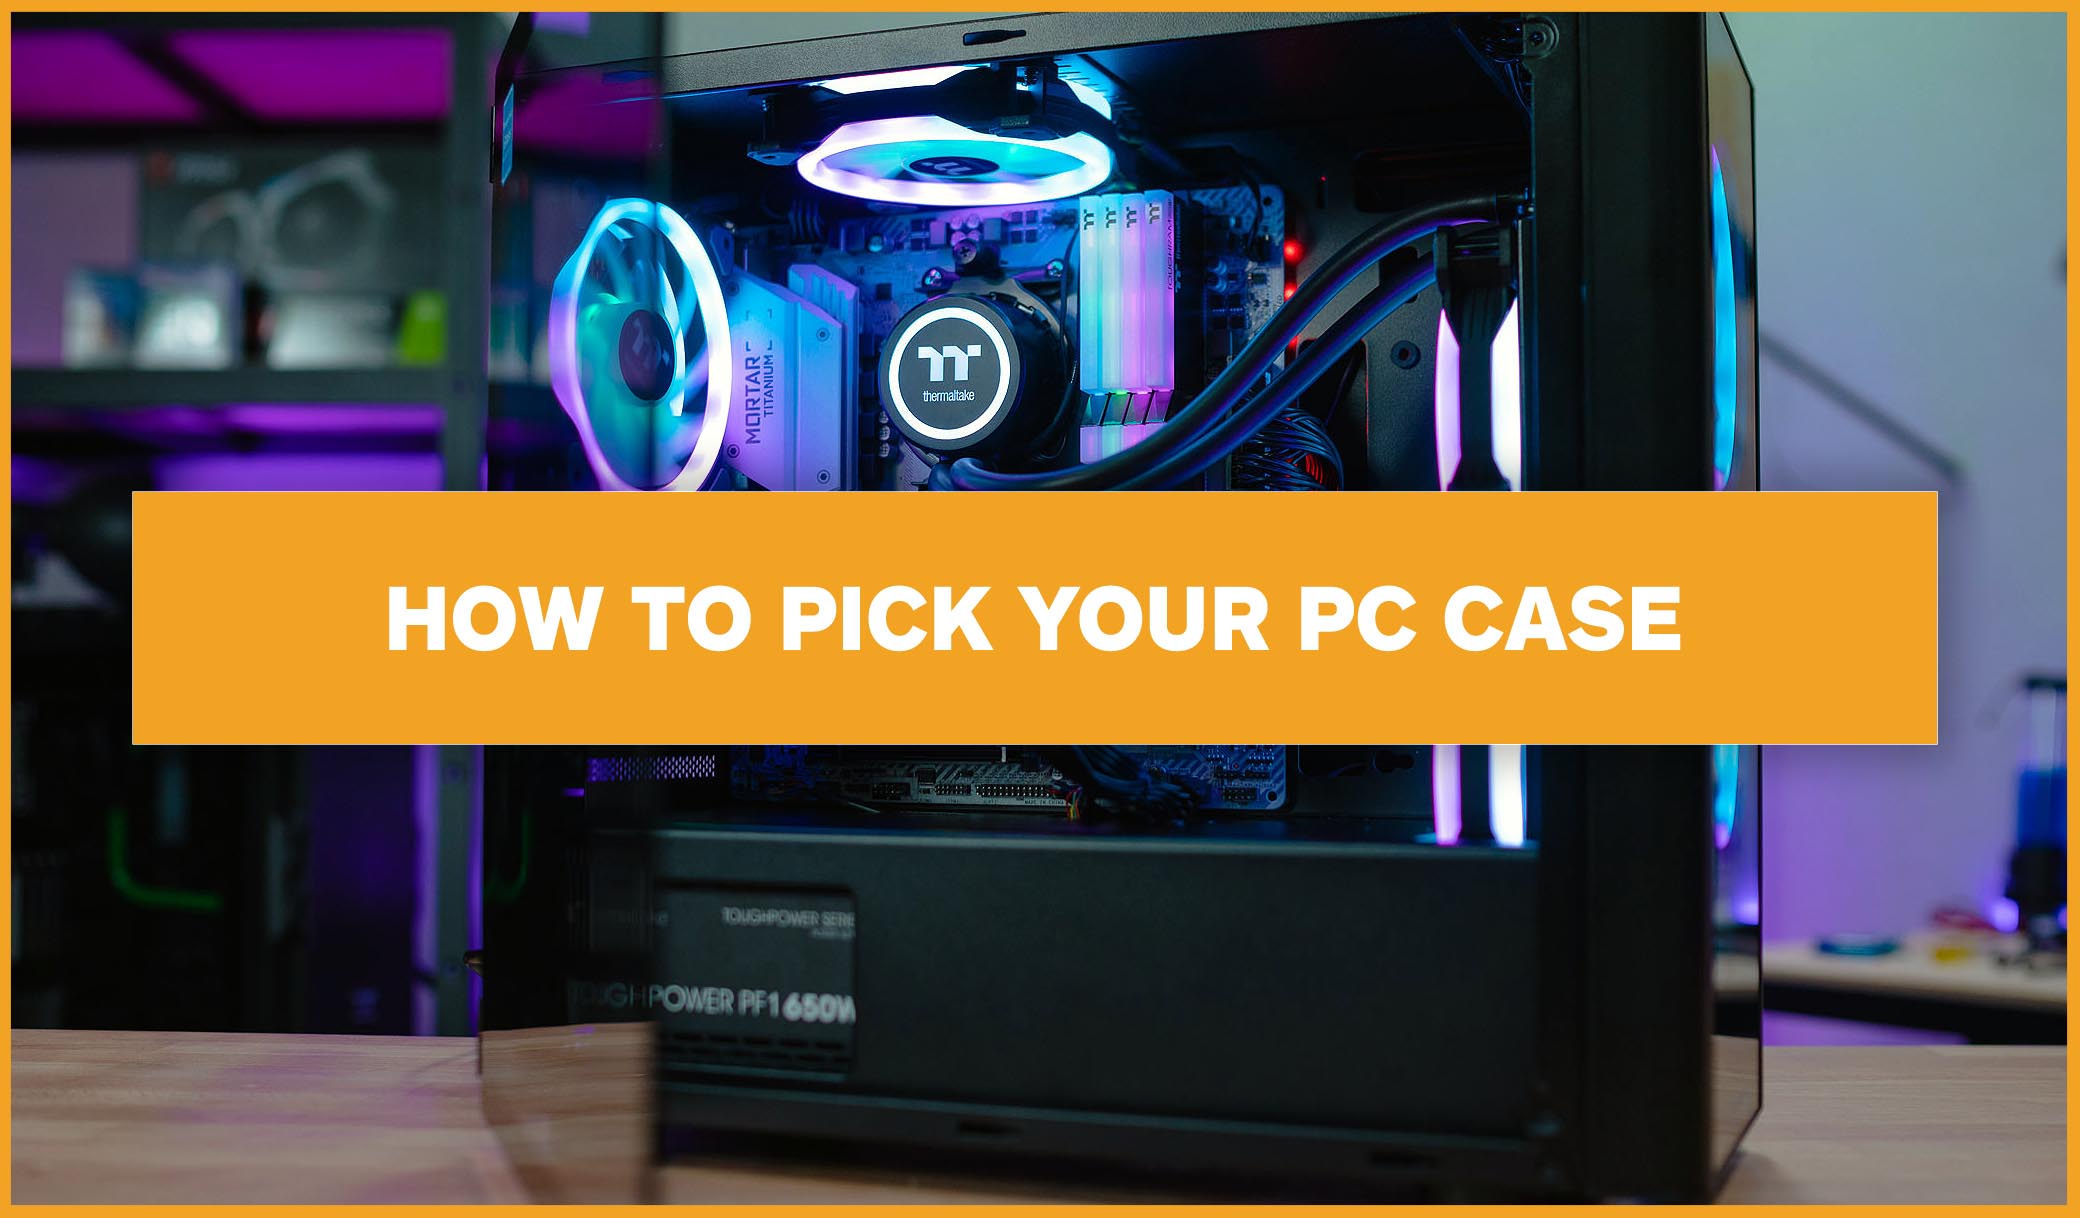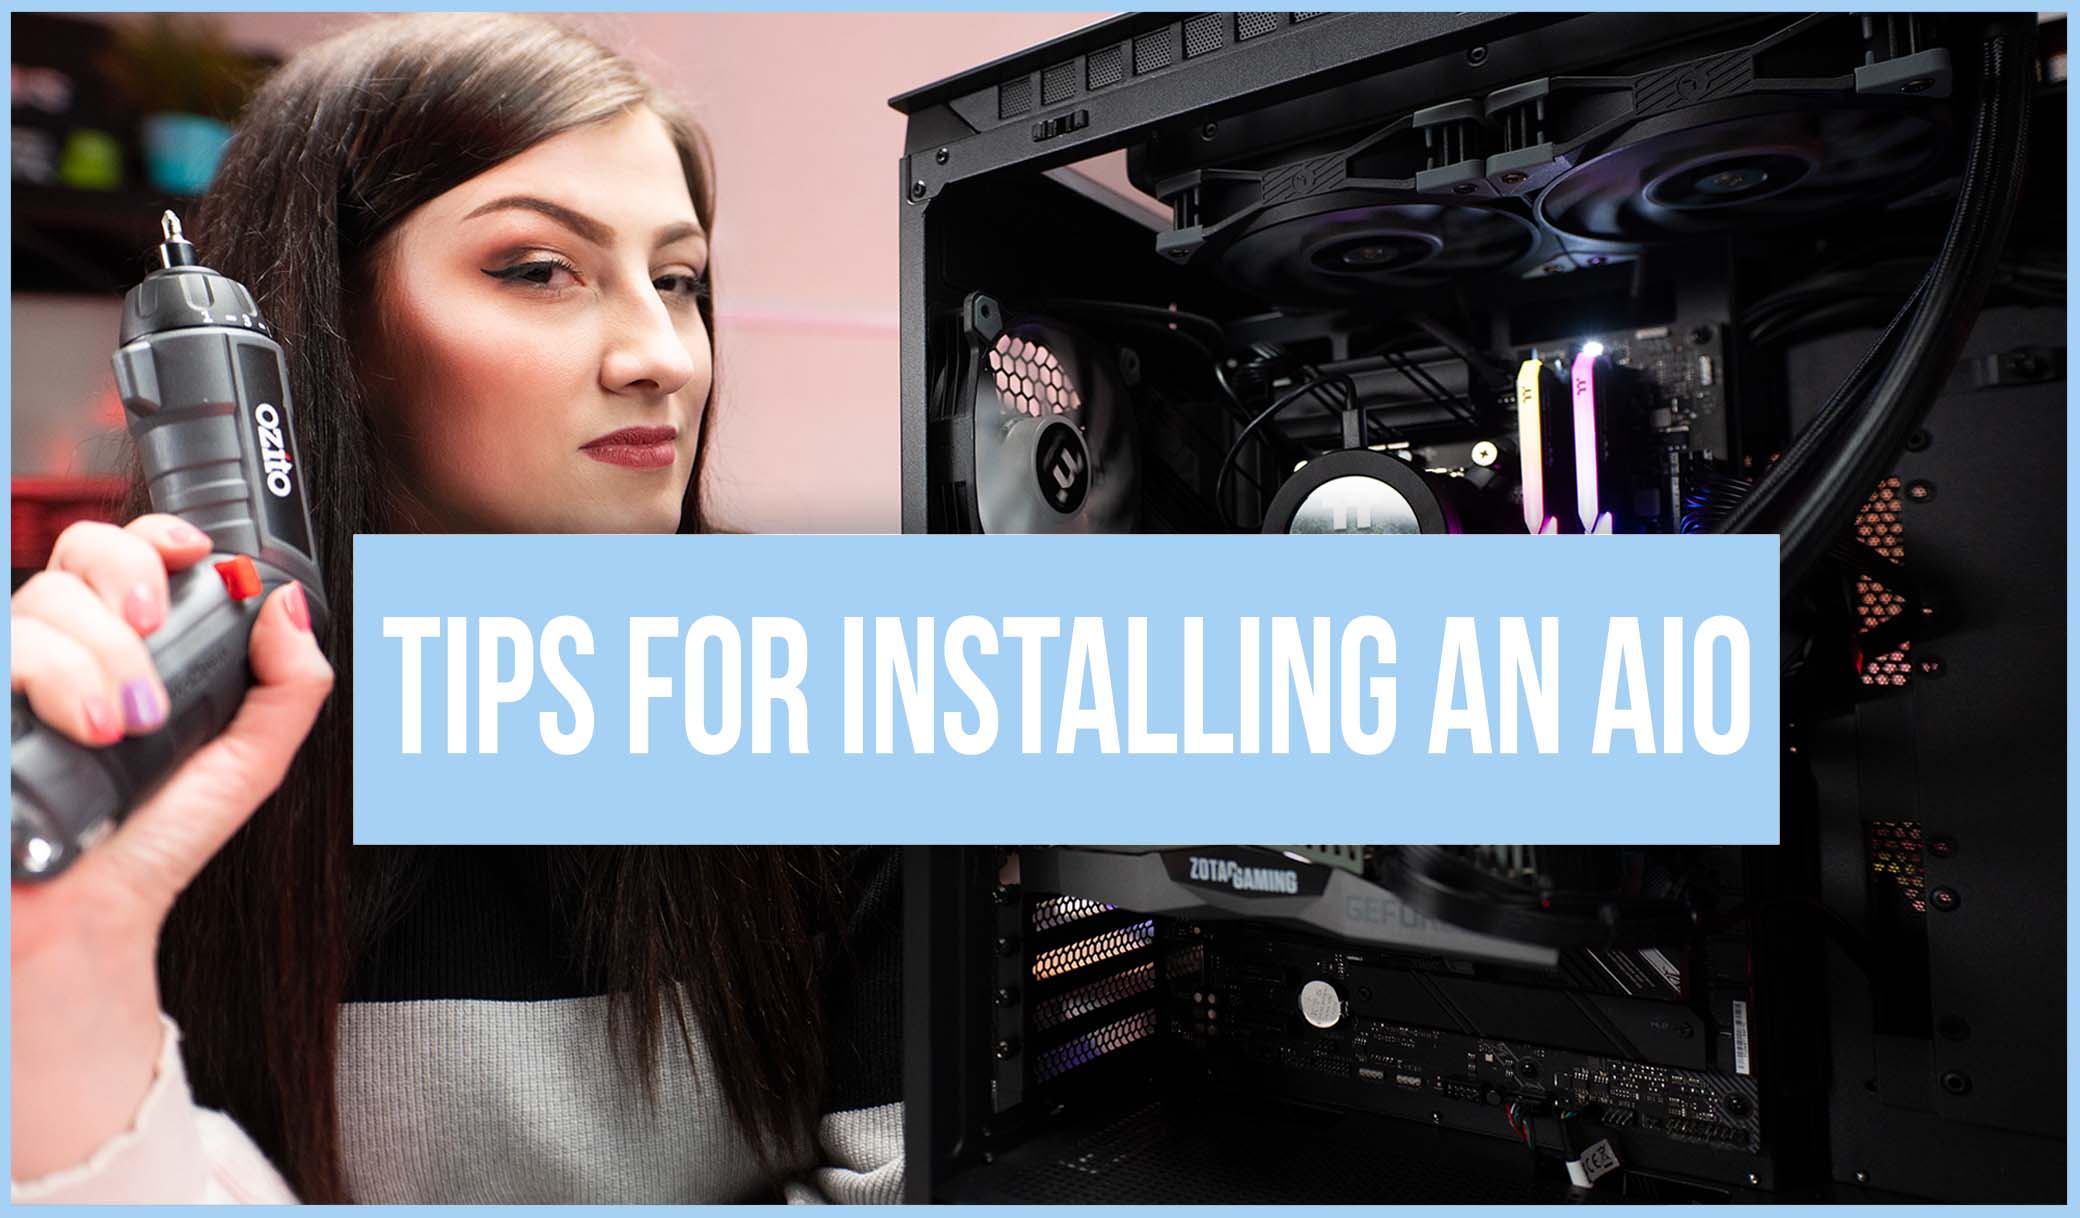
Installing PC hardware can seem quite tricky. There are so many cables and plugs and it can all get quite overwhelming. Recently, I re-made a video over on our YOUTUBE channel, showcasing how to install an AIO. I’ve learnt a lot since I first installed an All-in-one cooler. So, I thought I would share my wisdom with anyone out there looking at installing one for the first time. So, here are some quick tips for Installing an AIO, to help you put your mind at ease.
1. Take EVERYTHING out first
Many people mistakenly dive straight into the installation leaving items sitting in the box until they need them. This technique, in my opinion ,can shoot you in the foot. If you are missing any items for starters, you won’t figure that out until you’re already halfway done. You’ll end up spending a large chunk of time going through the box to find the items you’re looking for, instead of just having them out and ready. Take everything out first and lay it out before you. Then go through each item and figure out exactly when you need to use what. Just spending a little bit of extra time doing this at the start of an install can save you a world of time (and potentially pain later).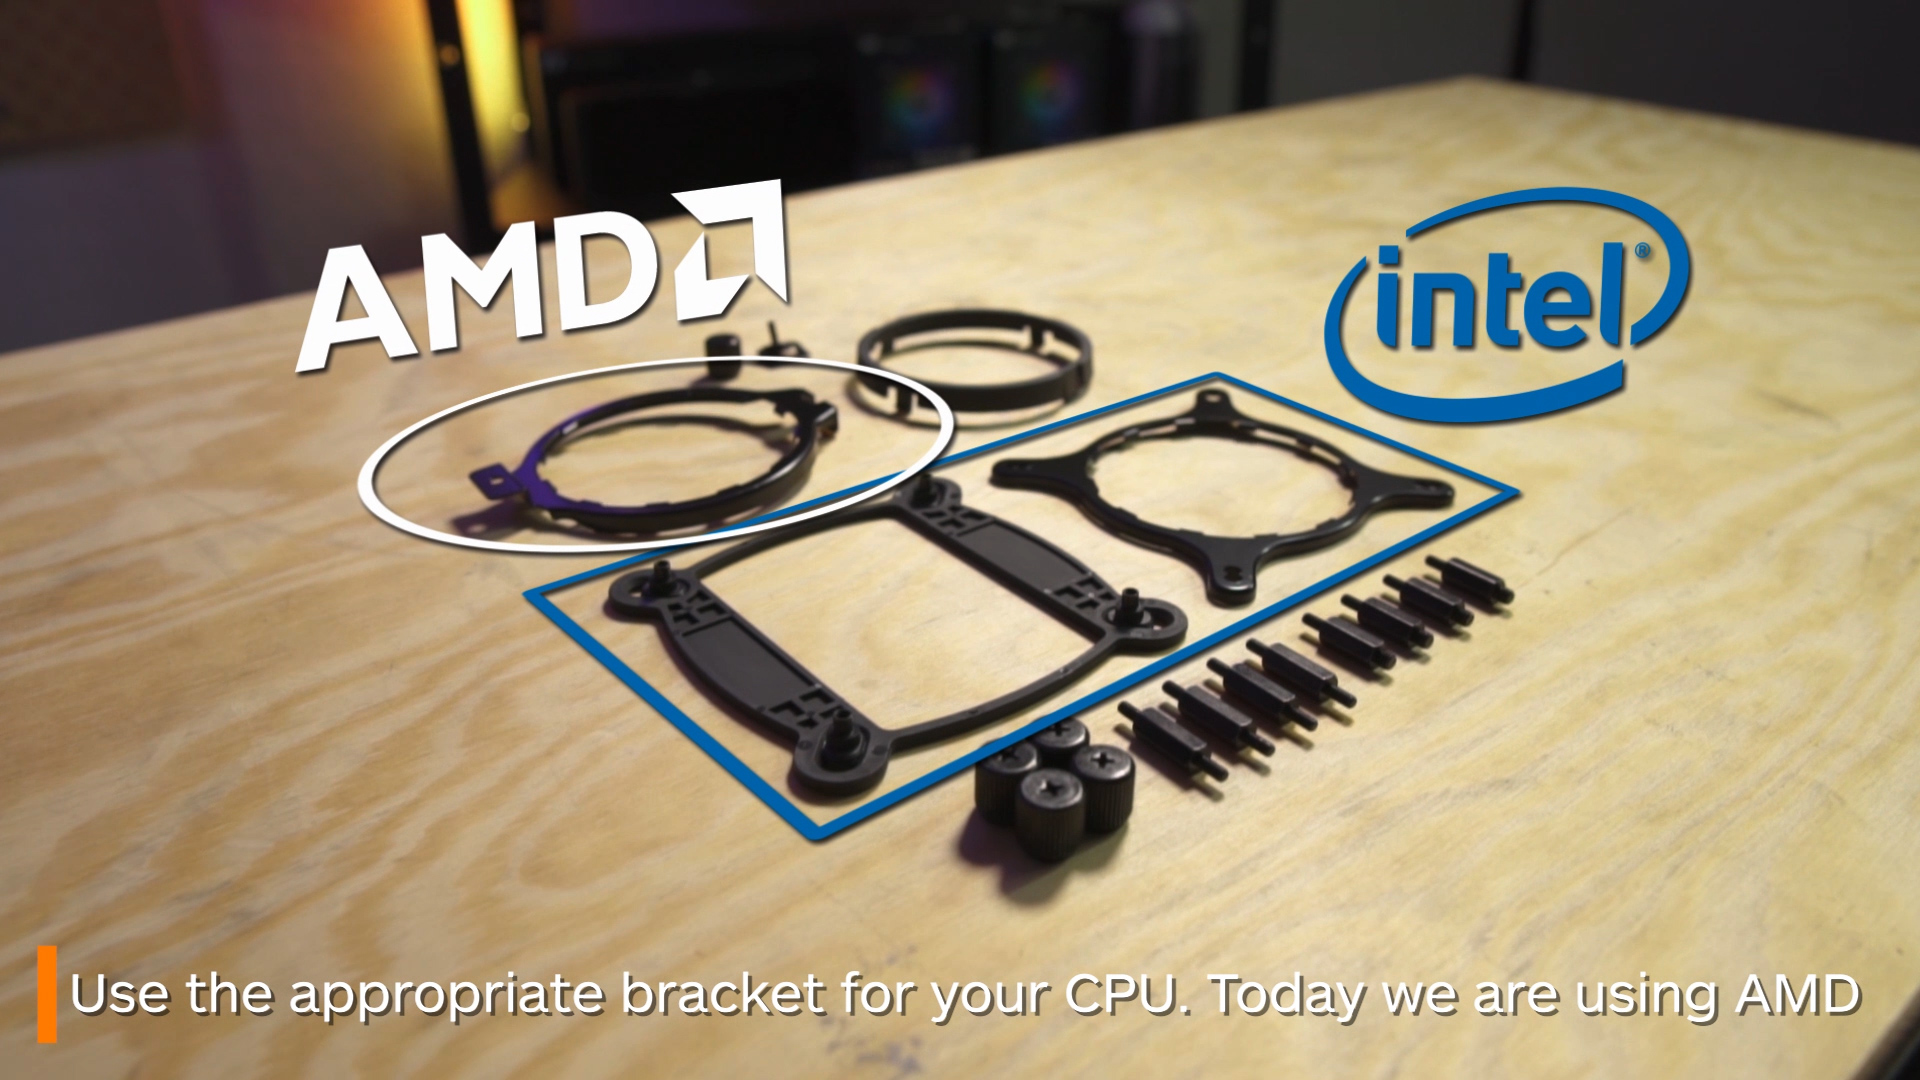
2. Make sure it fits
Now, if you’ve already purchased your AIO, this tip might be too late. But honestly, I can’t tell you how easy it is to misjudge whether an AIO will fit. This is because not only do you have to fit the radiator in, but also the fans when attached. So sure, the rad might fit, but then once the fans are attached it might not. It’s very easy for parts of your build like your RAM, or even chunkier motherboards to stop you from being able to top mount your radiator. This might force you to front mount, and depending on your case configuration, that might not even be an option for you. So, triple check measurements to see you can fit your radiator with the fans attached. Otherwise you might either find yourself having to pull off some heinous configs to get it to work, or might have to return your AIO entirely.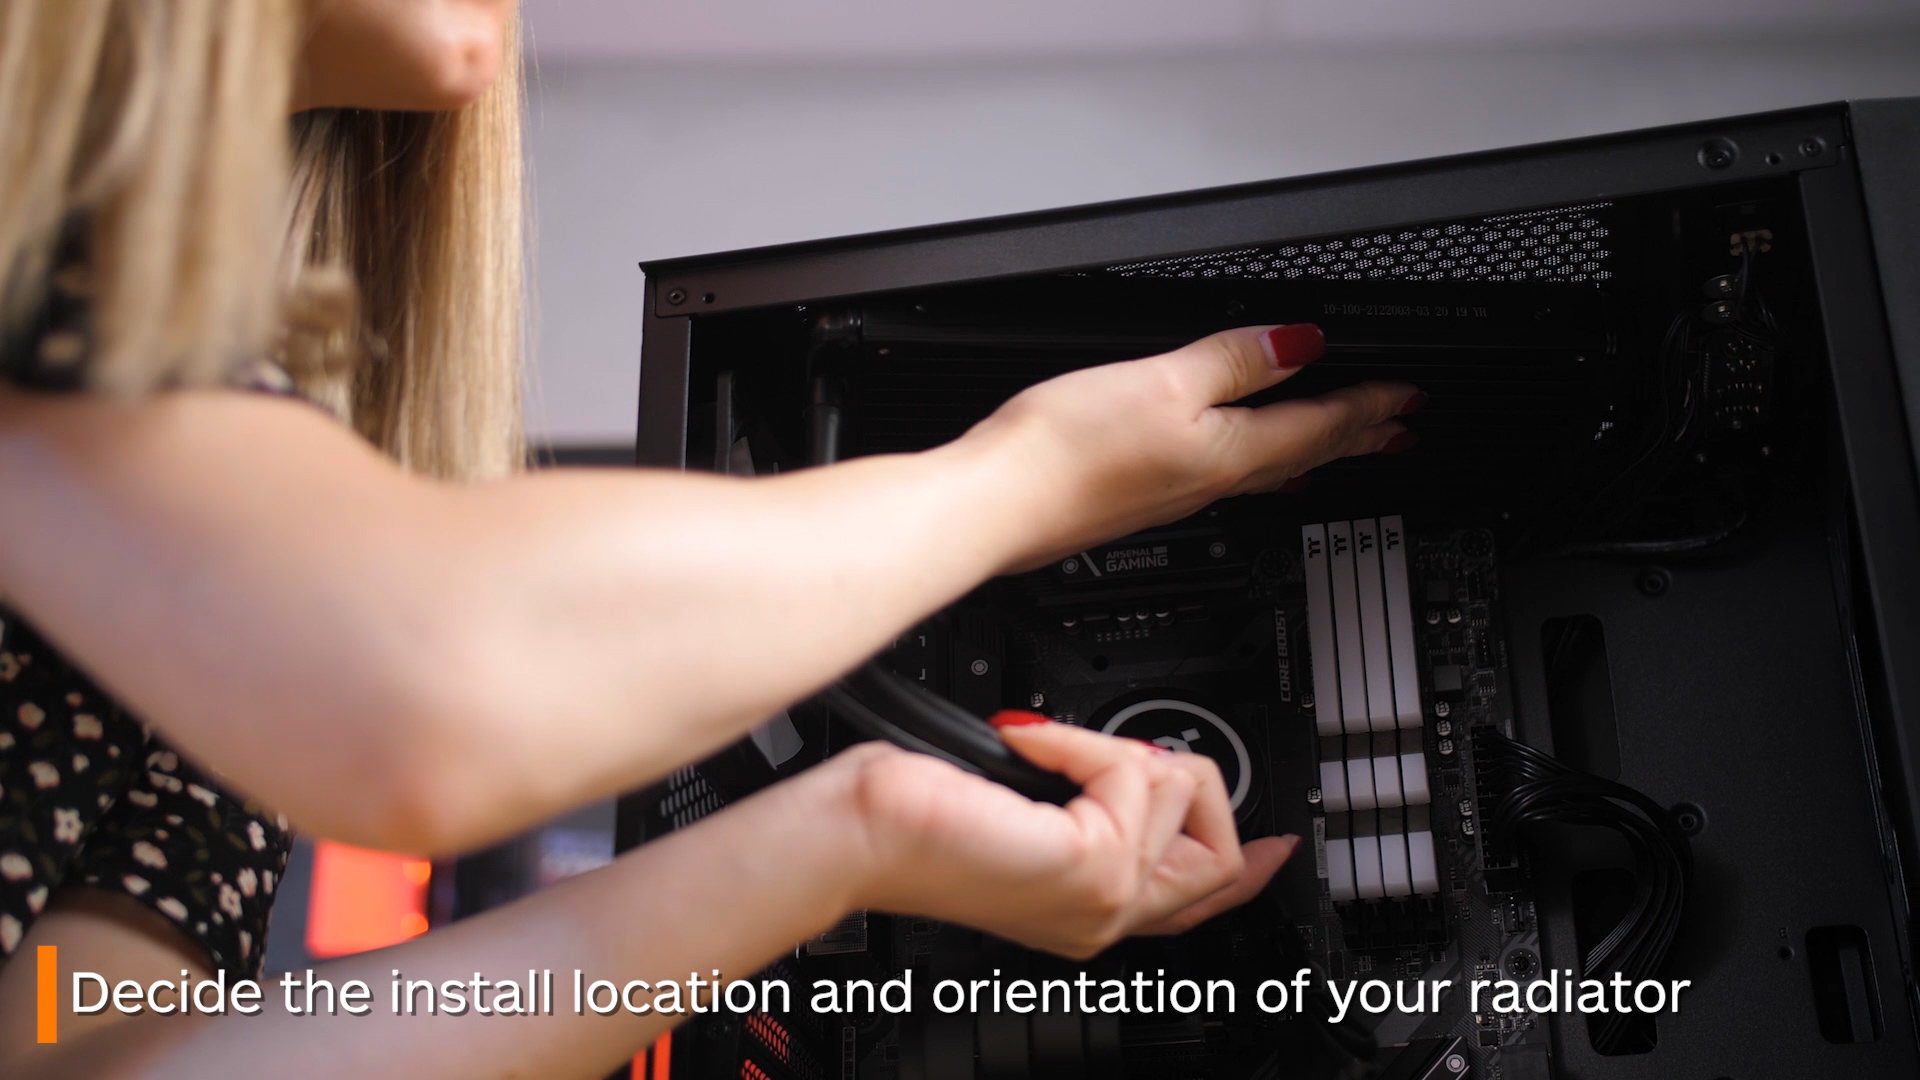
3. Think about your AIO’s tube configuration
So, AIOS have tubes. These connect the water block to the radiator. When mounting your radiator, it’s a good idea to first think about where you want your tubes to go. For starters, if you are top mounting you will want to think about mounting with the tubes to the right, as there will be far more space on that side of your case instead of trying to cram it into the left side. For front mounting, if your tubes allow, having it with the tubes at the bottom is ideal. This means there is less chance of bubbles forming inside your AIO which can cause problems. However, if your tubes won’t fit to the bottom, having them at the top is also fine, you just might notice more noise.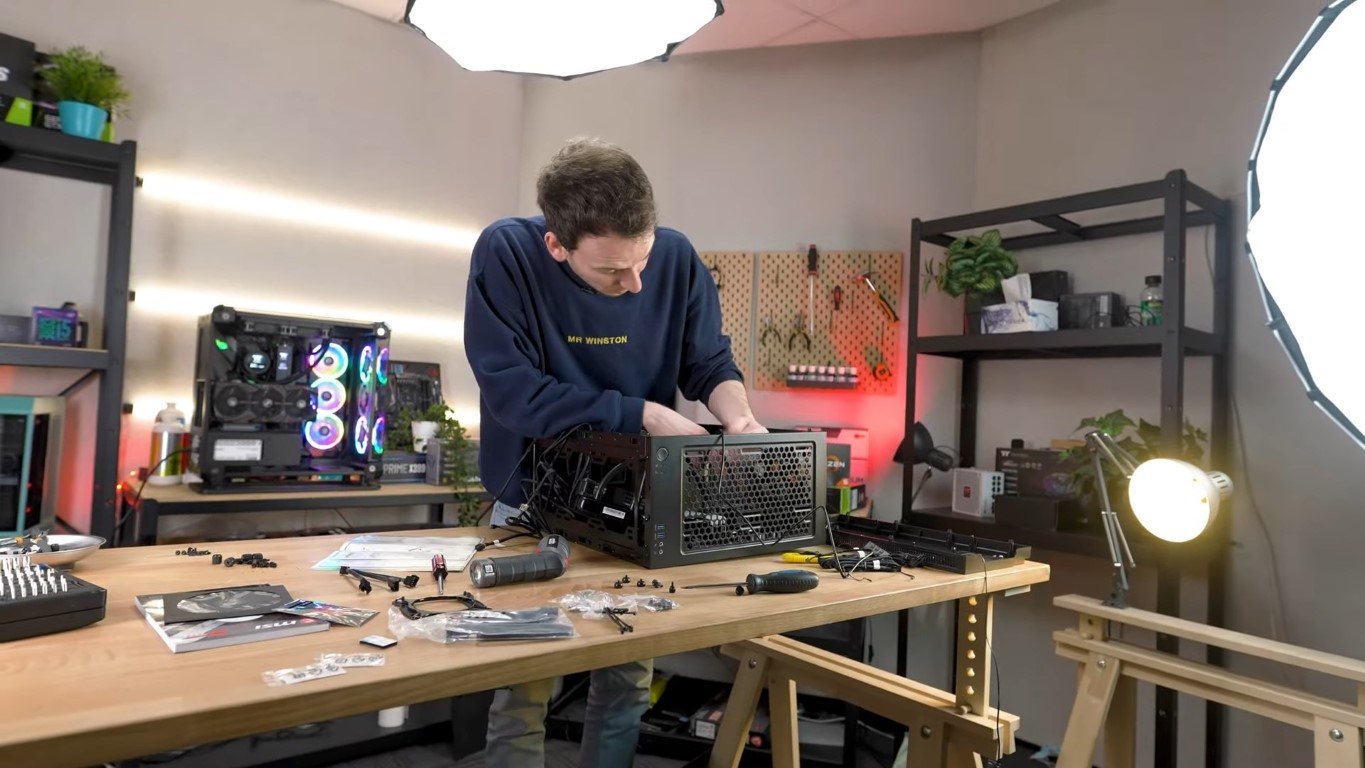
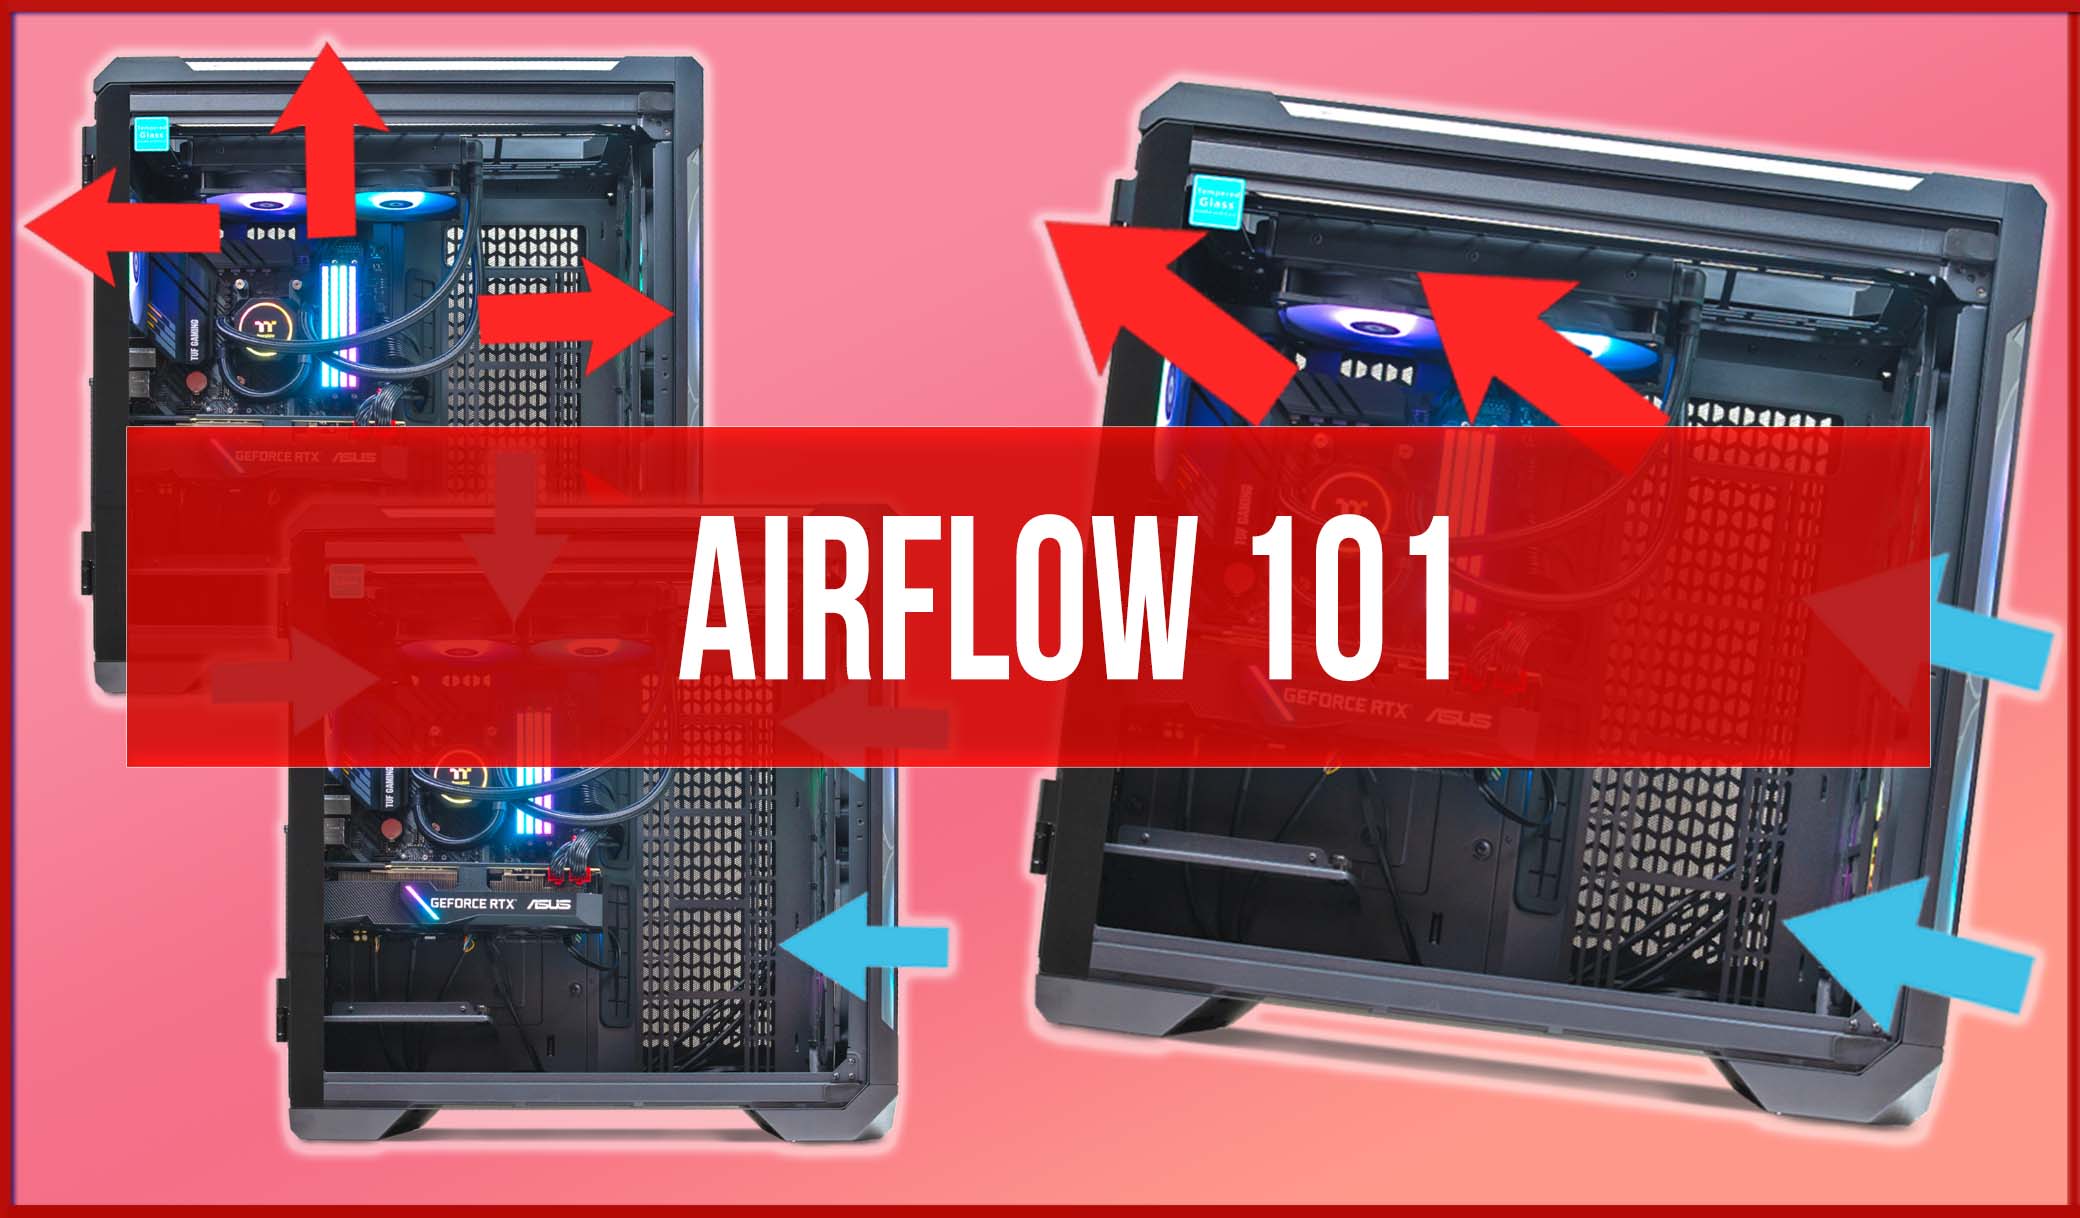
4. Consider whether you want to run your AIO as an intake or exhaust
Did you know that you can put your fans as intake (pulling air in) or exhaust (pushing air out)? Both are very valid choices. But will entirely depend on what sort of configuration you are running, for which way to place them. For example, are you front or top mounting? Do you have other fans already, and are they running as intake or exhaust? Do you have space to move things around? In an ideal world, you would look at having a few fans out front pulling fresh air in, then mount your AIO up top. Then you would run the fans as exhaust, so pushing air out. That way fresh air comes in the front and is exhausted through the top and back. However, if you are front mounting, you might want to consider an intake air flow, and then having some standard fans exhausting out the back. Like I said, it really depends on what sort of configuration you are running, so ensure you have a good think about that first so you can provide your hardware with the best airflow possible.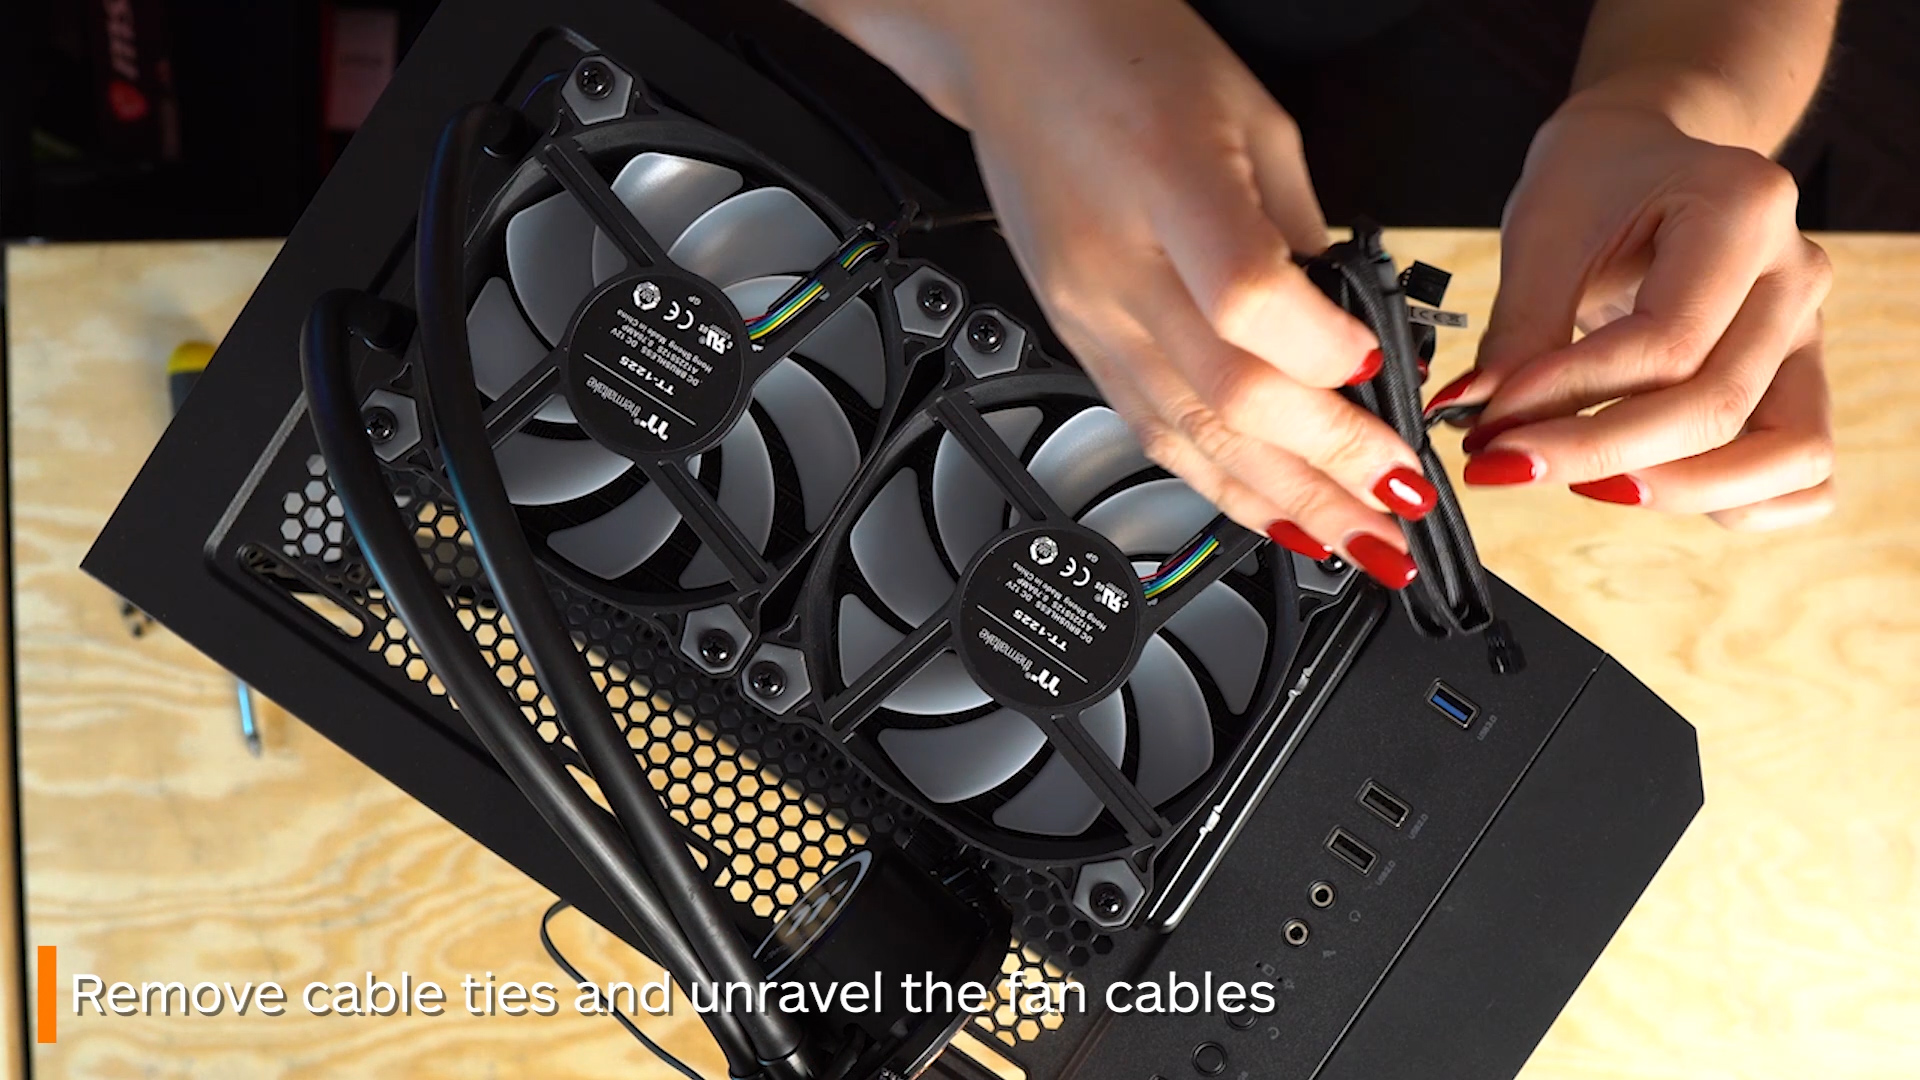
5. Think about cables
There are a lot of different types of AIOs, and some require different things. This is especially true when it comes to cables. Some AIOs with RGB will require to be hooked up to your motherboard, others may require a third-party controller, some might even need separate cables to power up certain sections such as LCD screens. Keep your cables in mind the entire way through, as it will make your final cable management a lot easier. Keeping cables together, using cable ties and Velcro ties, can do the world for you in terms of organisation. Because trust me, AIOs tend have far more cables than you would expect, so there will be a bit of managing.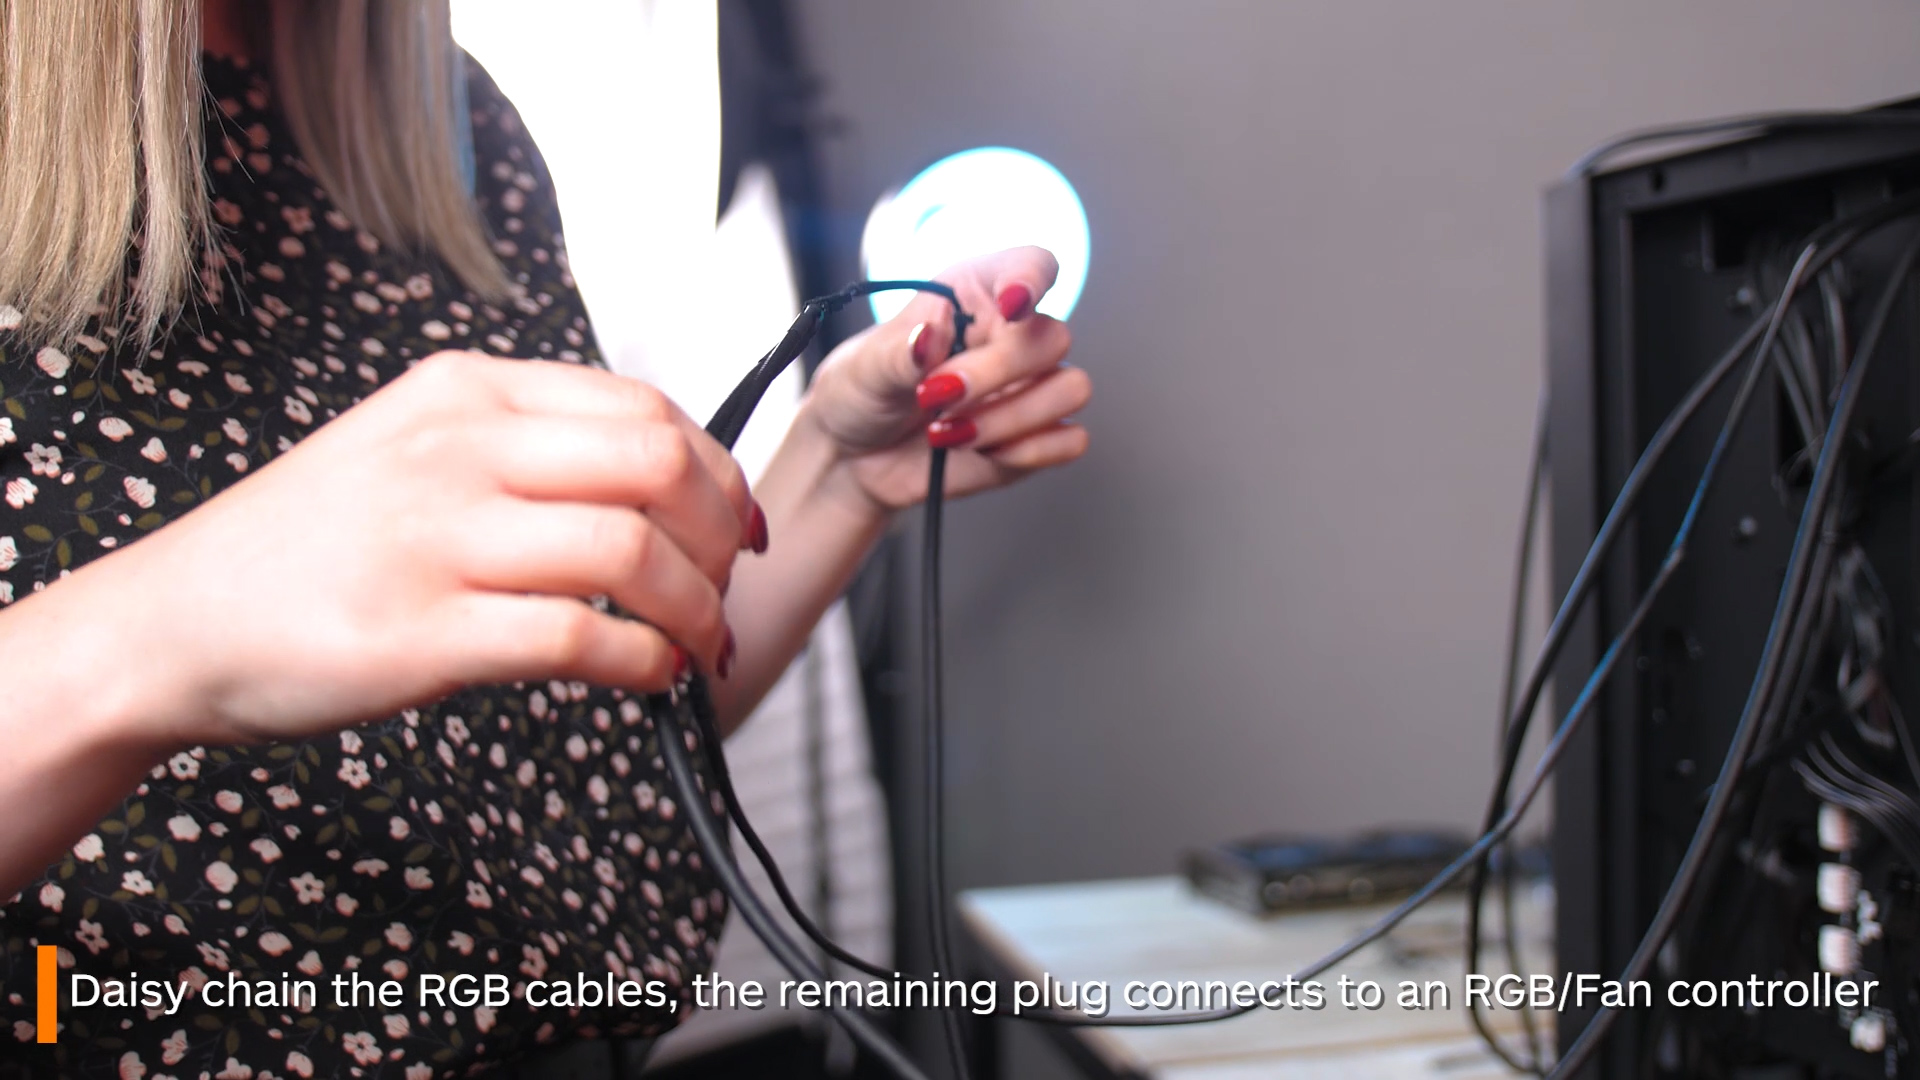
So, there were some quick tips for installing an AIO. Now, let me just dispel a few AIO rumours at the end here as well:
– Your AIO does not need to be filled up. It is what is called a ‘closed loop’, which means the coolant inside is sealed in there and designed to remain in there for years
– Your AIO will not need to be refilled or flushed. Unlike in a custom loop, AIOs aren’t designed to be refilled. It’s recommended to simply replace them every four to five years or so, or whenever you begin to notice it’s not cooling as optimally as it was before.
Hopefully those tips for installing an AIO have eased your mind of some of the most common AIO concerns. If you have any other question, feel free to comment them below! And while you’re still here, why not check out some of our other tech posts HERE.