Installing your drives can be a little confusing for a first-time builder, or even someone looking to upgrade. So, with this post you can follow along with your own installation if you’re a little uncertain. This is how to install your storage drives!
So, first off, you’ve got your drives.
This is a Hard Disk Drive or HDD. This is the one of the most common drives you’ll see in the wild due to its relatively inexpensive cost and being pretty readily available. These are an older form of drive, that has moving parts inside that physically writes the data. They do tend to be a little slower than the other options available though, and a little more likely to break due to their moving parts, so be careful with these boys.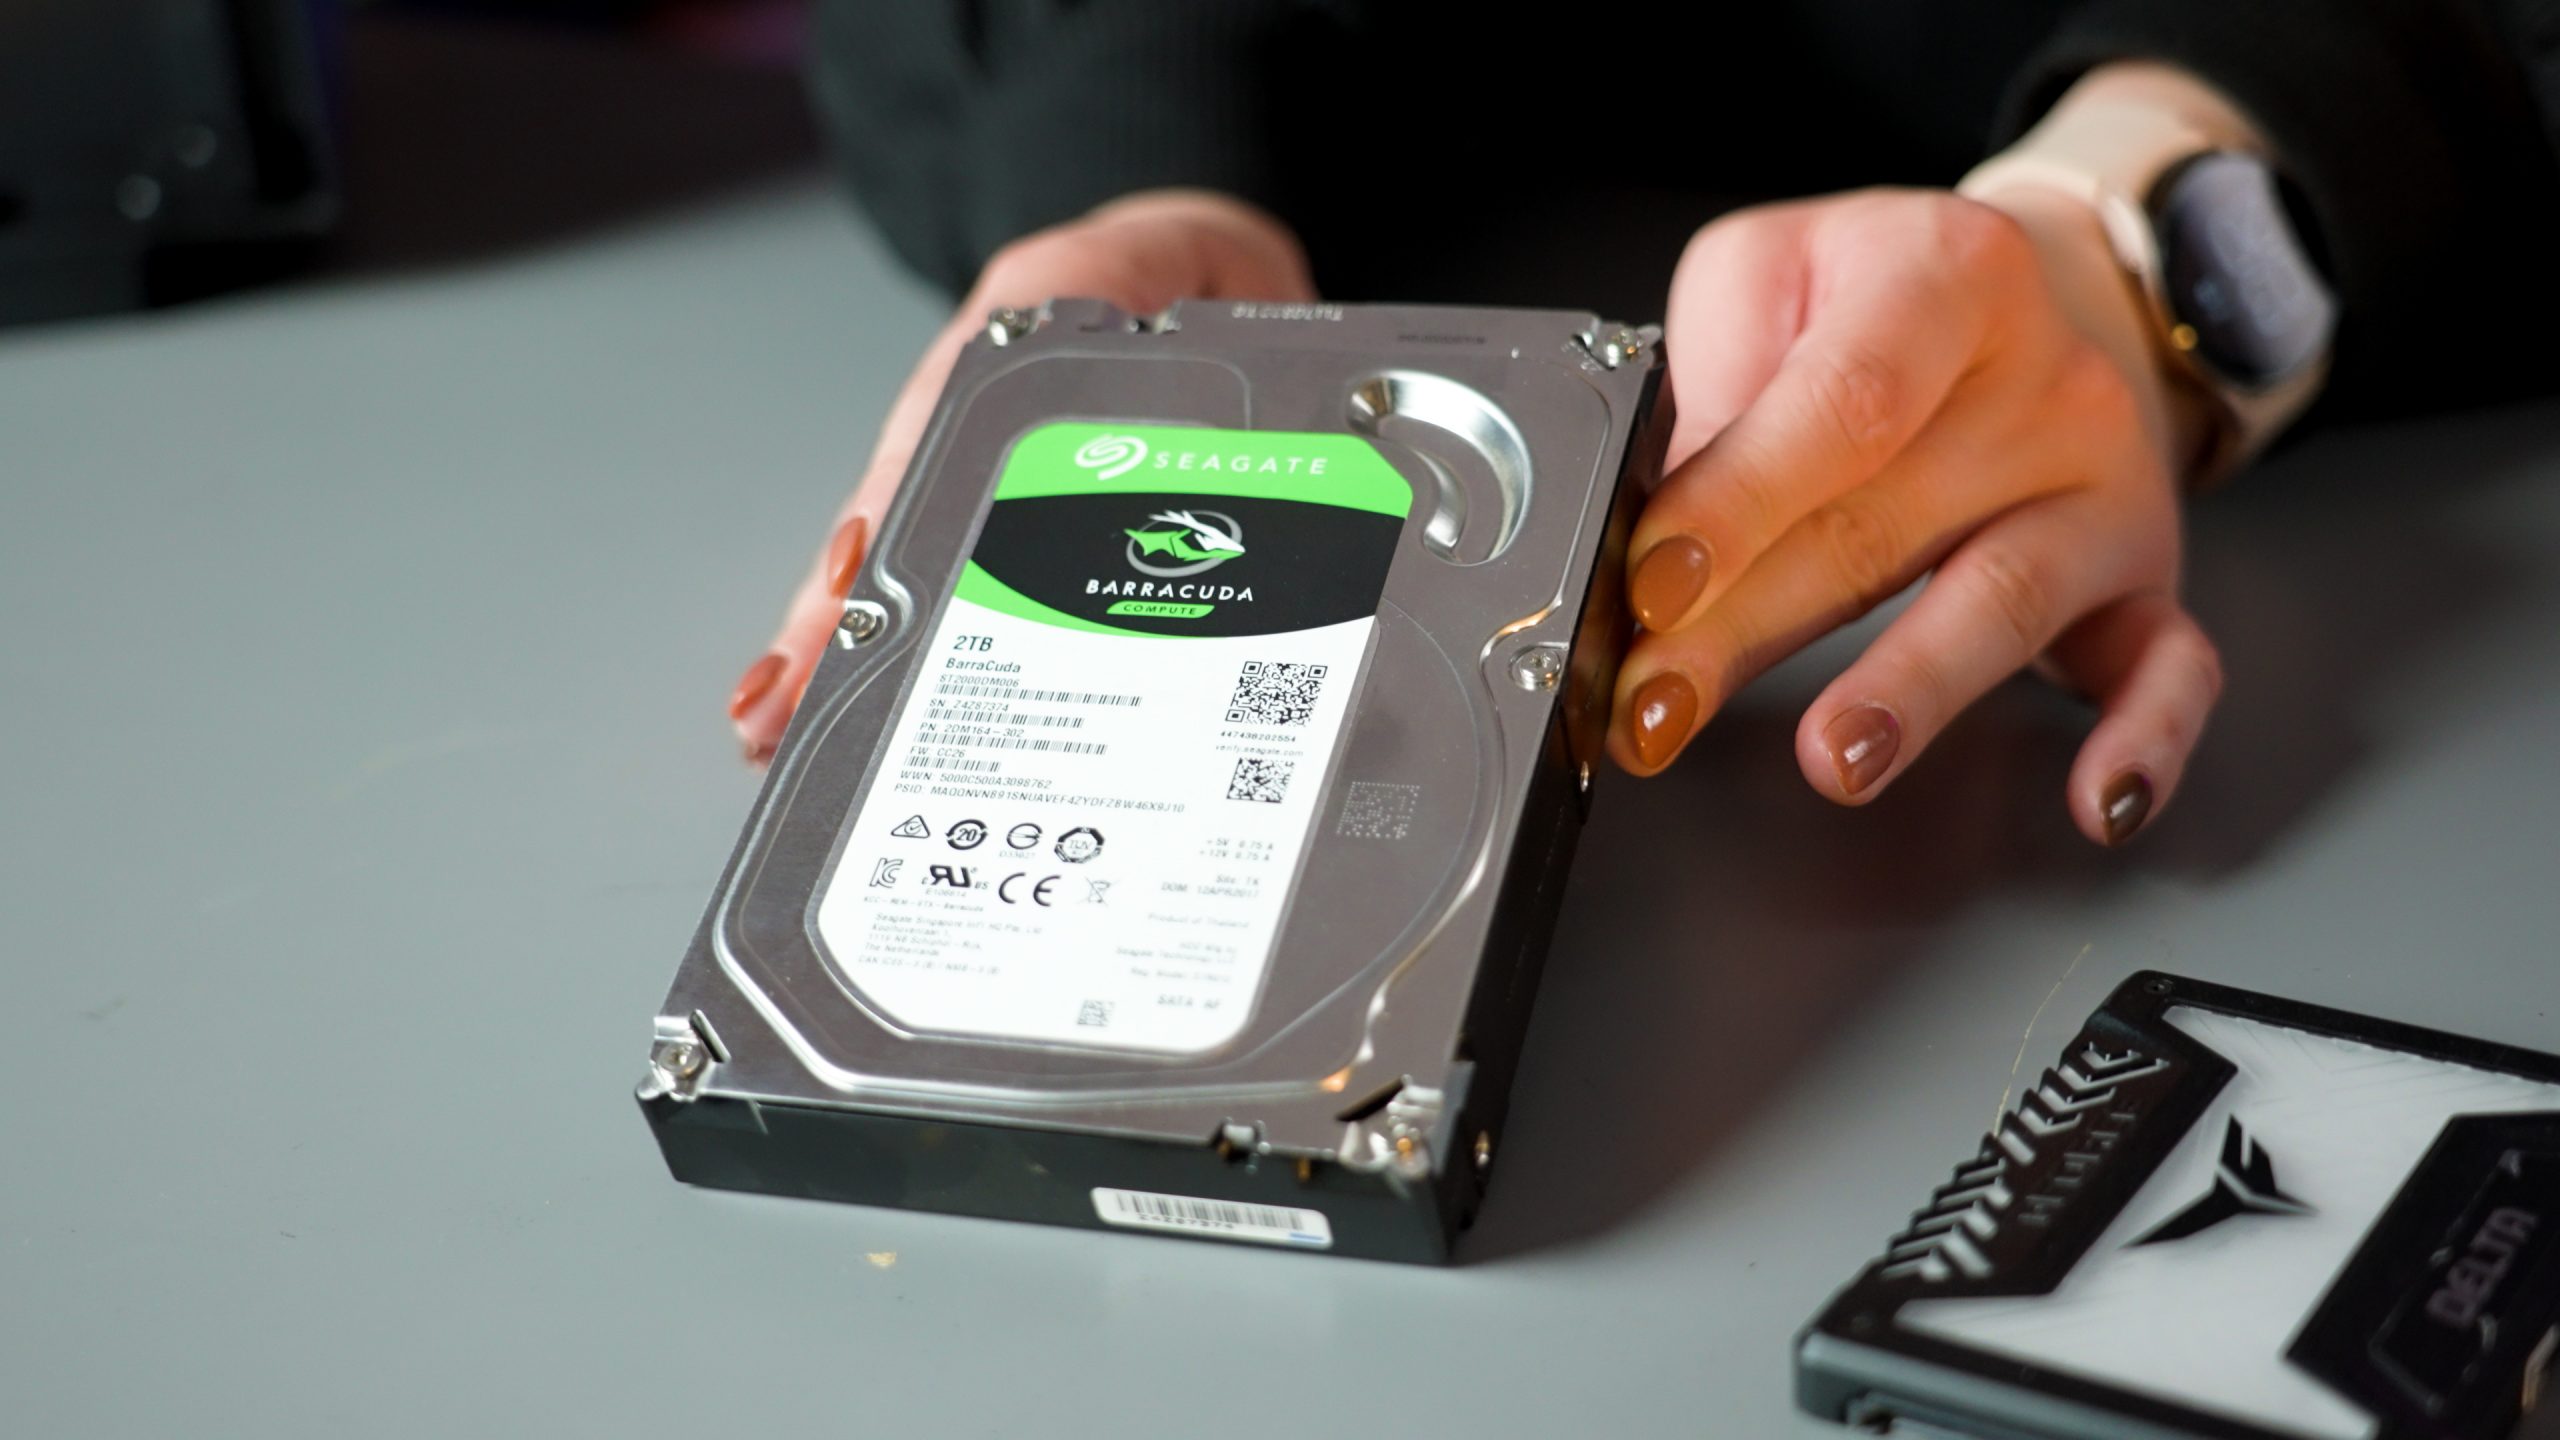
Next, you’ve got your SSDs. These are a new type of storage option that it is becoming more and more popular. They use flash memory to write data digitally, so no moving parts here. This does tend to make them more expensive, but not as much as they used to me nowadays. The two types we have here are your 2.5” SSD, and we’ve also got this M.2 NVME SSD.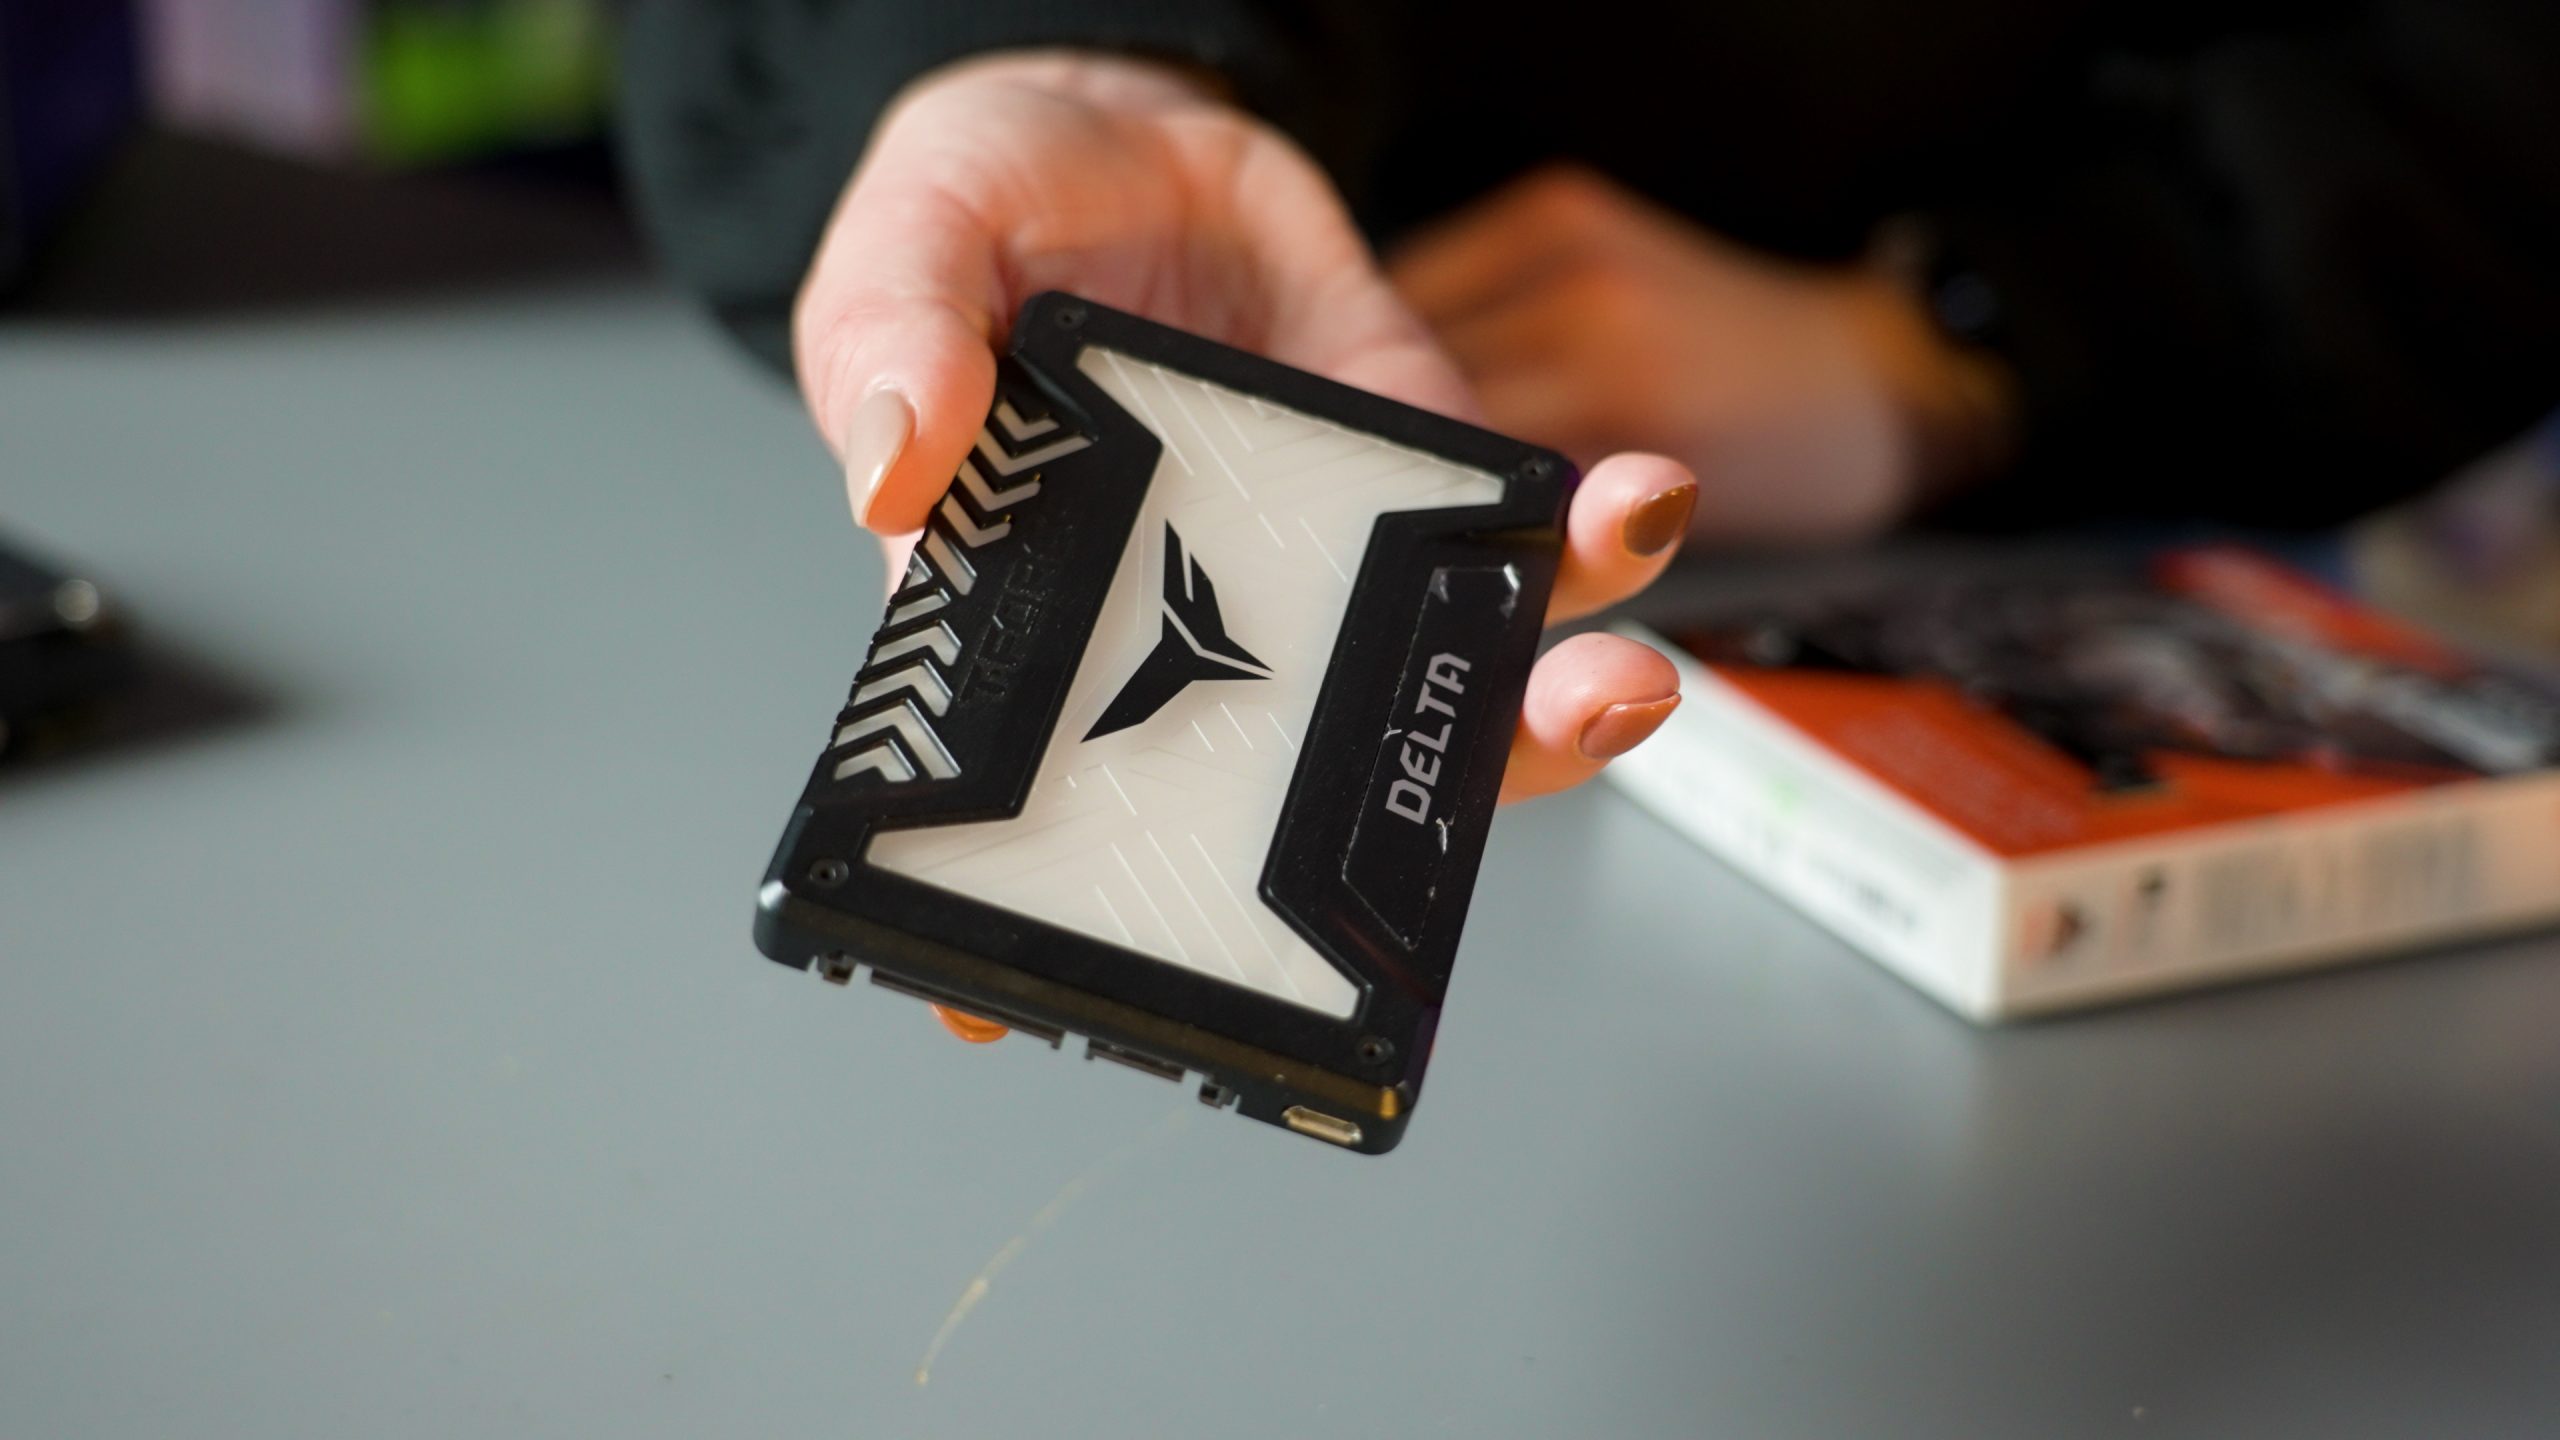
All three of these drives do the same thing essentially, write data. But they all are installed a little bit differently. So, lets dive into installing.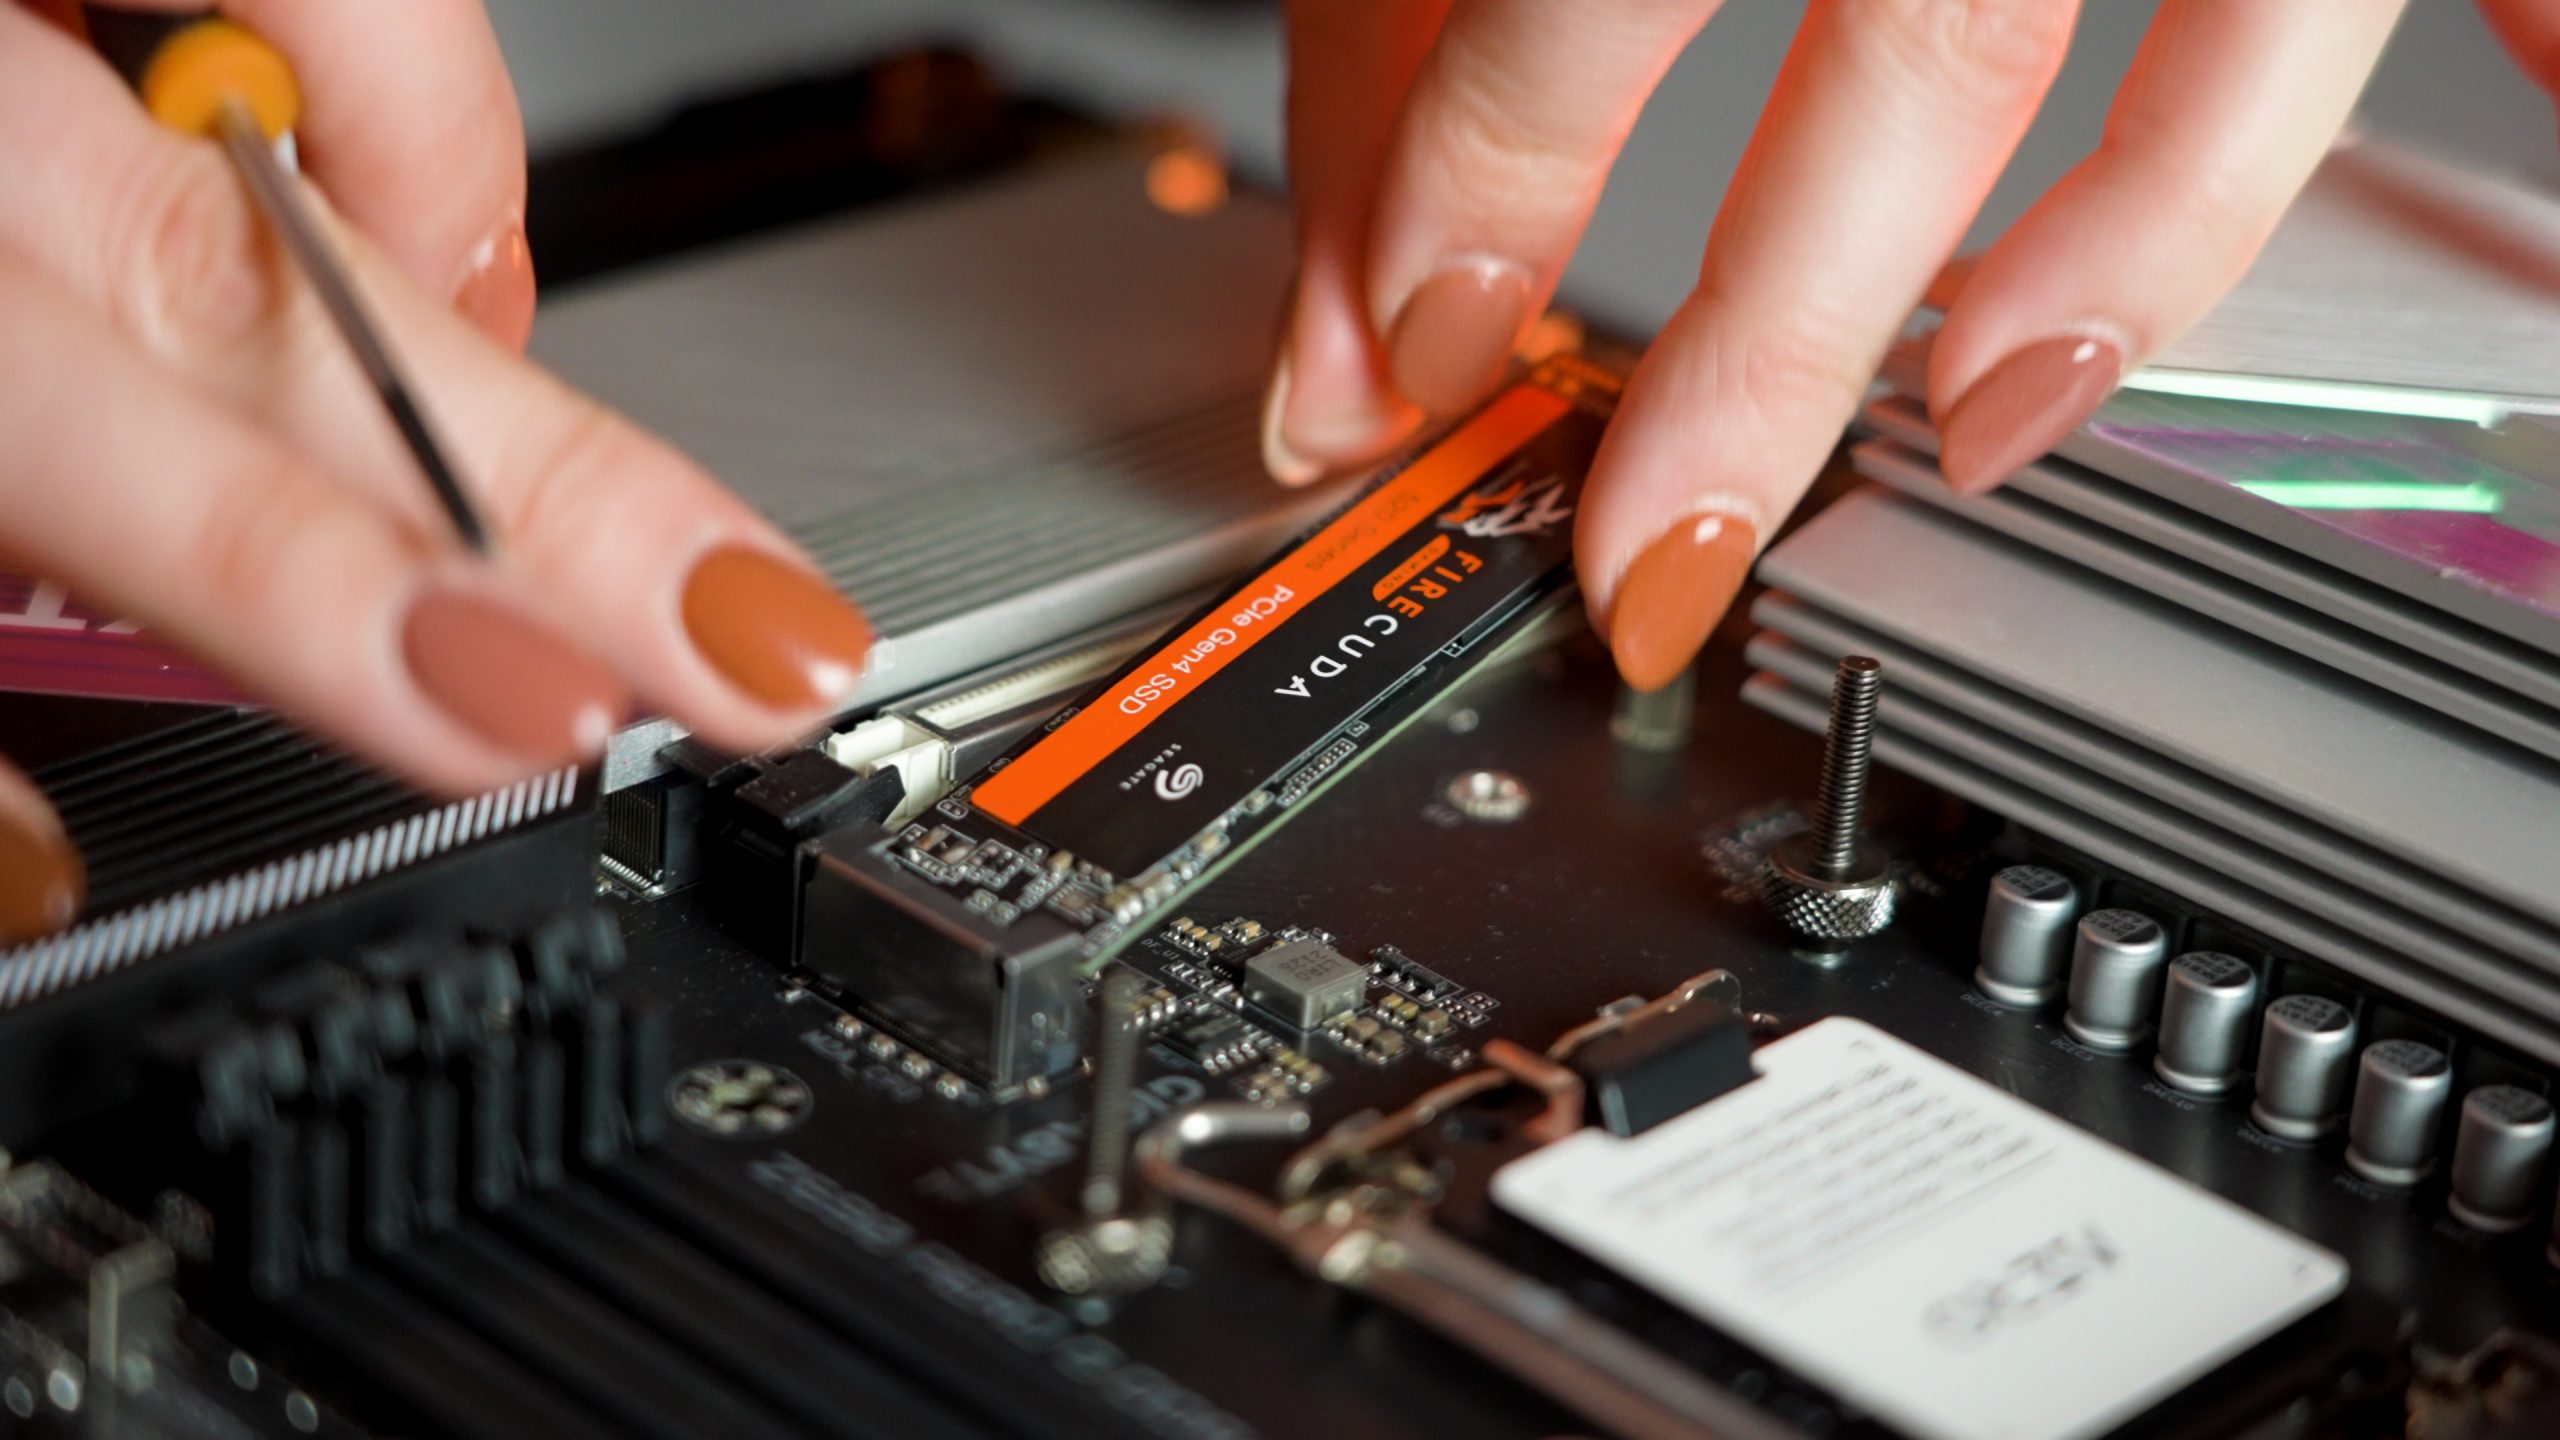
Installation
HDD
This type of drive needs 2 main things to function. First up, power. This comes from your Power Supply, through the use of one of these, a SATA power cable. One end of this is inserted into your PSU, and the other goes into the drive.
OK, now we have power, but there is no way for your PC to detect it yet. So, we gotta get this cable next which is a SATA DATA cable. This plugs in just to the right of your SATA power cable.The other side of this plugs into one of the lanes to the bottom right of you Motherboard. These lanes are what sends the information from your PC to the drive to store. 
Now that your HDD is now hooked up, feel free to mount it in your case if you haven’t already. The mounting options will different of course depending on your case. Some cases have drive cages that the drive will be screwed into, and others may just screw directly onto your case itself.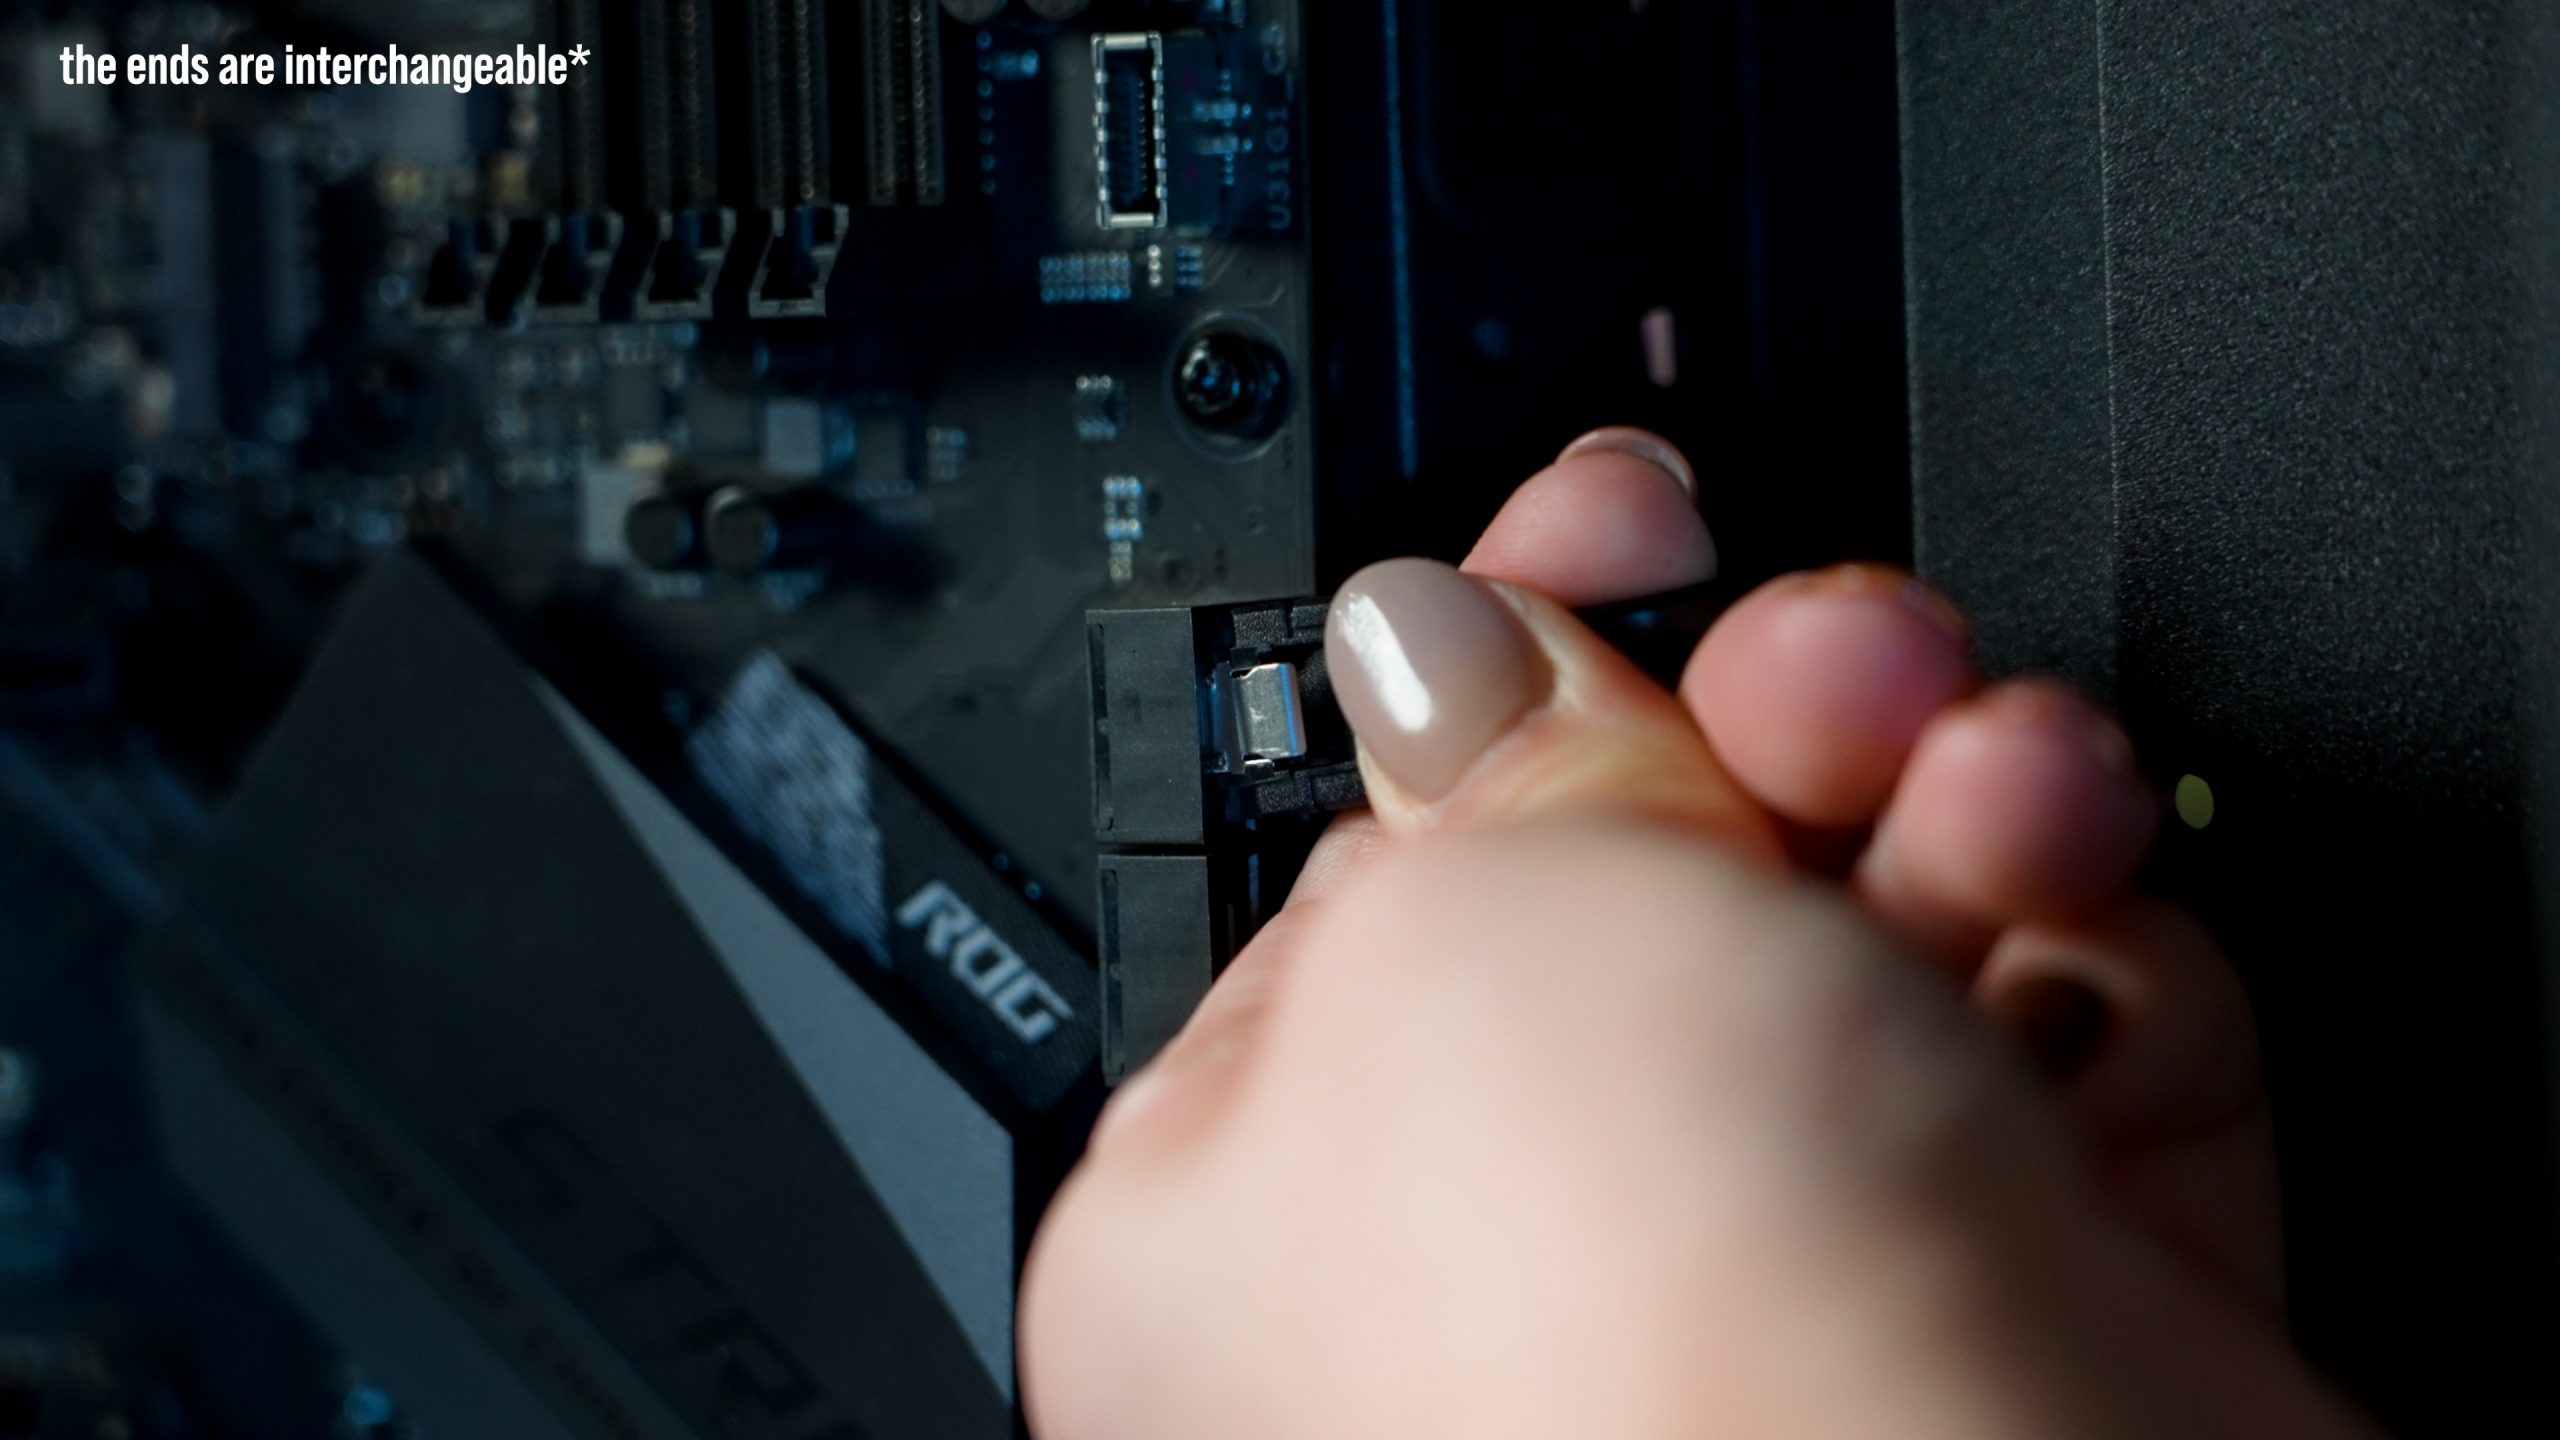
2.5″ SSD
1These install quite similarly to HDDs, needing both a SATA power cable and a SATA DATA cable plugged in. These also get inserted into one of the SATA DATA ports on the motherboard. Mounting wise, often 2.5” SSDs have little mounting plates that look like this that you can install onto. Sometimes you can also insert them onto mounting cages, or even on top of places like PSU shrouds depending again, on your case.
M.2 NVME SSD
These lil guys are a bit different because they actually insert directly onto your motherboard. For this reason, there is no need for SATA power or SATA DATA cables here. Simply locate the M.2 slots which may be covered over with a heat sink. Determine the best one for your particular drive (definitely check with your motherboard manual, as some lanes might be faster than others) and slot it on it. I’d recommend going in on a bit of an angle and really make sure it’s fully inserted. Then gently push it down and either use the included baby screw or if you’ve got a cool modern motherboard, rotate the lock mechanism around to secure it in place. Now either place the heatsink back on if you took it off (remembering to remove any plastic covers if they have any) and it’s inserted.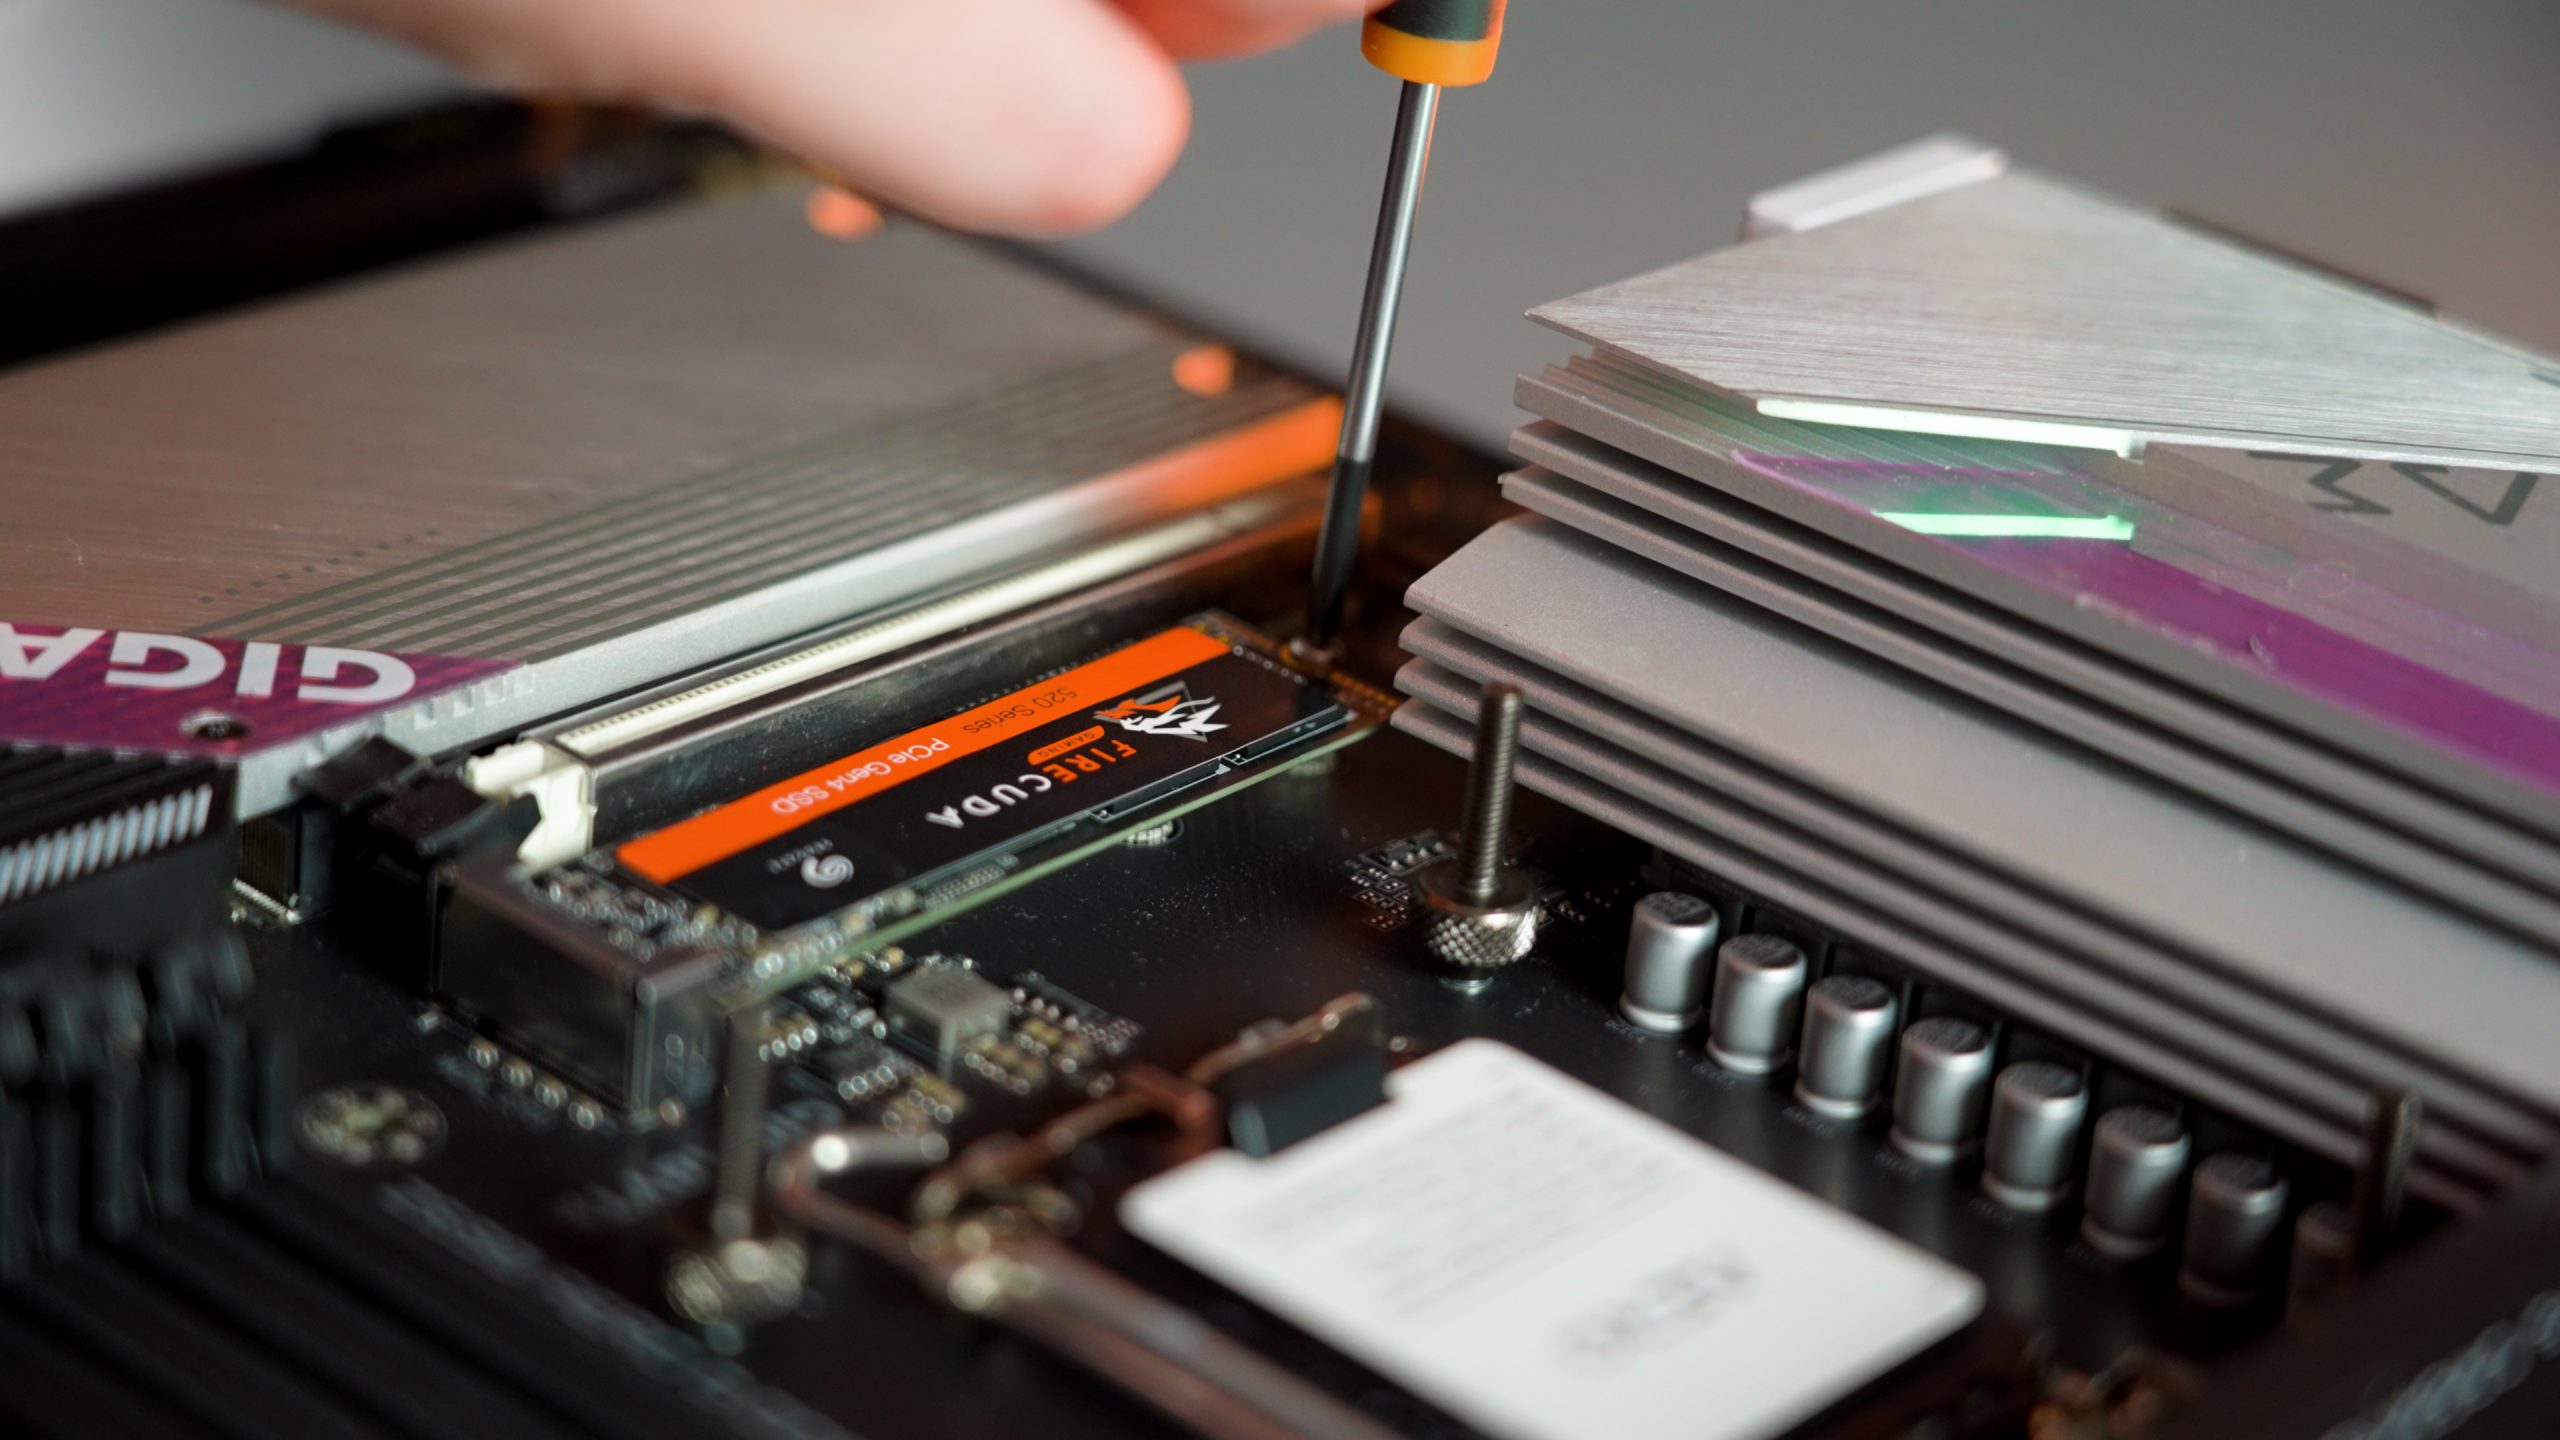
Initialing Drives
But don’t think I’m going to leave you high and dry here. Oh no! Because there is another step to installing a new hard drive that can give you the sweats if you don’t know it’s coming. And that is that once you install new drives, you need to actually initialize them.
Your first step after turning on your PC is heading over to Disk Management which you can do by right clicking on the start menu. This little box will pop up, prompting you to initialize your new disk. Ensure GPT is selected, press OK, and the drive will be registered. But it still does not have a space allocated for its location. To do this, right click on the volume and select “New Simple Volume”, follow the prompts, assign the new drive a letter, ensure its NTFS (unless you’re a wiz with different formats), use default, feel free to change the name if you need, click next and then finish. And you’re done!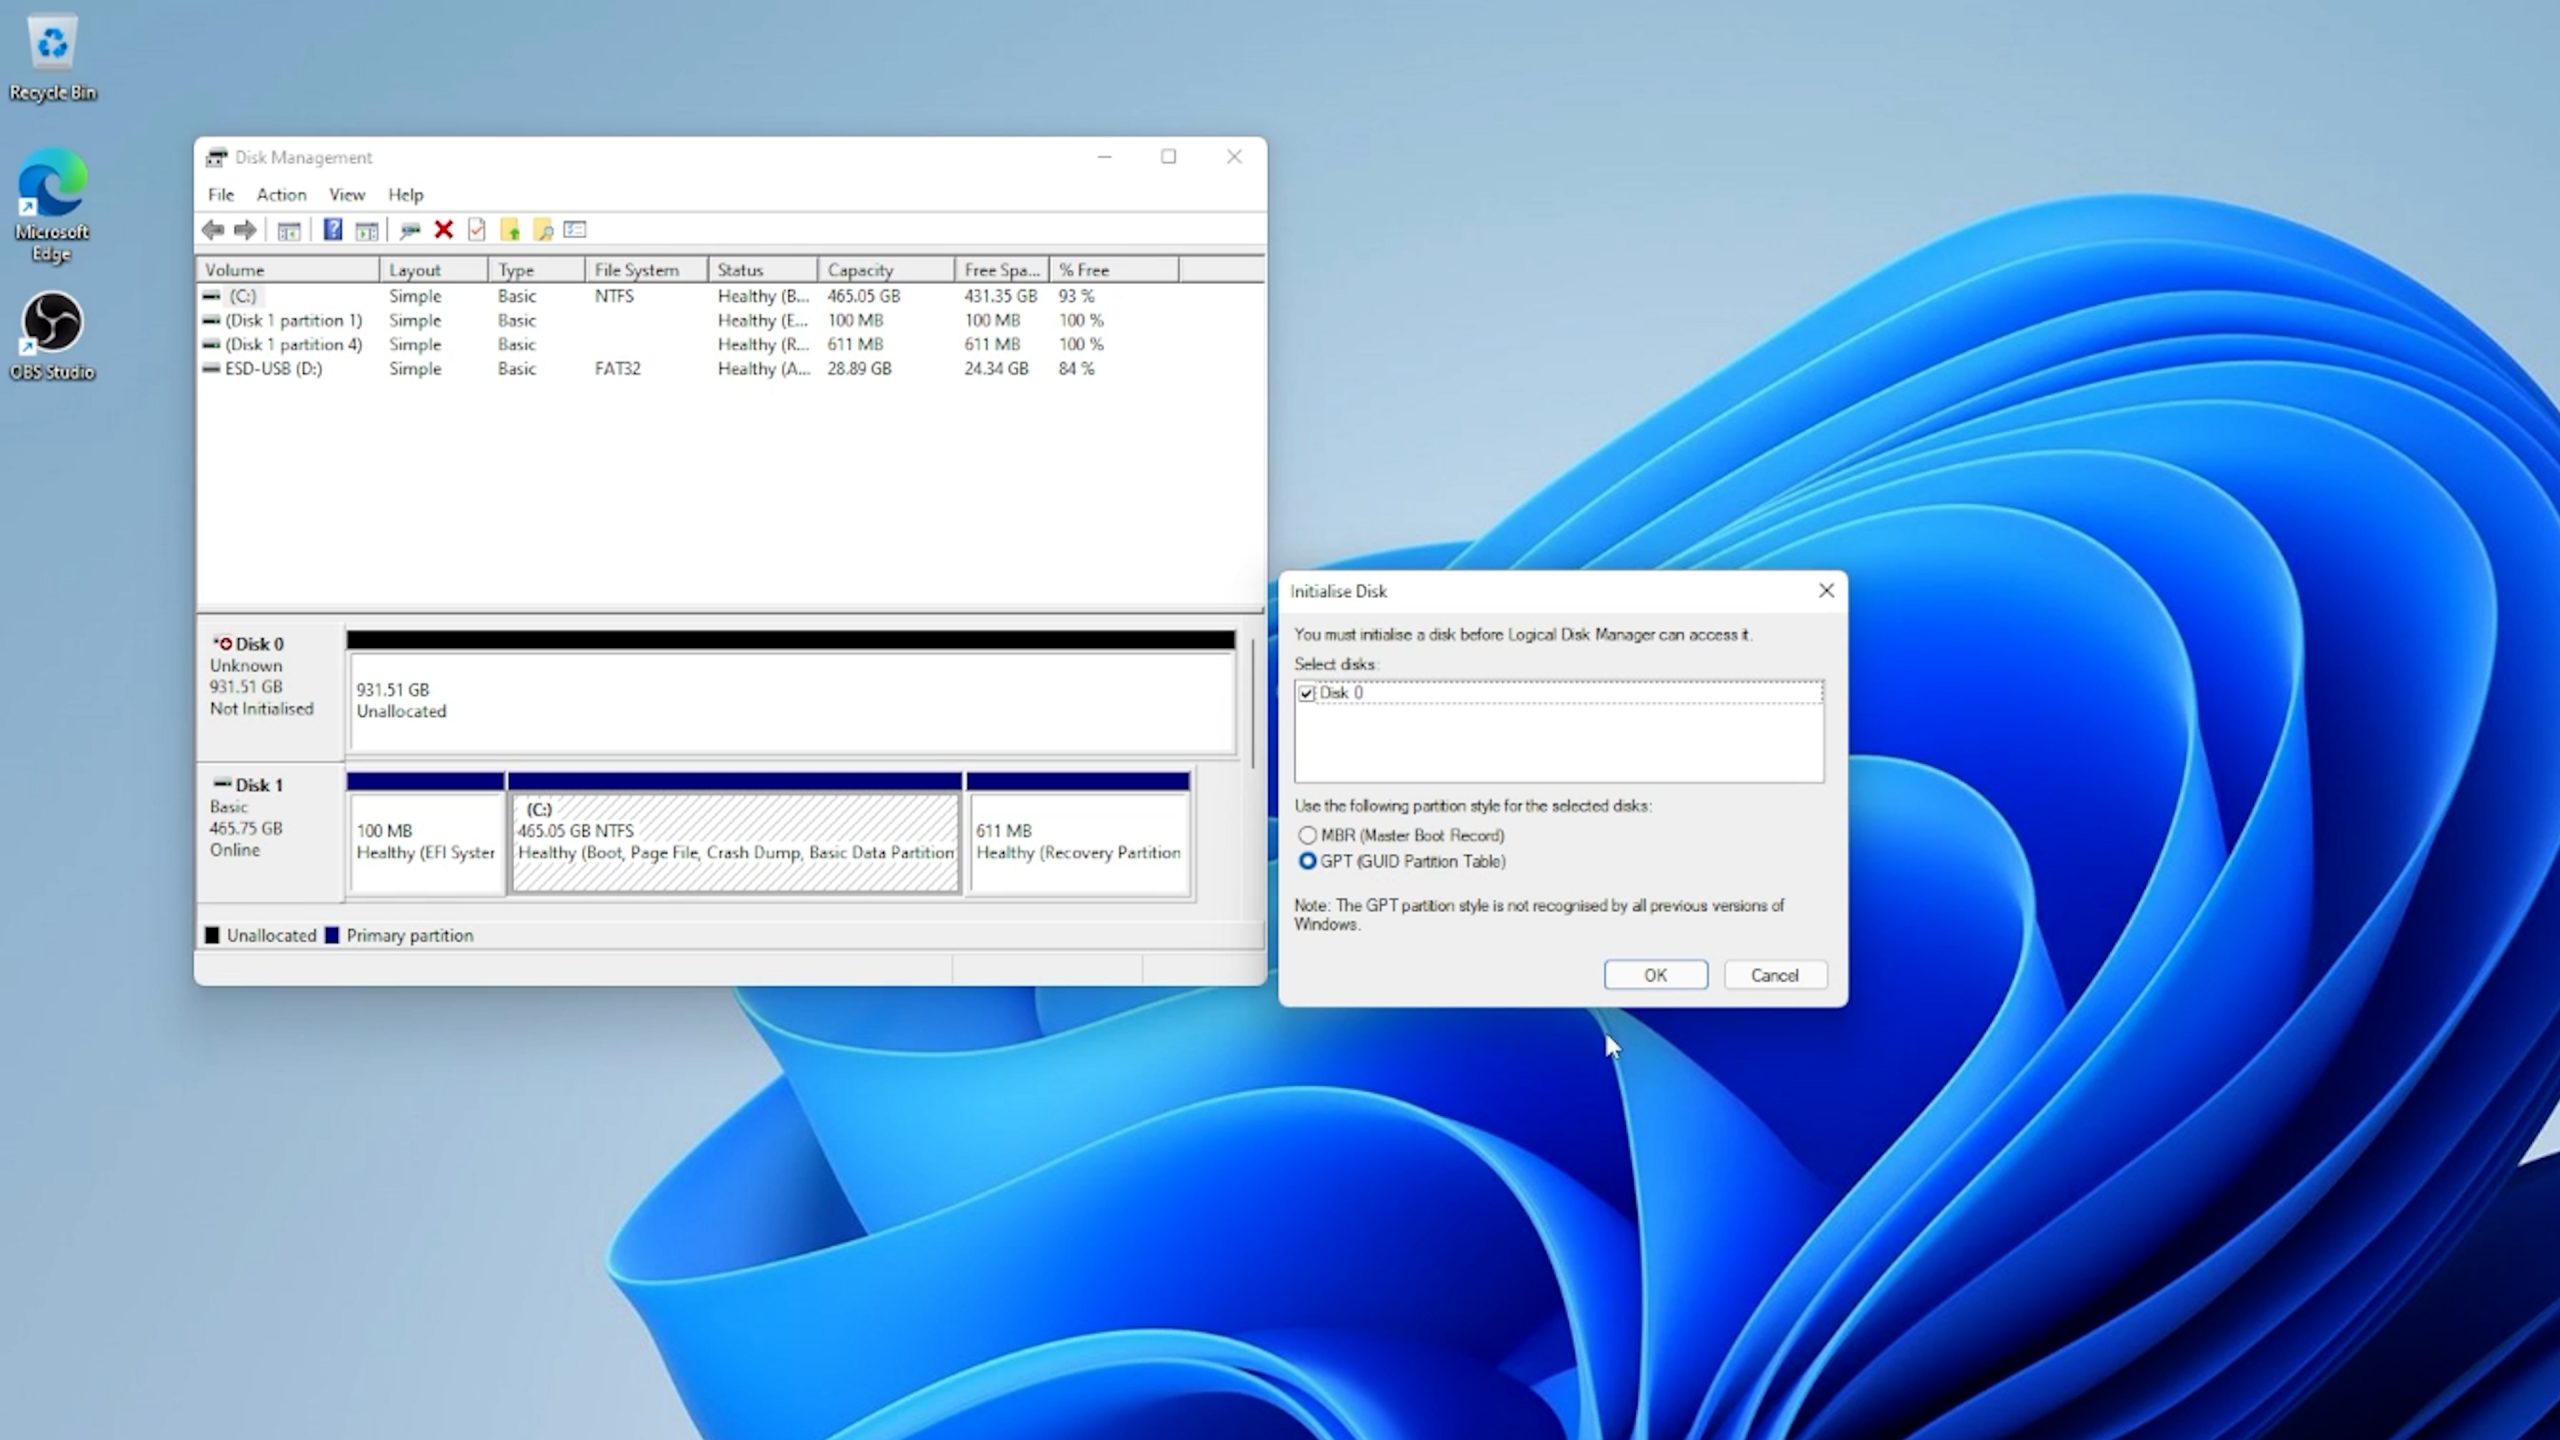
And there we have it, I officially bestow you with your drivers’ license… well, a storage drivers license anyway.
If you have any questions about how to install your storage drives, feel free to chuck them in the comments down below! If you’d prefer to watch this of course, check out the video version over on our YouTube channel!