When I installed my first storage drive and didn’t see it pop up in Windows Explorer, I honestly had a cheeky heart attack. So, this blog post aims to ensure that never happens to anyone again! It’s time for a storage breakdown. Here is how to install storage drives, and what to do once they are in your PC!
Installing an HDD (Hard Disk Drive)
One of the most common drives on the market, the Hard Disk Drive is an oldie but a goodie. It is a mechanical drive, meaning it actually has moving parts inside unlike Solid State drives which I will talk about later.
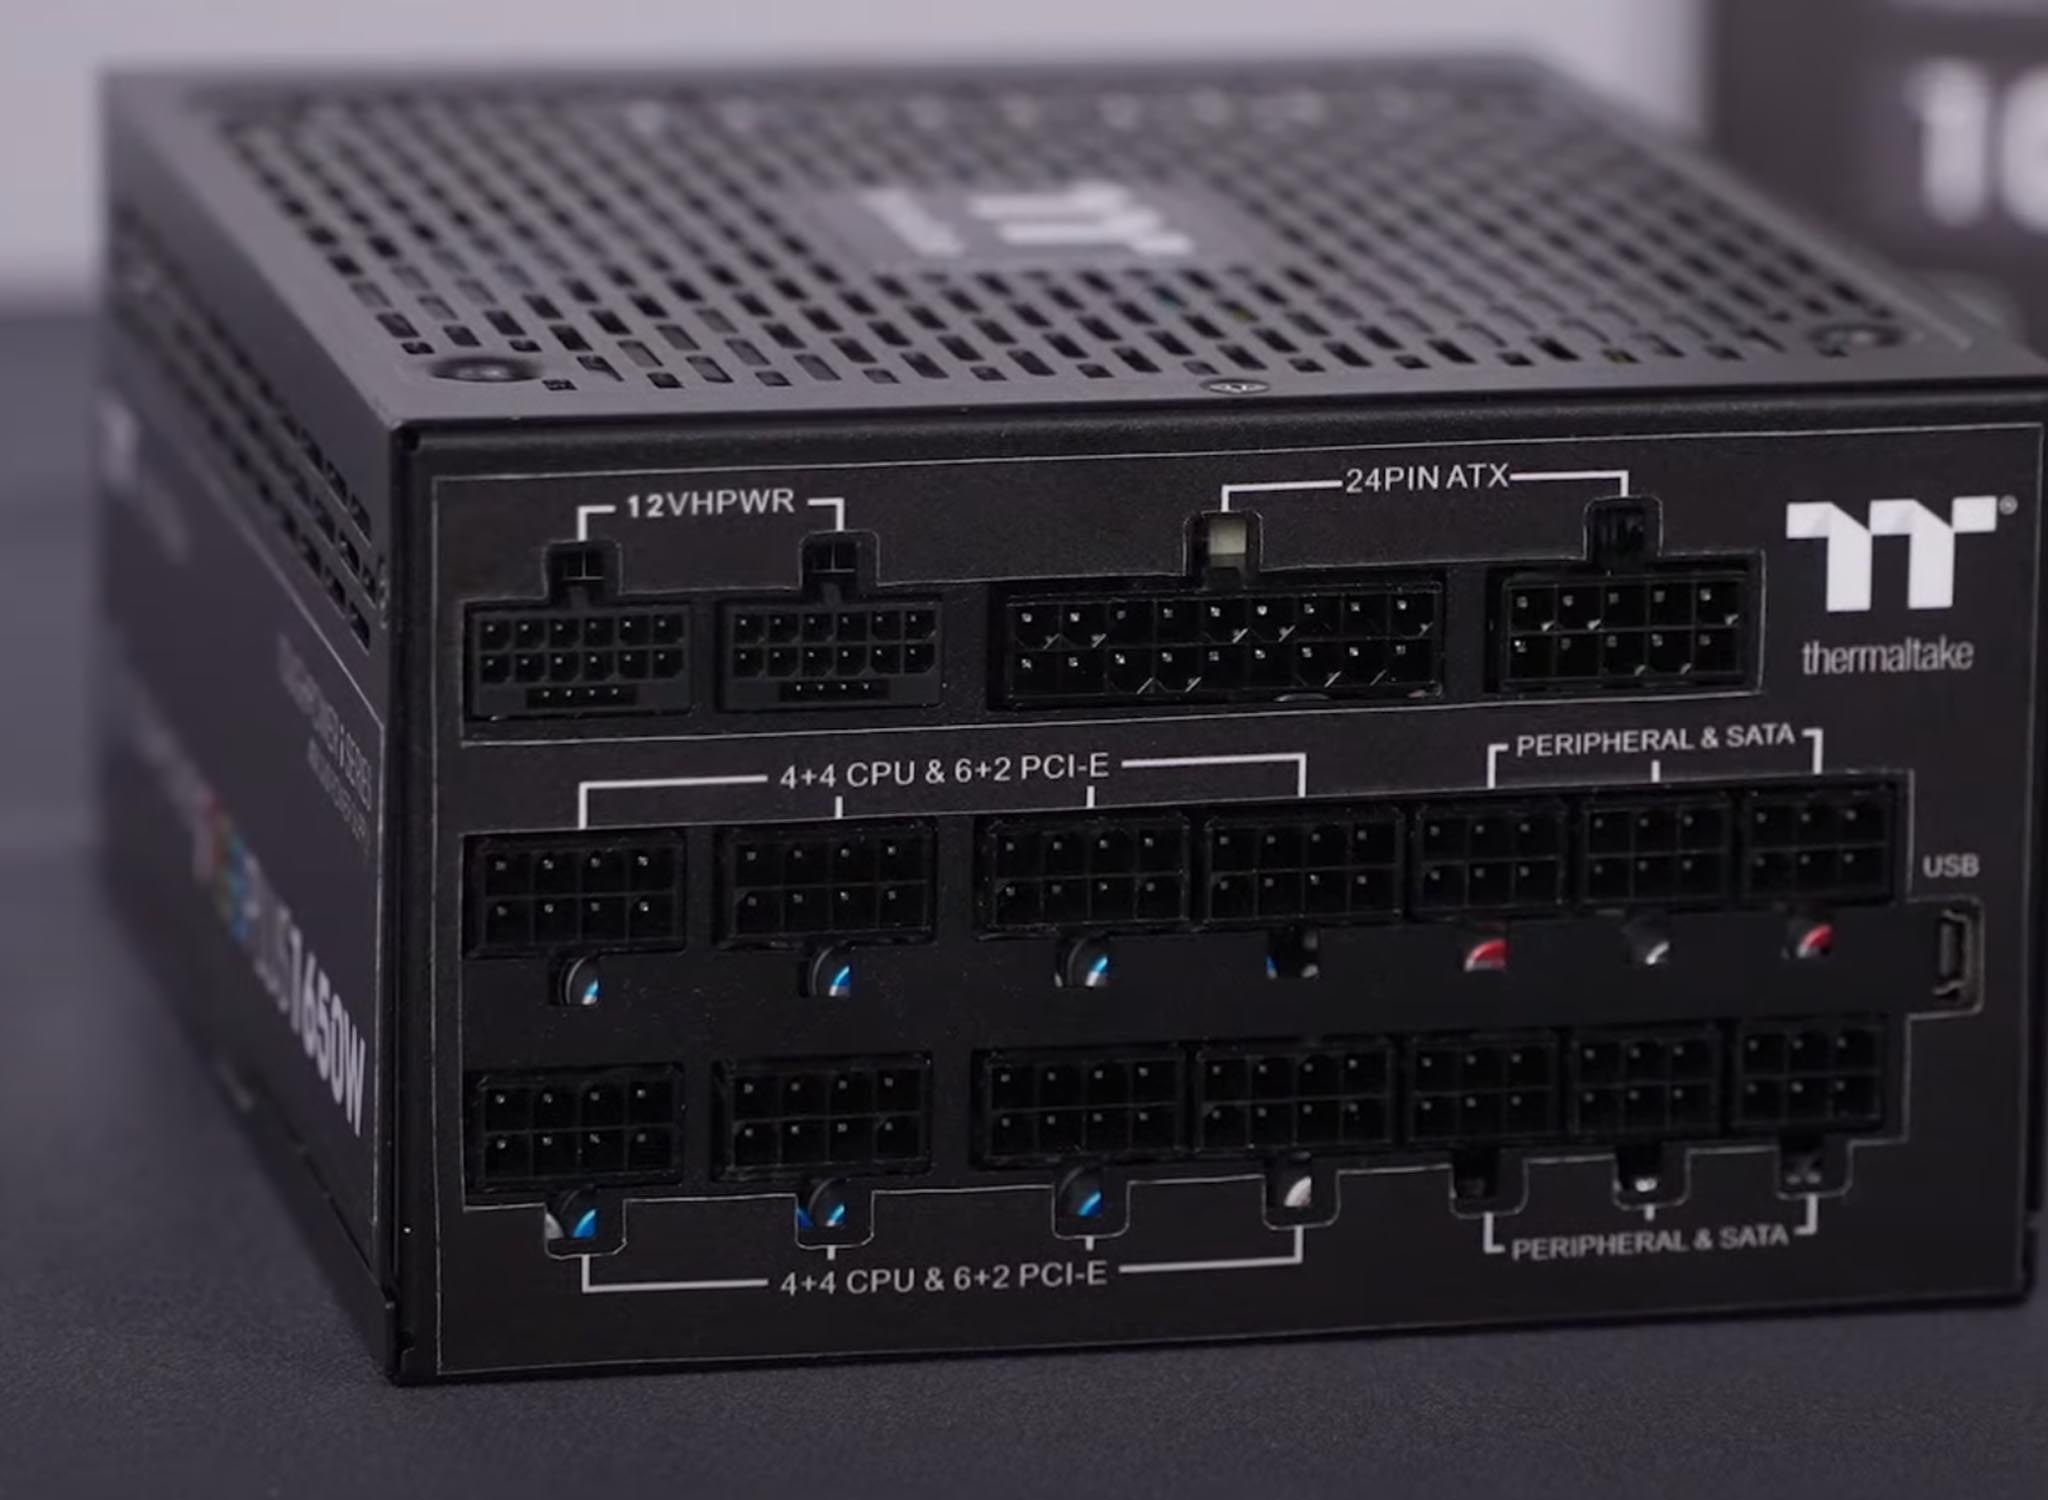
Your first step to install one of these actually begins back in your power supply. To power your HDD, you need to plug a SATA cable into your Power Supply and then connect it up to your HDD. This connects in the long, thin port on the bottom.
Once this is plugged in, you now have to connect it to your motherboard. This is done via a SATA Data Cable, which plugs into the remaining slot on the HDD. This cable will either come with your drive itself, your motherboard, or sometimes even your case, so keep an eye out for it. This then plugs into the SATA Data ports which are to the right of your motherboard, usually a bit below your 24-pin connector cable.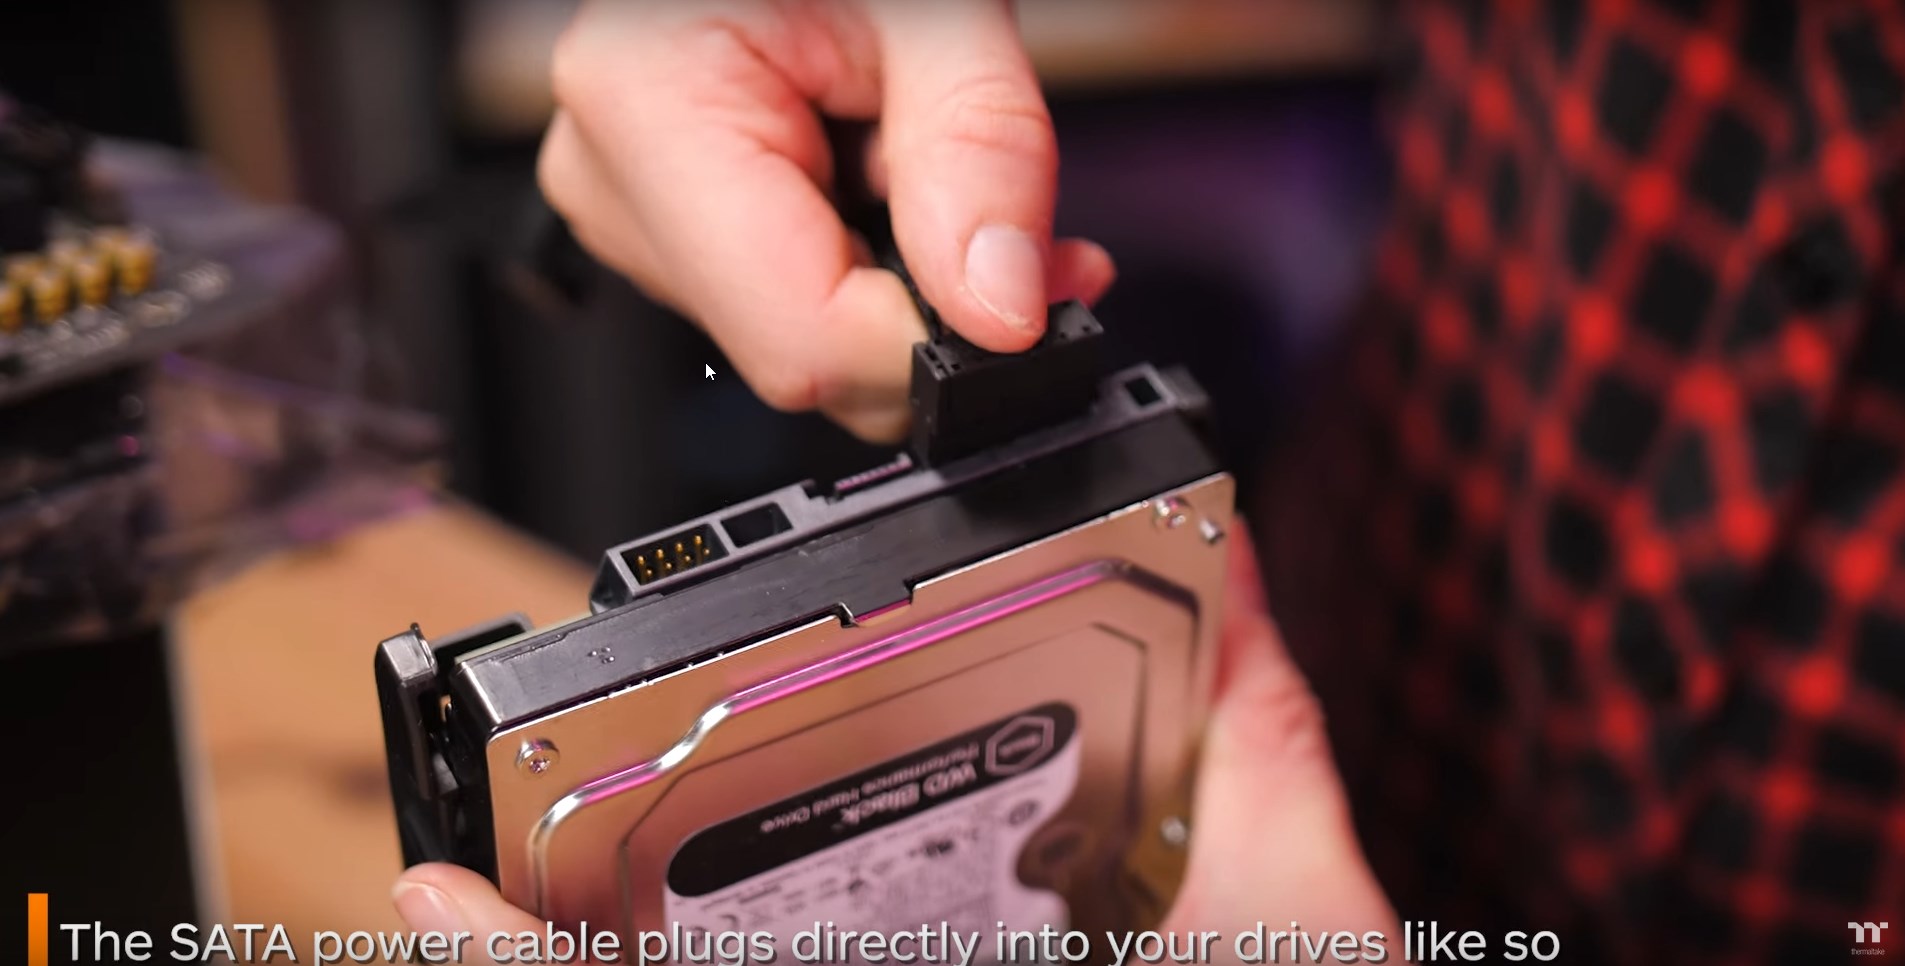
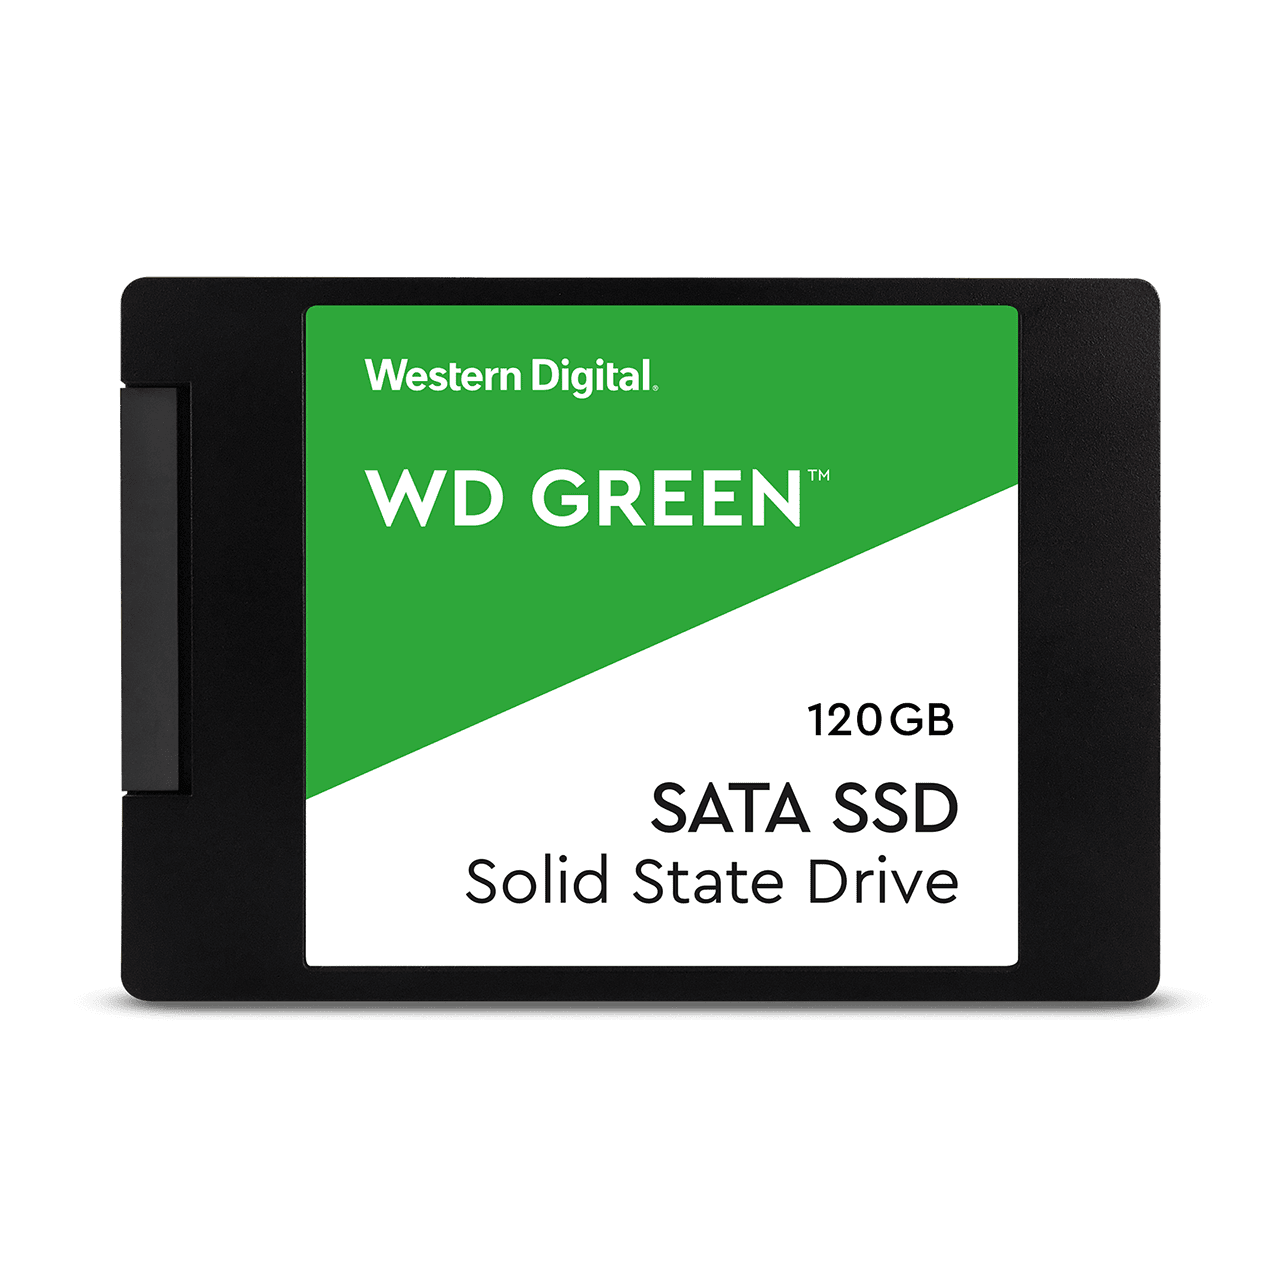
Installing an SSD (Solid State Drive)
As I mentioned before, this is the other type of storage option. Solid State Drives are a newer type of storage that have no moving parts. Due to this, they tend to be both faster and most expensive than their Hard Disk Drive counterparts.
So, within SSDs there are 2 main storage drives you will come across.
The first is 2.5” SSDs. These are slightly smaller and much thinner than HDDs, but you will notice they also have the same two ports on the bottom. So, because of that, its install process is very similar to that of a HDD. Plug the SATA power cable into the larger slot, and a SATA Data cable into the smaller one, the other end of which goes into your motherboard.
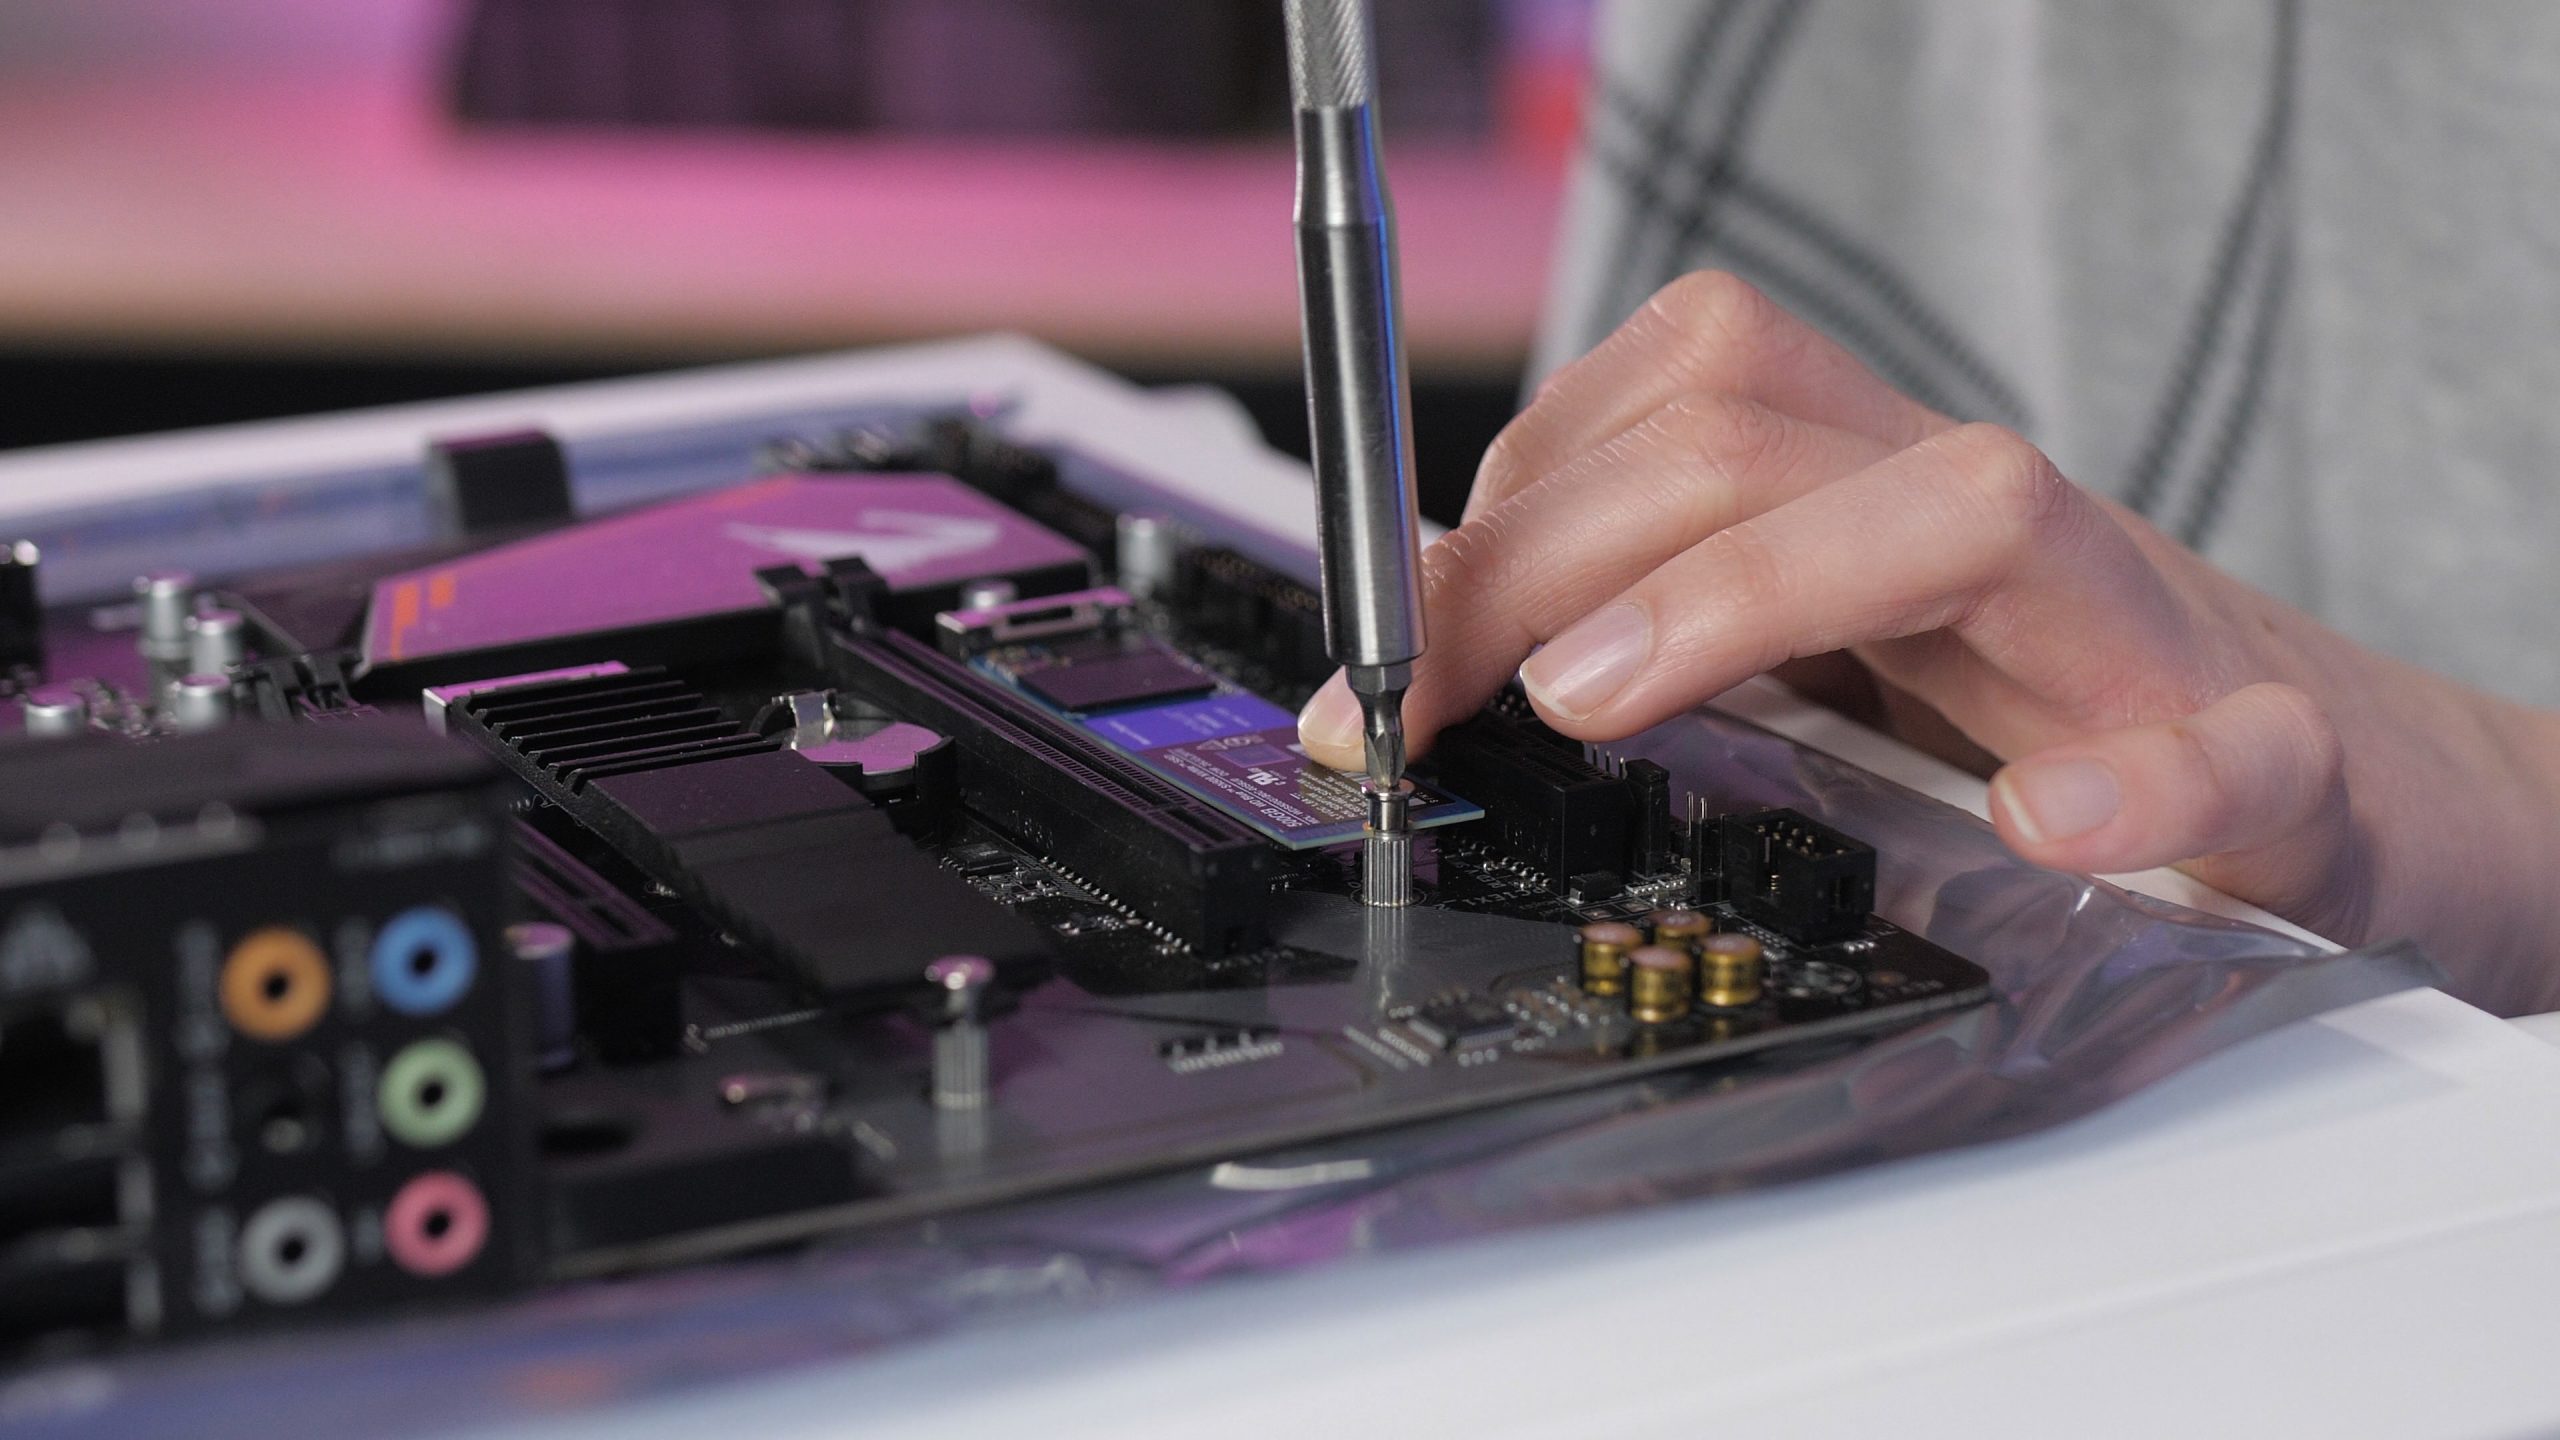
The second most common type, is an M.2 NVME SSD. These are the smallest of all drives, and actually go directly into your motherboard. This means it does not need any extra power from your Power Supply. This drive goes into one of the M.2 ports located towards the middle of your motherboard. Because of this though, just double check that your motherboard does indeed support M.2 drives, as if it doesn’t, you can’t use them. Once you have located the M.2 port, simply shimmy the drive into the end of the port on an angle. Then push it down with your finger and align the hole of the drive with the standoff. If you don’t have a standoff, you motherboard box should have some. Now, just screw in your drive using the tiny screw that also often comes with your motherboard.
Initializing your Drives
OK so drives are all installed, but you can’t seem to see them when you boot up your system? So, what happens now?
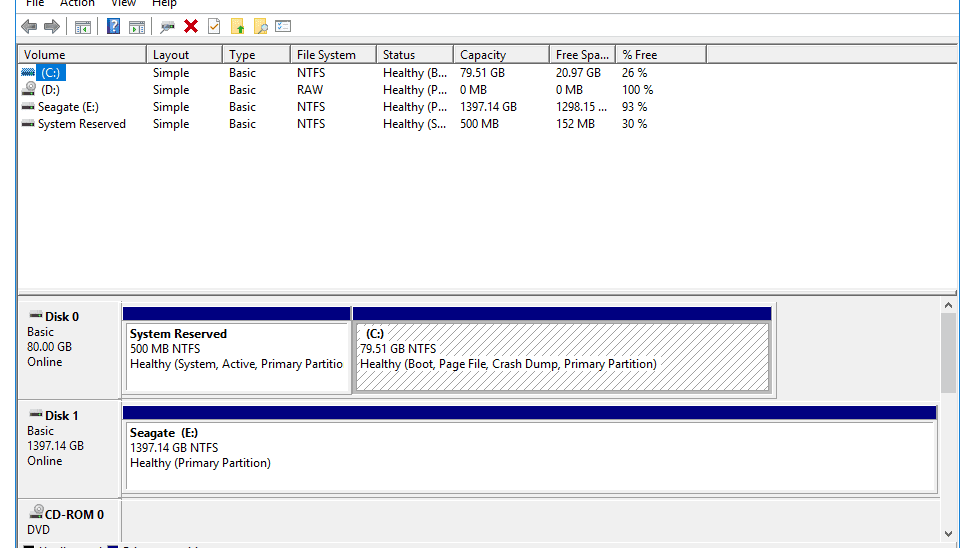
Well, you will need to initialize your drives. To do this, you are going to want to navigate to Disk Management. You can do this by right clicking on the Start icon and selecting Disk Management. Right click in the box of your disk and select initialize disk. You can just select the default partition style if you like. Now, right click in the unallocated space on the drive and select New Simple volume. Follow the prompts, specify a drive letter you want for this drive (preferably one not currently in use), feel free to name it, select next, and then finish.
Now, you should see your drive in both Disk Management and in your Windows Explorer and you can use it to your heart’s content.
But what if it wasn’t that simple?
Of course, sometimes things don’t always work out. So, here are two quick tips if you are having a hard time getting your drives to cooperate.
1. Make sure everything is connected properly
It does seem a little obvious in hindsight, but even the slightest cable that has come loose can affect everything. So, double check everything is nice and secure and try again.
2. You are using a lane that is already taken
Now, this is where things can get a little confusing. You see, the Data ports on the motherboard, correspond to a lane. So, if you are finding your drive won’t pick up, it’s possible it’s in a slot that is actually already taken. This happened to me when my M.2 was technically occupying a lane that I also had my 2.5” SSD in. All I had to do was swap the port it was plugged into, and BAM problem solved.
So, there was a breakdown of your storage. Hopefully, now you know how to confidently install storage drives!
Do you have any other pro tips regarding how to install storage drives? Let us know in the comments below. Or, why not check out the rest of our Tech posts here, or head over to our YouTube channel for more awesome content from us!