
One of the most commonly searched PC related questions is without a doubt, how to build a PC. This is question I myself Googled not that long ago for my first build. It can be difficult coming in with no prior knowledge. You sift through article after article in the hopes one of them will make sense. Well, hopefully I can help with that! Even though I’m no expert, I am determined to help other newbies enter the awesome world of PC building. So, without further ado, here is my basic guide for how to build a PC.
CHOICES, CHOICES!
 Before you start any building, you must get yourself stuff to build with and something to build in. In terms of gear, you want to think about what you will be using your PC for. Are you just using it for gaming, or do you also want to look at content creation as well? Are you specific about how things look graphics wise, or don’t really mind? Deciding the purpose of your PC will help you a lot with deciding your parts and brands. So, for example, your CPU. If you want to do high tier gaming, go with an Intel. But if you want to be a content creator, AMD is probably a better option. Additionally, keep a clear budget in your mind. Then you can decide if you can perhaps splurge out on a certain part you really want. Then, you can stick to a standard item for something else of a lower priority for you.
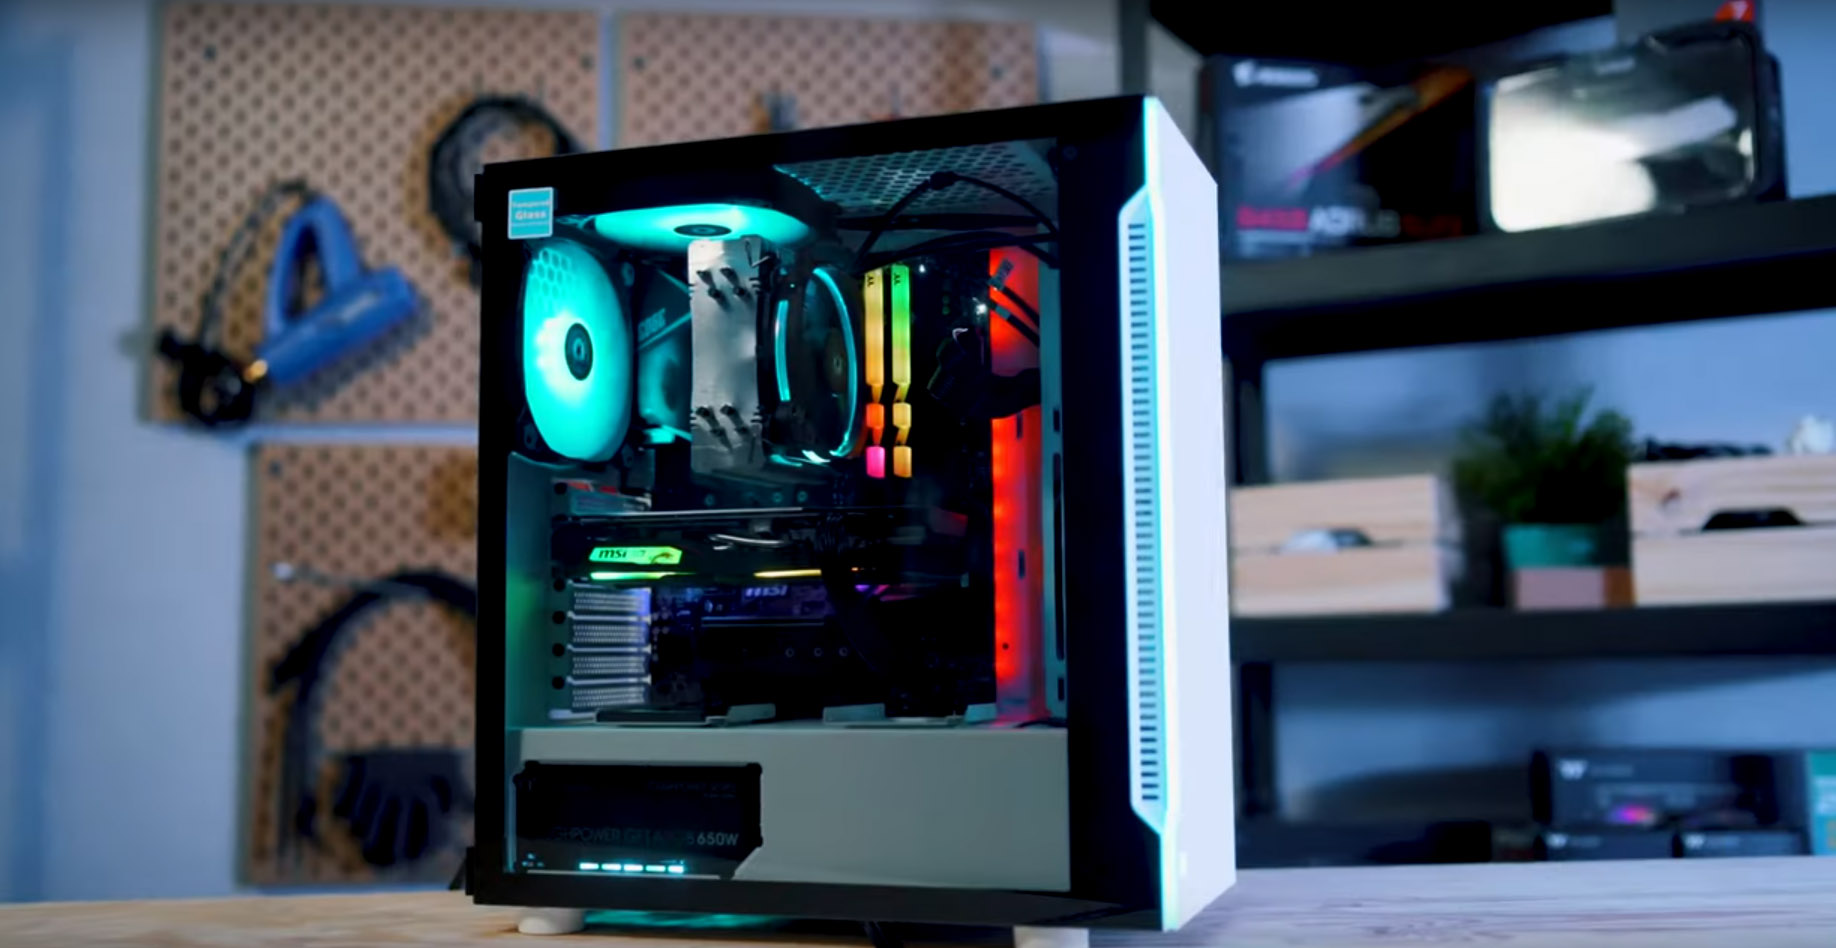
Basically, the items you must get are as followed: a CPU, Motherboard, RAM, Power supply, Graphics Card and a hard drive or SSD. If your CPU didn’t come with a stock cooler, you may also have to buy a CPU cooler separately. The stock cooler you can easily upgrade later if you want to overclock, or if your CPU is overheating. You also need to invest in a case to put them all into as well. Ensure that all your parts will fit into the case you chose as well. This mainly applies to the motherboard. Because they have different sizes, and not all size motherboards will fit into all size cases. You might also want to invest in some extra fans, as most cases only come with one or two preinstalled.
MOTHERBOARD, ASSEMBLE!
 A lot of the steps in the following few sections will be in a slightly different order depending on who you ask. In the end, I just say do the order that feels most comfortable for you.
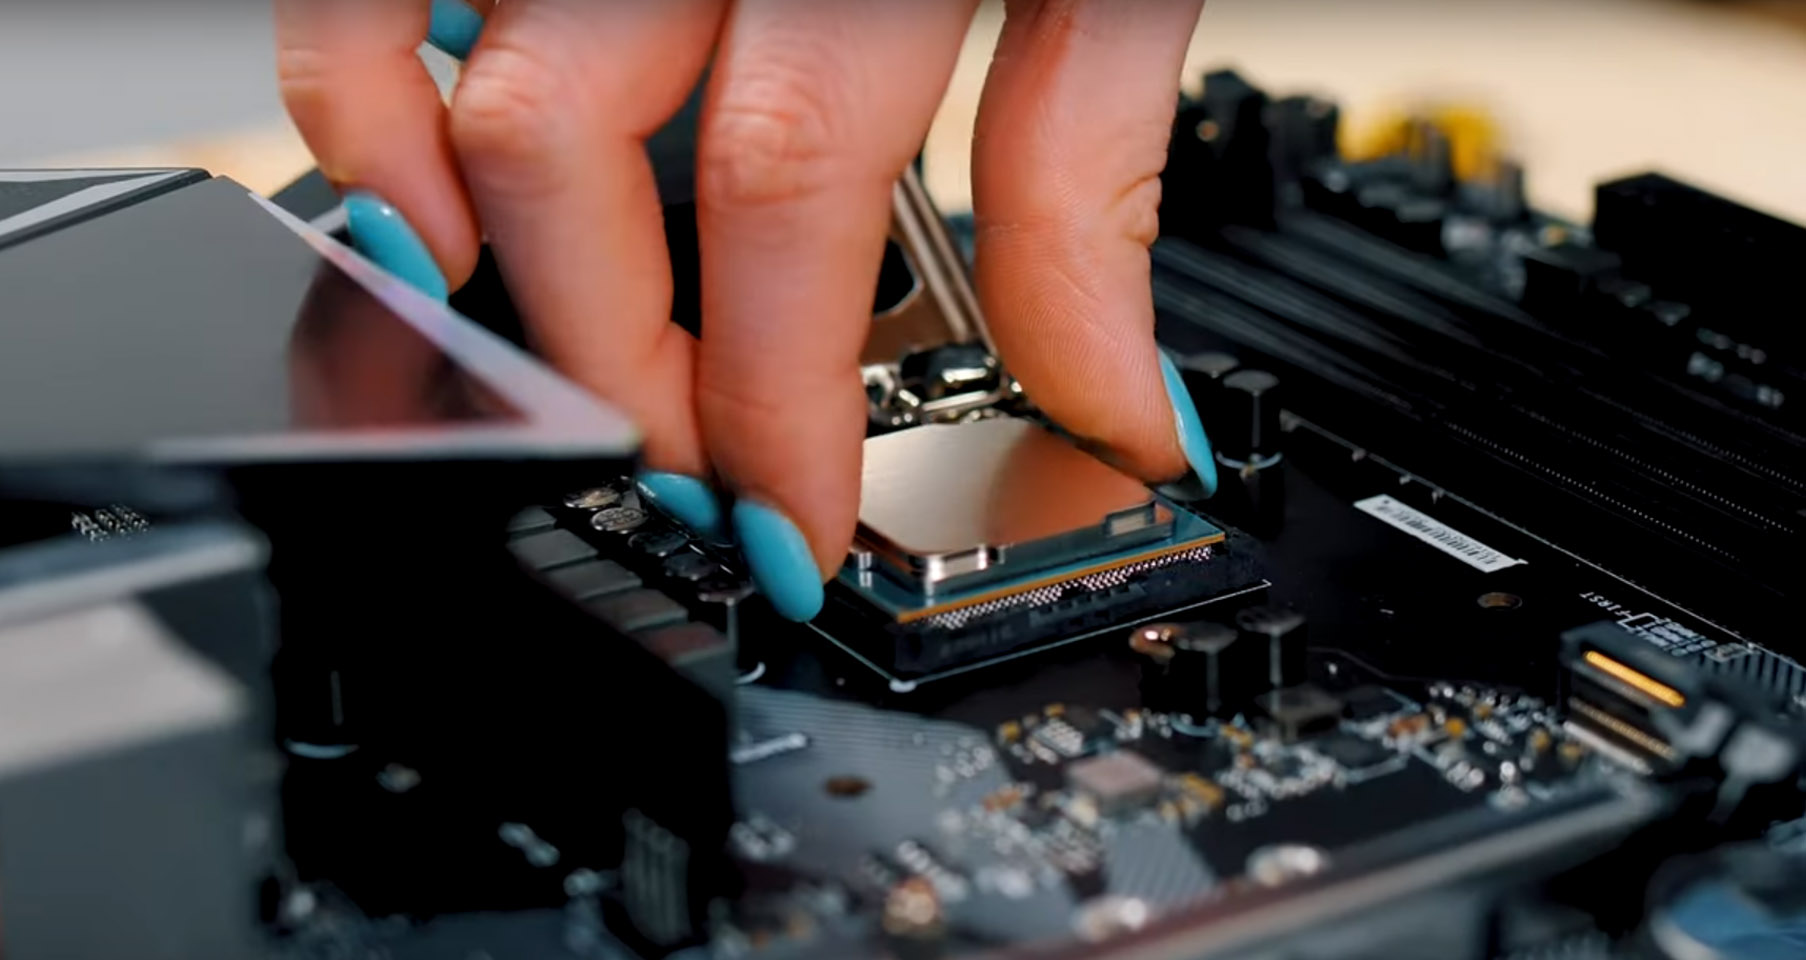
To begin, grab your CPU chip by the sides and slowly lower it onto the CPU base. Depending on which brand CPU you have, there will be a different indicator for which direction it should go. AMD tend to put a little triangle on one side that lines up with a triangle on the CPU socket, where as Intel has two cut out notches on its side which line up the socket ridges.
Next, install your sticks of RAM into their slots. RAM tends to have a little notch cut out of it which you align with a bump in the RAM slots, which signals which direction it’s supposed to go in. Look for the little latches and lift them up, slotting the RAM down onto the DDR4 slots. As you push them down, the little latches should clip around the RAM, securing it in place. It’ll make a little clicking noise to tell you its all installed correctly. There are often a few slots to chose from for your RAM, so ensure to double check with your motherboard’s manual to ensure they’ve been installed on the right slots.
PREPPING IT ALL
 Next, you’re going to want to install the I/O Shield which came with the case. These can be quite finicky, so don’t feel bad if you must fiddle with it for a while. Next, you can install the CPU cooler over your CPU. This will differ a lot depending on what sort of cooler you have. So, your best bet is to follow the instructions with the cooler or give it a Google. You also might find it easier to install the cooler after the motherboard has been installed, as it might block other internals, so it depends on what space you have to work with. One thing to remember though is to double check if the cooler comes with thermal paste pre-applied or not. If it doesn’t, use the thermal paste supplied and squeeze about a pea sized amount on the CPU. Then attach your cooler to the motherboard. If it is pre-applied, then it is ready to install already.
Now, you’re going to want to install any extra fans you may have as well securely in place. Ensure you have good air flow too, with some fans blowing air in and others, out. A solid rule of thumb is to have the front fans as intake (pulling air in) and the fans on the top and back as exhaust (pushing air out).
INSTALL, INSTALL, INSTALL!
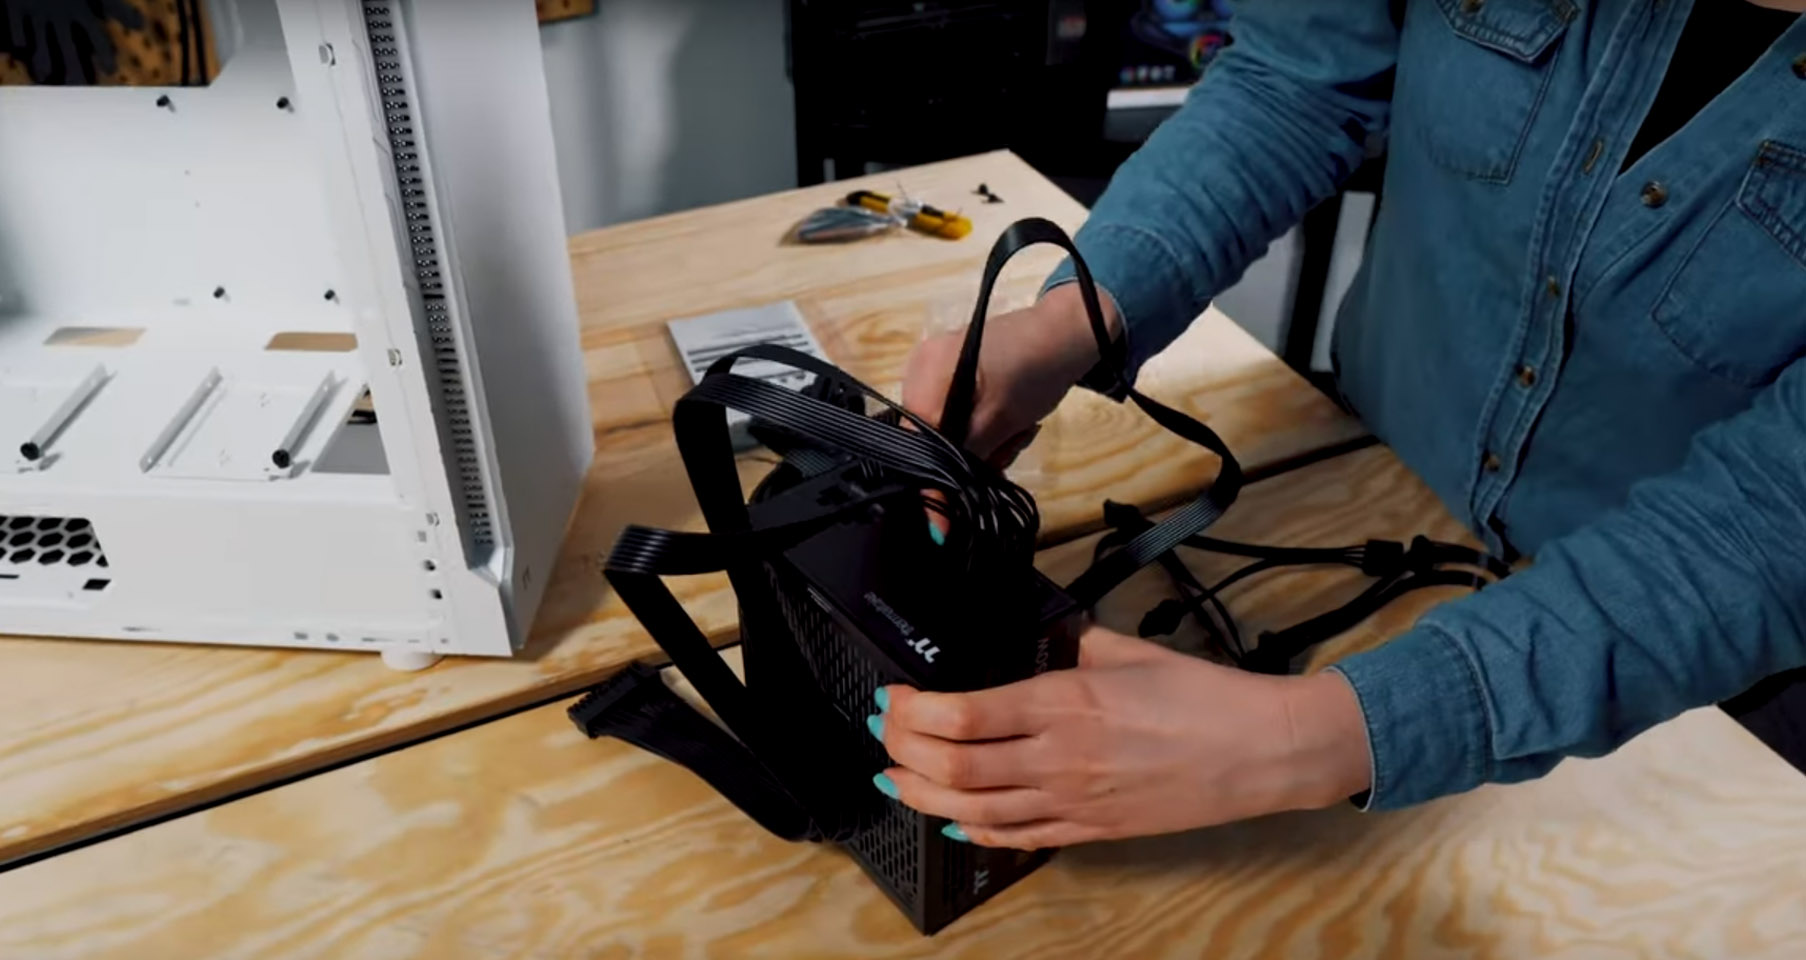
Next, you want to install your Power supply. This will have its own little space within the case. If it has a PSU Bracket on the case, remove it and attach it directly to the Power supply before putting it in the case. Make sure it’s the right side up and slots in properly (and screw back in the PSU bracket once it’s in, if it had one).
Now you’re going to want to ensure all your cables are in the right places, as the motherboard will be going in soon. So, go through all the different cables you have and figure out where they will need to go once the motherboard is in. There’s nothing worse than screwing in the motherboard, only to find out a cable is too big to slip under the motherboard and get to the spot it needs to go.
Once everything is prepped, carefully lower your motherboard into the case. A good way to ensure you’ve placed it in correctly is to line it up with your I/O shield. Also, make sure that the little metal clips on the I/O Shield are out of the way before the motherboard is installed. This ensures they don’t run a risk of ending up inside the motherboard. Now screw the motherboard down. If you haven’t installed your CPU cooler previously, now’s the time.
THE NITTY-GRITTY
 Now it’s just down to the little things. Hook up all the cables from the power supply to the motherboard, as well as the little extra cables such as any RGB cables from any RGB items you may have. Remember as well to power up your front USB ports, as it can be easy to forget them.
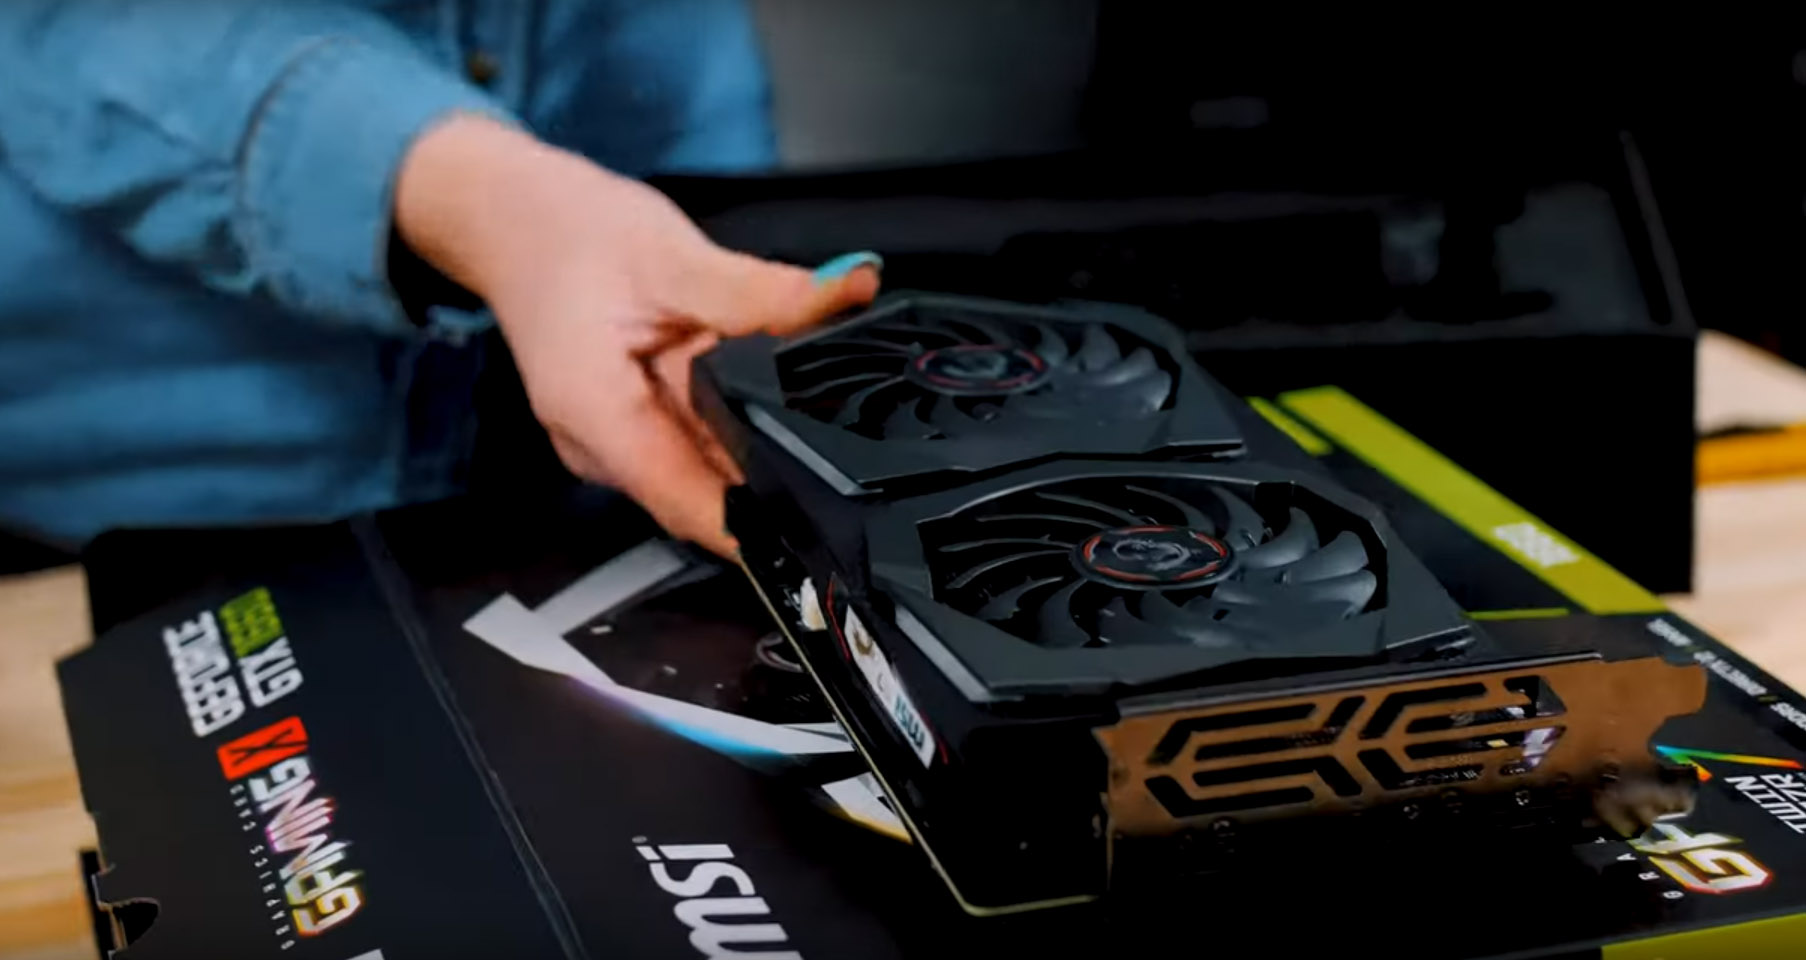
Next you should install your GPU. This once again, will be slightly different depending on what GPU you have, and your case. But usually, you start by removing a few of the PCIe slot covers (the holey looking rectangular slots at the back of the case). Find the slots that correspond with where you can insert your GPU, which is usually the topmost longer slot, and screw out those covers. Flick back the little latch for the PCIe slot and insert the GPU, ensuring the part with all the external slots on the GPU is facing outwards. Otherwise, you’re going to have a hard time plugging your monitor in. You’re now going to want to attach your PCIe connector to your power supply.
Now to install your storage. It will depend on whether you have an SSD or just a standard hard drive, and where the case wants it mounted. Look at your case manual if you’re having a hard time locating where they need to go. You’re often best to plug in the drive first, and then screw it into place.
TIDY CABLES ARE HAPPY CABLES
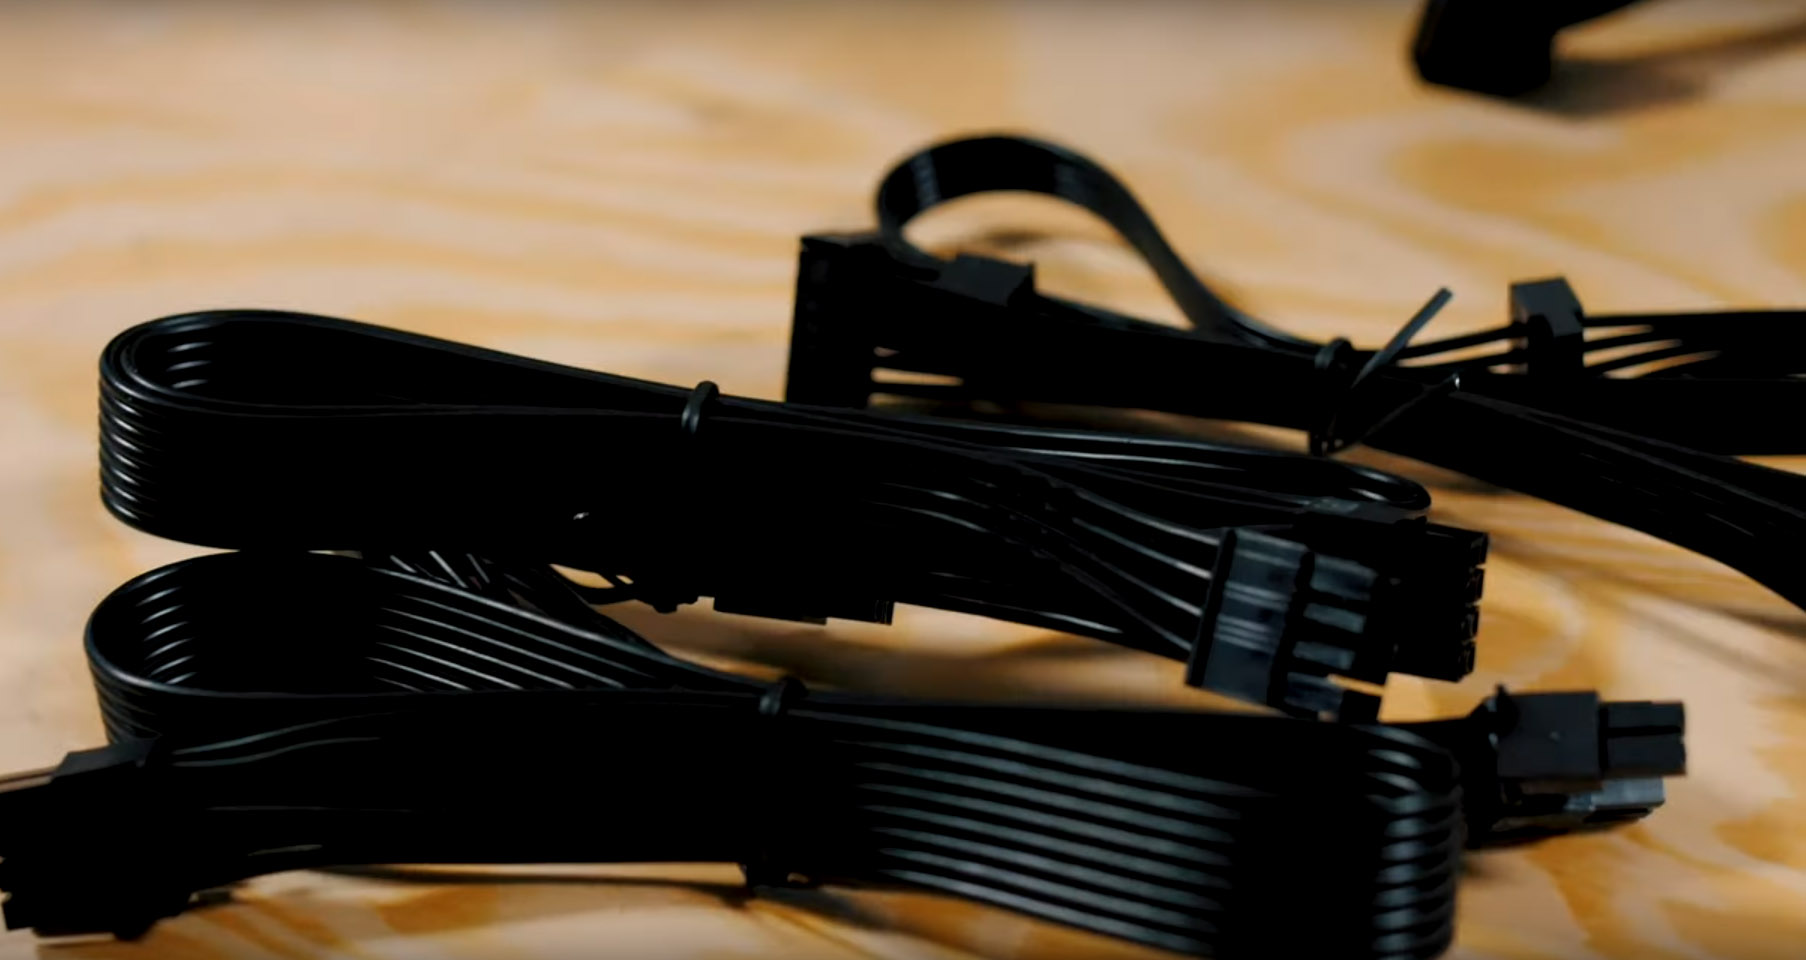 Now, the least fun part of building a PC, managing your cables. It can be annoying and frustrating, but if you get it all done now, you don’t have to deal with it again unless you upgrade something. The best advice I can give for cables is to get a ton of cable ties and try to use vertical lines down the case, not diagonals. Try and bunch the bigger cables together, and the smaller ones together as well. Cables can be tricky to manage for even the most seasoned PC builder, so don’t worry if your first attempt isn’t all that great.
FINISHED!
 And that’s it! Your PC should be all done. Now all that’s left to do is plug it into the electricity, hook it up to a monitor, and hope it all turns on OK! If not, just go back through the build and ensure every cable was put in fully and into the correct port, and hopefully you can sort out any issues. Also, remember Google is your friend! There are tons of forums and videos that will help you out with any problem. Our Discord is also a great place to put any tech questions you may have. We have tons of awesome, helpful PC builders who would for sure help you out of any pickles.
Next you must set up the BIOS and install Windows. However, since I am not quite as well versed in that yet, I’ll have to put a rain check on my advice for that. Good luck with your build, you got this!


Just built my first PC started it up & have black screen & blinking cursor. Please help
Hi Jack! Thanks for checking out the blog!
First, congratulations on building your first PC, that’s awesome! But it sucks to hear you’re having problems. We will try and help you get to the bottom of this as best as we can!
We do need a little more information first. So, when you say it’s going to a black screen, is that the second you boot up? Can you even access your BIOs for example? Also, it might be worth just going through all your cables and ensuring everything is in the right spot and security installed. Additionally, did you manage to install Windows correctly? It’s one of those things that is super easy to forget after going through all the hard work of building.
Let us know how it goes and feel free to reply to us with more info so we can do our best to help you out!
Good luck!
Sarah