I get it, power supplies do look quite overwhelming to install if you’ve never done it before. There’s all these cables and you’re dealing with electricity which can get a little scary. But I am here today to tell you that it is not as terrifying as you think it might be. So, here is how to install a power supply for your PC, alongside some tips and tricks since my last How to PSU post. I got you!
STEP 1 – The Cables
Your first step will be removing everything from the packaging and laying it out. This makes it a lot easier to identify your cables. I’m gonna run you through each cable, what it looks like, and what it does.
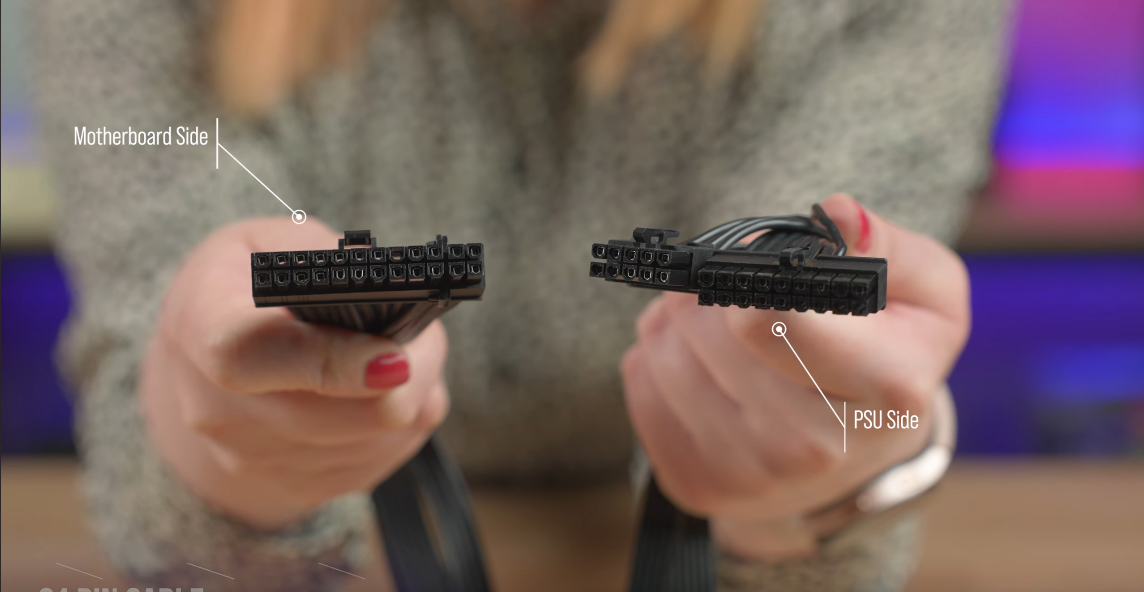
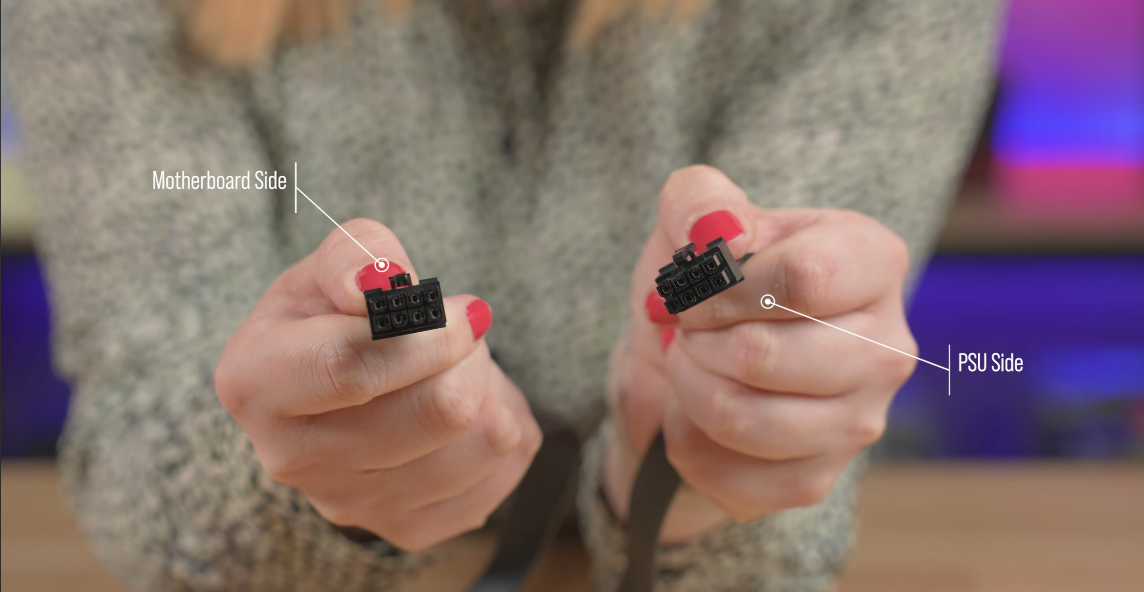
- First up, you’ve got your 24-pin cable. This is your motherboard connector cable. If you are using an older motherboard, you may only have 20 pins, but this isn’t too common anymore. These are chunky boys, and if you have a fully modular power supply, the side that splits will be the one that goes into the power supply itself.
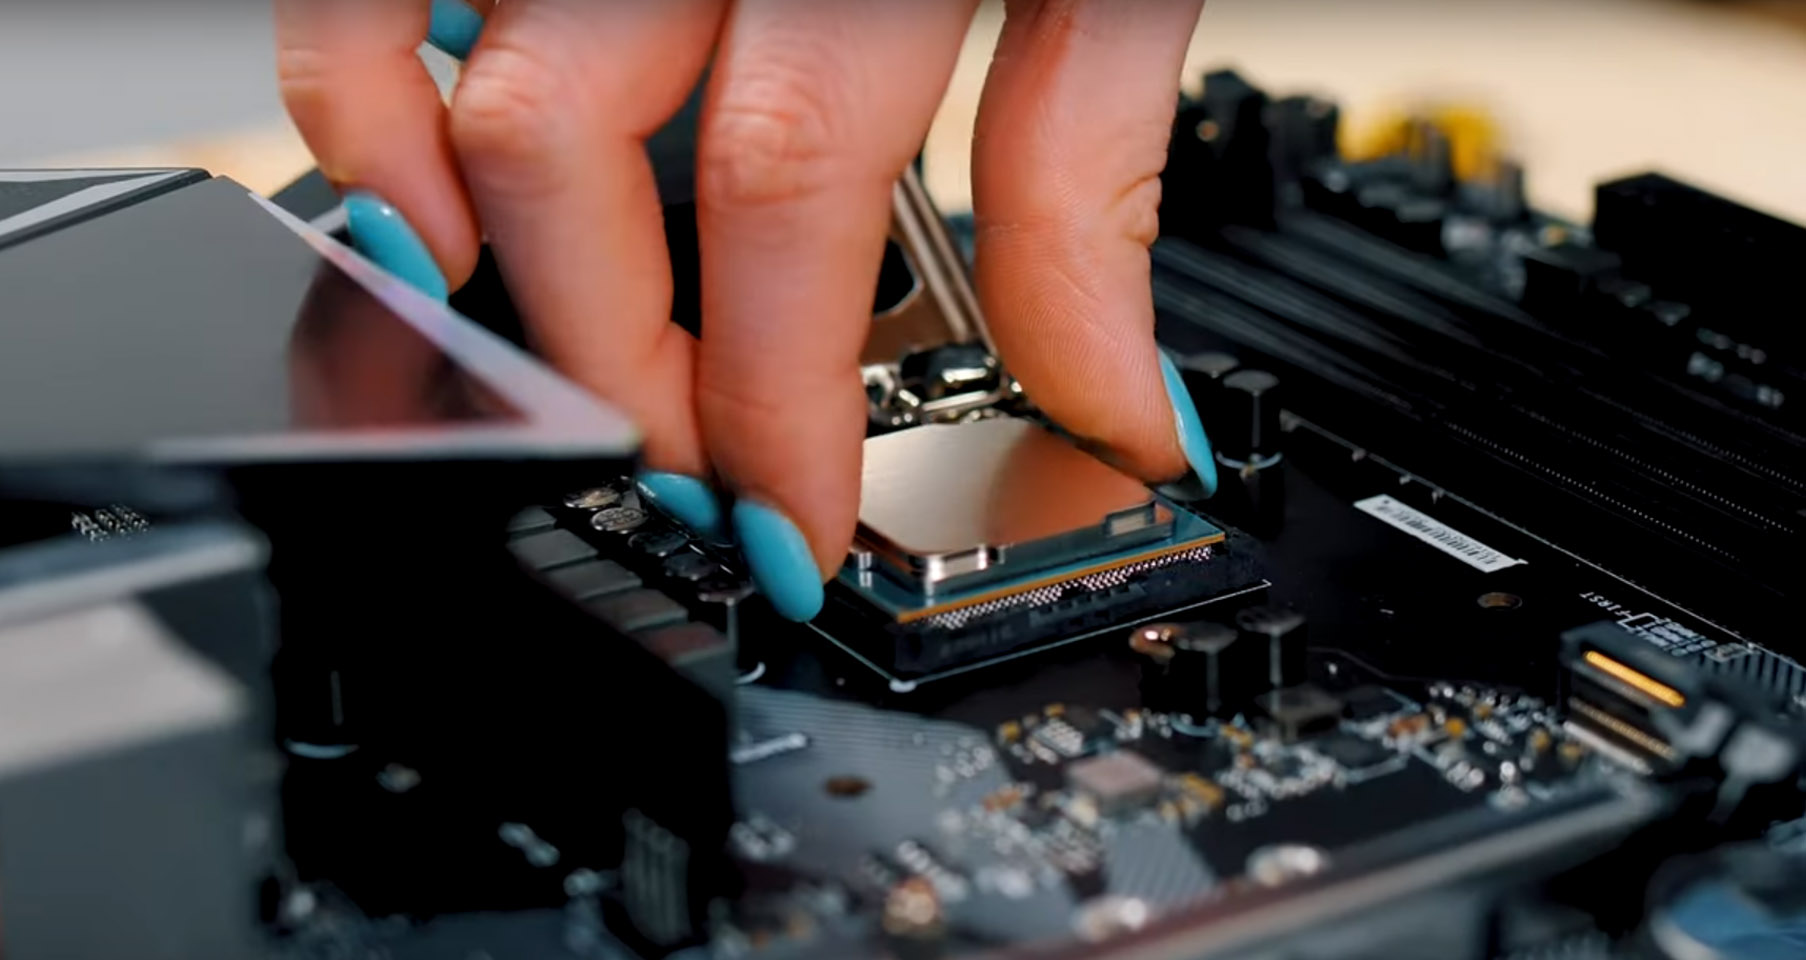
- Next is your CPU cable. This helps provide power to your CPU. These cables tend to look similar to standard PCIE cables, but please make sure you are using the correct cable for the correct part. You can do this by either checking if it has, “CPU” written on it, or it also might split down the middle as only CPU cables do this (PCIe cables split differently).
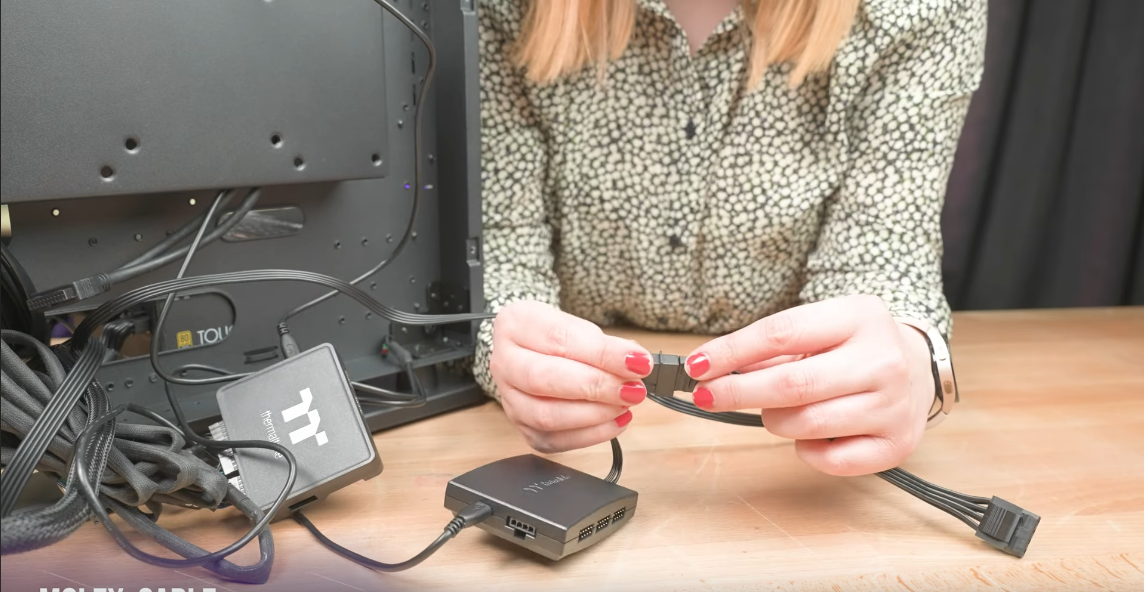
- You might not have these cables, but these are Molex cables. You can tell these apart from other cables due to their unique look. They are also a bit of a pain to install sometimes as the pins move around a lot.
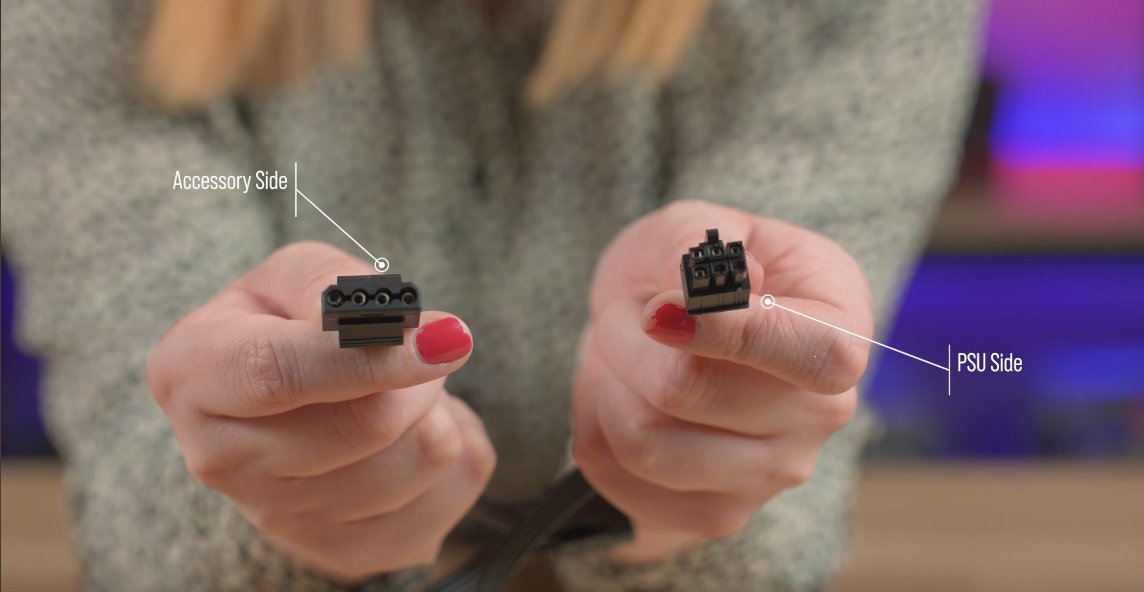
- Next, we have SATA cables. These are commonly used to power hard drives and SSDS, as well as other things like controllers.

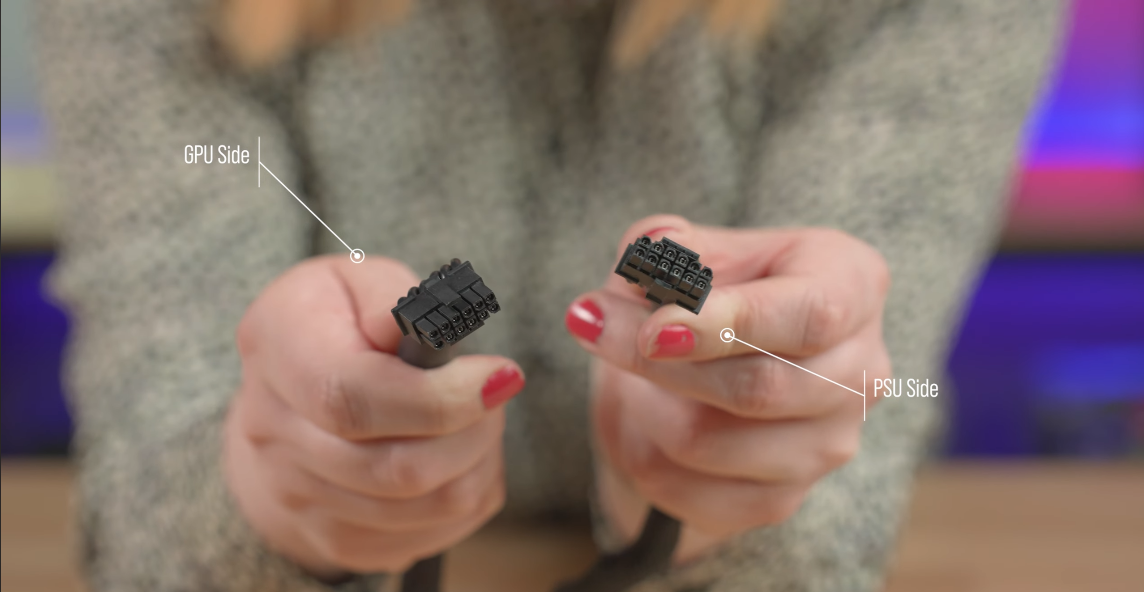
- Now these are PCIe cables. These look very similar to the CPU cable as I mentioned earlier, but these split differently, with a 4+2 split. You might be using one of these to power up your power supply, but for the newer NVIDIA ones you will need a PSU with the next cable instead, and can reserve this for other power-hungry expansion cards.
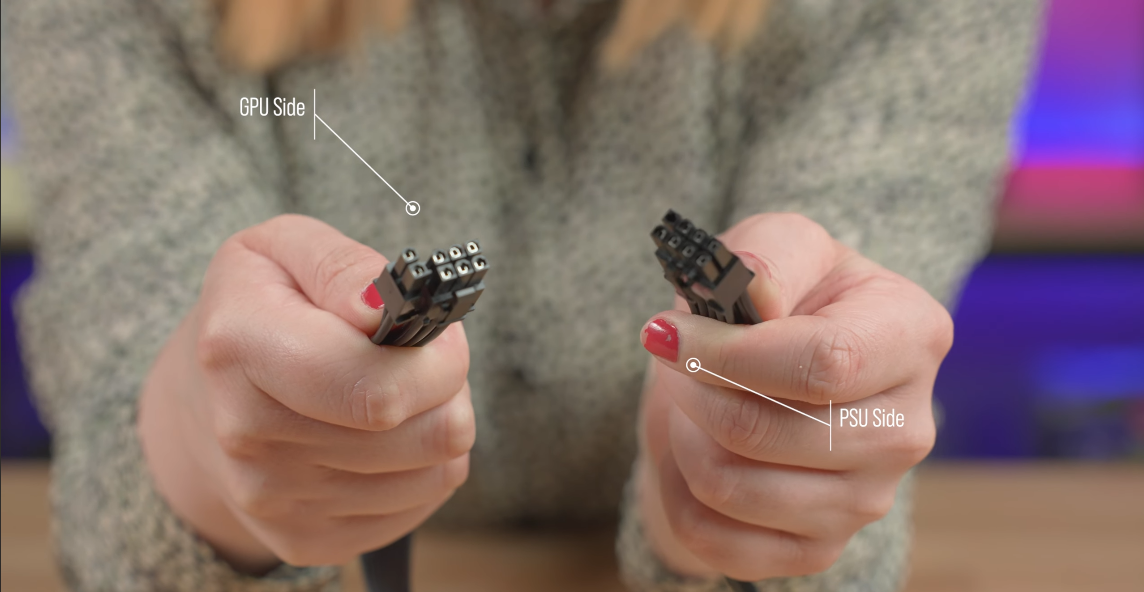
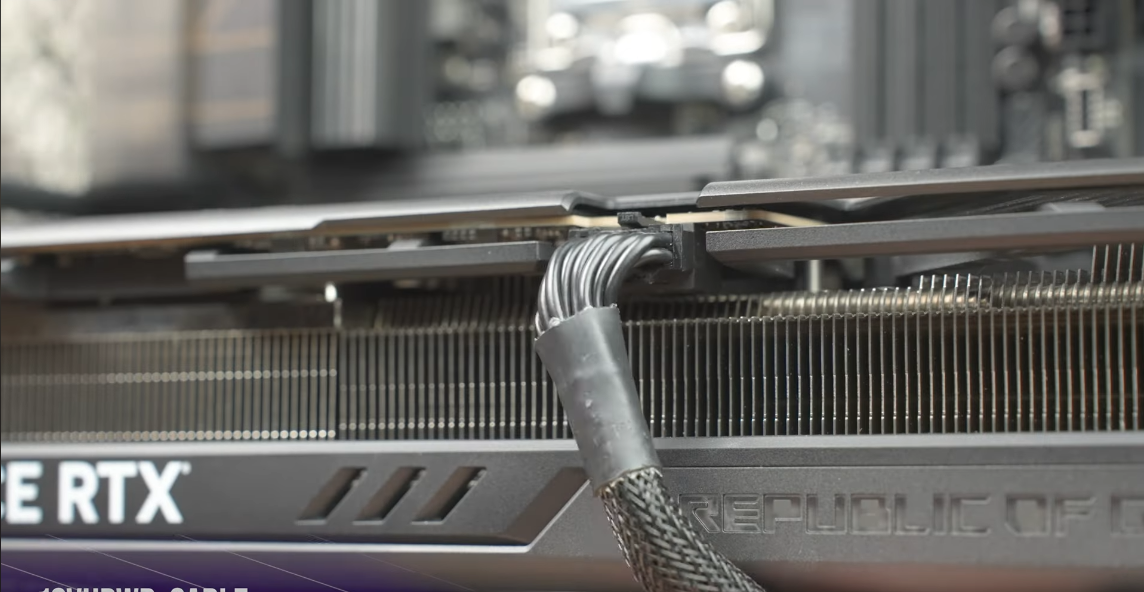
- If you are installing an ATX 3.0 PSU, you might also find you have a 12VHPWR cable. This is the new ATX 3.0 graphics card connector and is used to provide Next Gen cards with enough power to run nice and smoothly. If you don’t have one of these and are running an NVIDIA 40s series card, you might need to look at getting a new PSU or trying out an adapter.
STEP 2 – Plugging into the PSU (Semi/Fully Modular only)
If you have a fully modular power supply, you will have to plug in the cables as required. If you don’t need to install these, feel free to scroll ahead to the motherboard installation section.
There really isn’t any set order to plug cables in, so don’t panic about that. Simply plug in the cables as you need them, paying attention to the wording on the ports. A pro tip is to pay attention to cable’s design. Fyour 24 pin port splits, so obviously the side of the cable that splits go into the PSU itself. Your CPU cable might also split, and therefore the split side won’t go into the PSU as the PSU itself shows that all pins are required. Conversely, if both sides of the cable are identical, it could be that either side is acceptable. 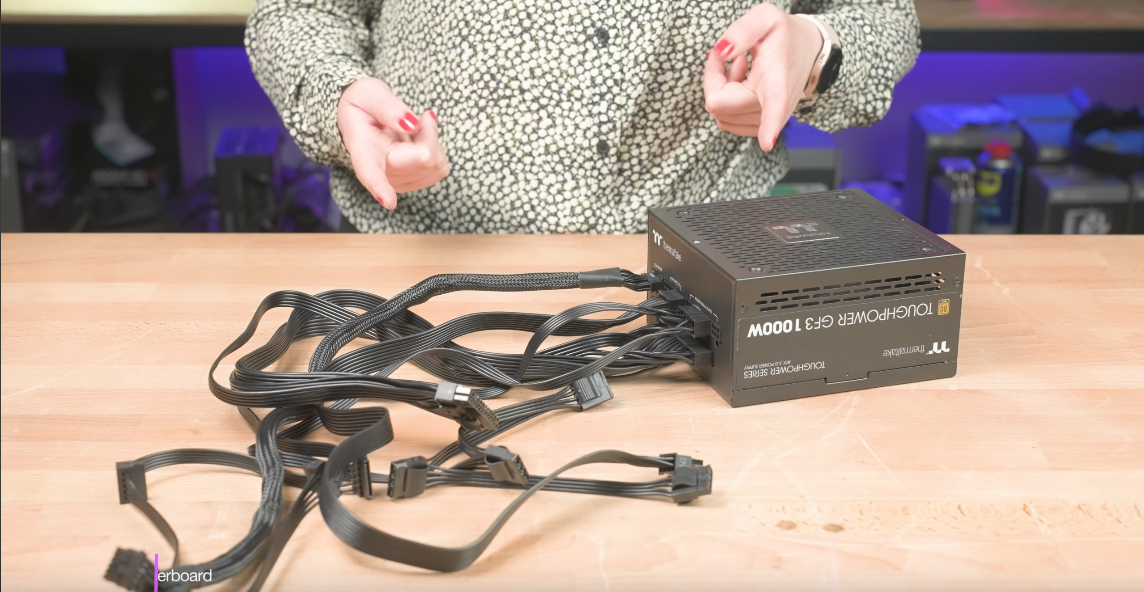
STEP 3 – The Motherboard
Now let’s plug these into your motherboard.
- Beginning with your 24-pin cable, this is pretty much in the same place in every motherboard, which is off to the right-hand side of your board.
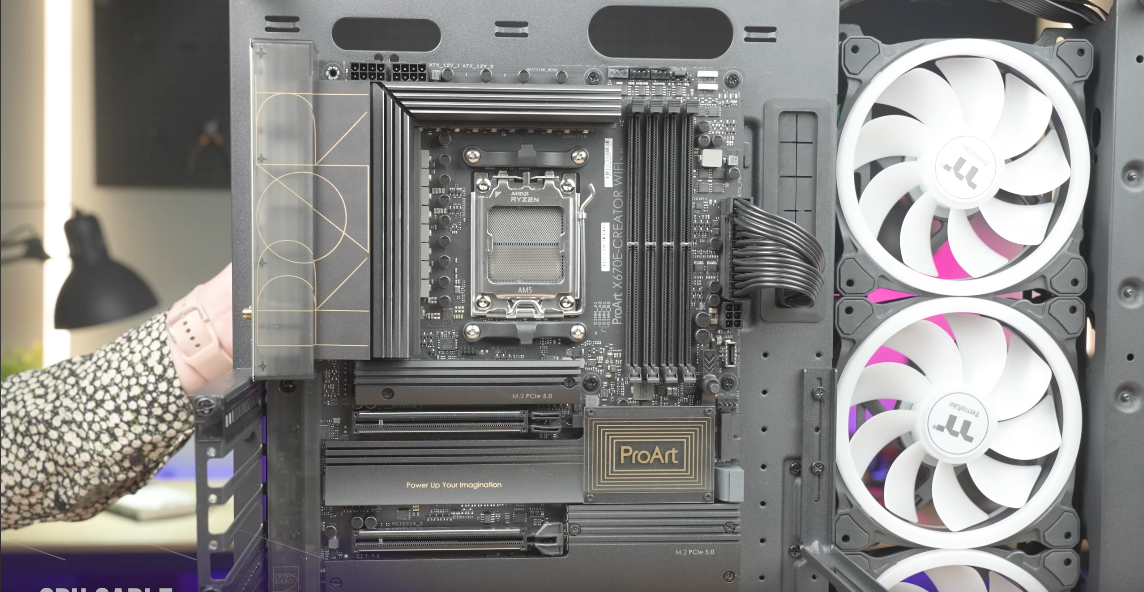
- Your CPU cable will often need to be plugged in somewhere on the top left of the board. The connector itself can also split if your board only takes 4 pins such as with an M-ATX board. But for everything ATX and above, will need all 8 pins inserted into the motherboard. More powerful CPUs might even need 2 CPU cables plugged in, so again, consult your manuals if unsure.

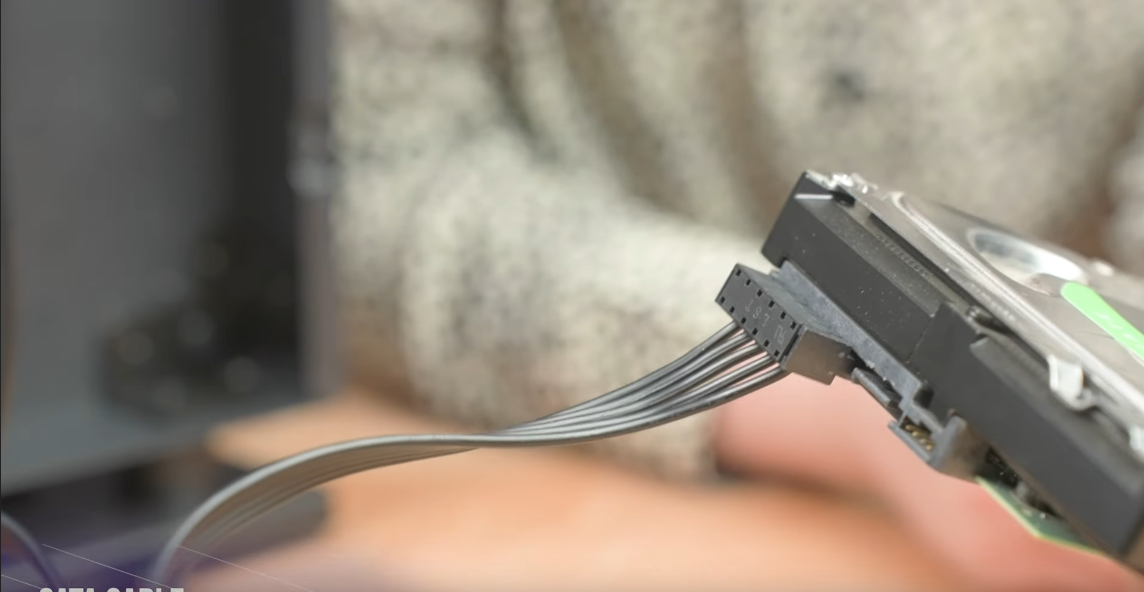
- Your SATA cables simply into the longer port on your hard drives or connectors.
- Your Molex cables can be a little tricky to install, but just try and line it up as best as you can, because the pins can be a little lose and move around a bit. This will then plug into your controller box.
- Finally, you have to power your graphics card. This is where your 12VHPWR cable or PCIe cable will come into play. Insert whichever your graphic card requires into the port located along the front of the card.
So that was how to install a power supply!
See wasn’t too tough after all, I told you! Now, do a bit of cable management now to tame the jungle of cables you no doubt now have, and that’s it!
If you have any questions about how to install a power supply, feel free to chuck them in the comments down below! If you’d prefer to watch this of course, check out the video version over on our YouTube channel!